Saturday, November 16, 2013

Amanda G Designs - Christmas signs in the shop!

There have been many changes to my Etsy shop since the last time I posted about it.  Wedding season was incredibly busy. I couldn't have imaged the response I would receive from my guest book designs. Now that wedding season has slowed down, I'd like to introduce the Holiday signs that are in the shop.

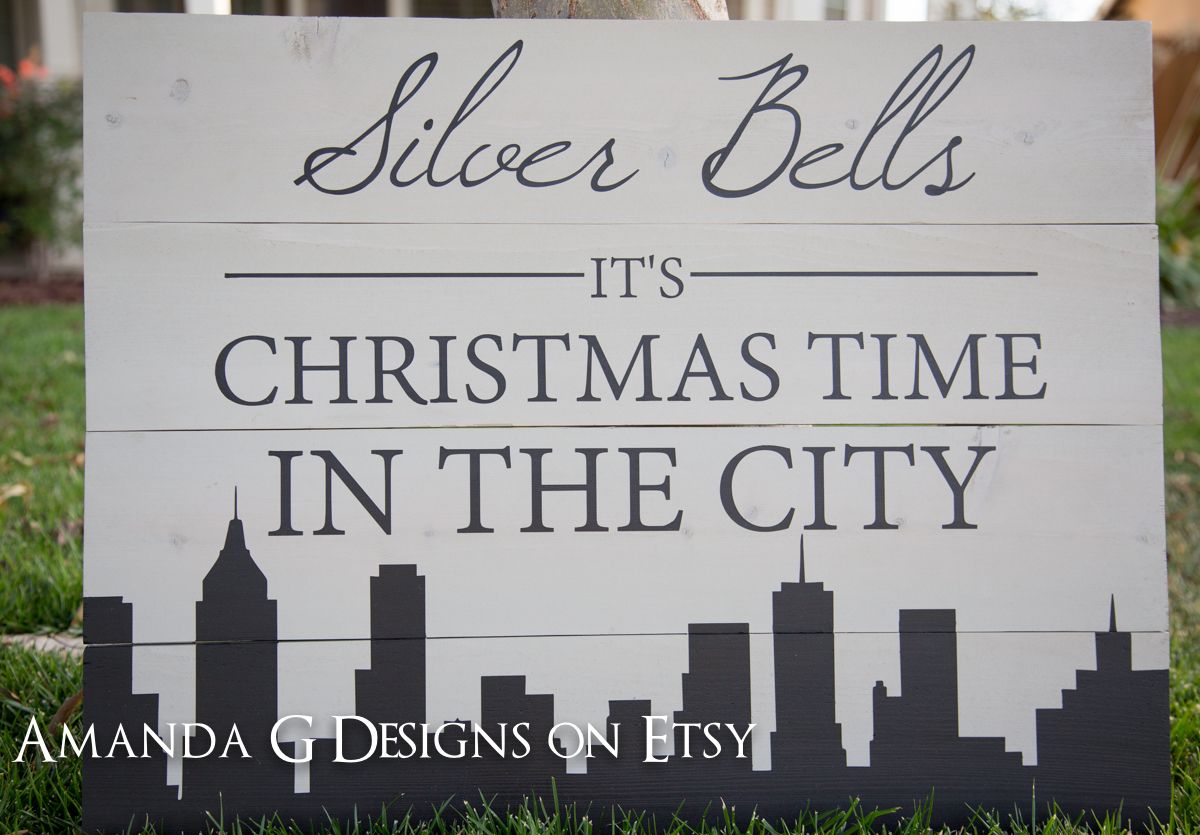
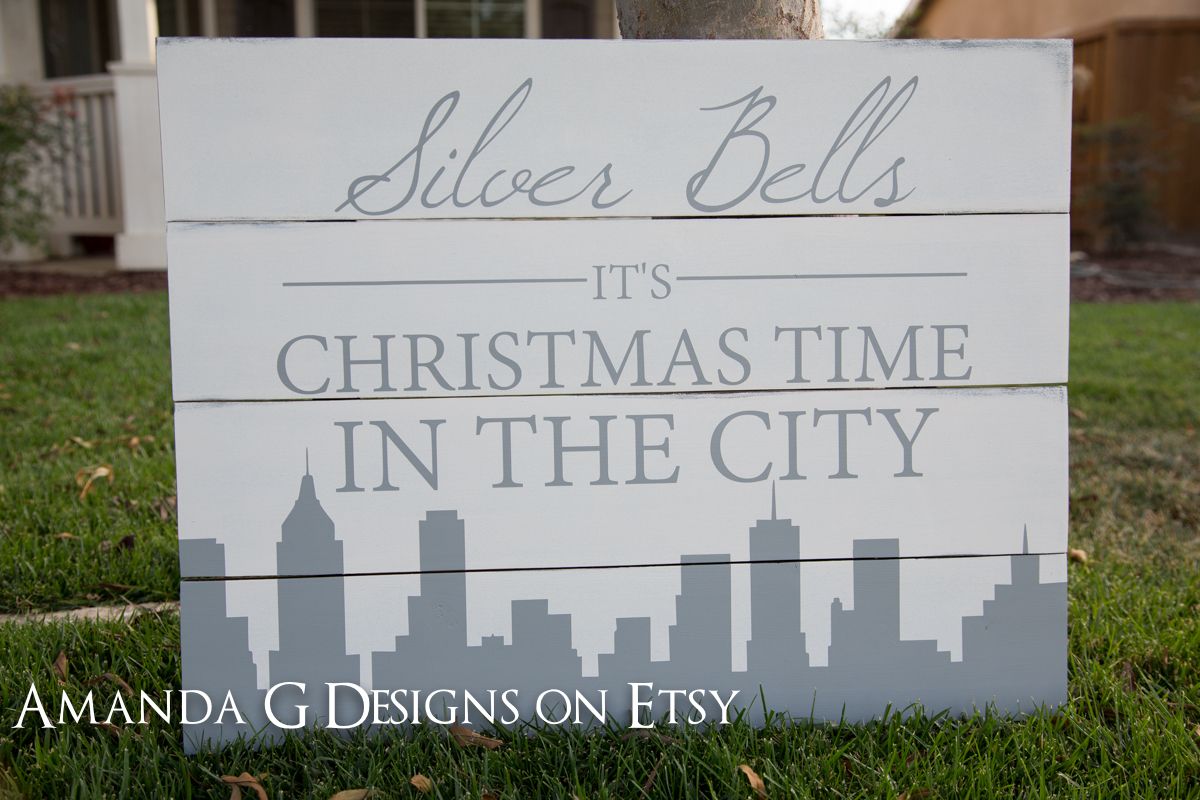
This "Silver Bells" sign looks amazing on our mantle. Visiting NYC during Christmastime is on my bucket list. We won't be able to make it this year, so I thought I'd bring the skyline to our living room.

silver bells Amanda G Designs photo untitled-1004-5.jpg

"Silver Bells" also comes with gray wood stain and black wording.

Silver Bells Amanda G Designs photo untitled-1017-3.jpg

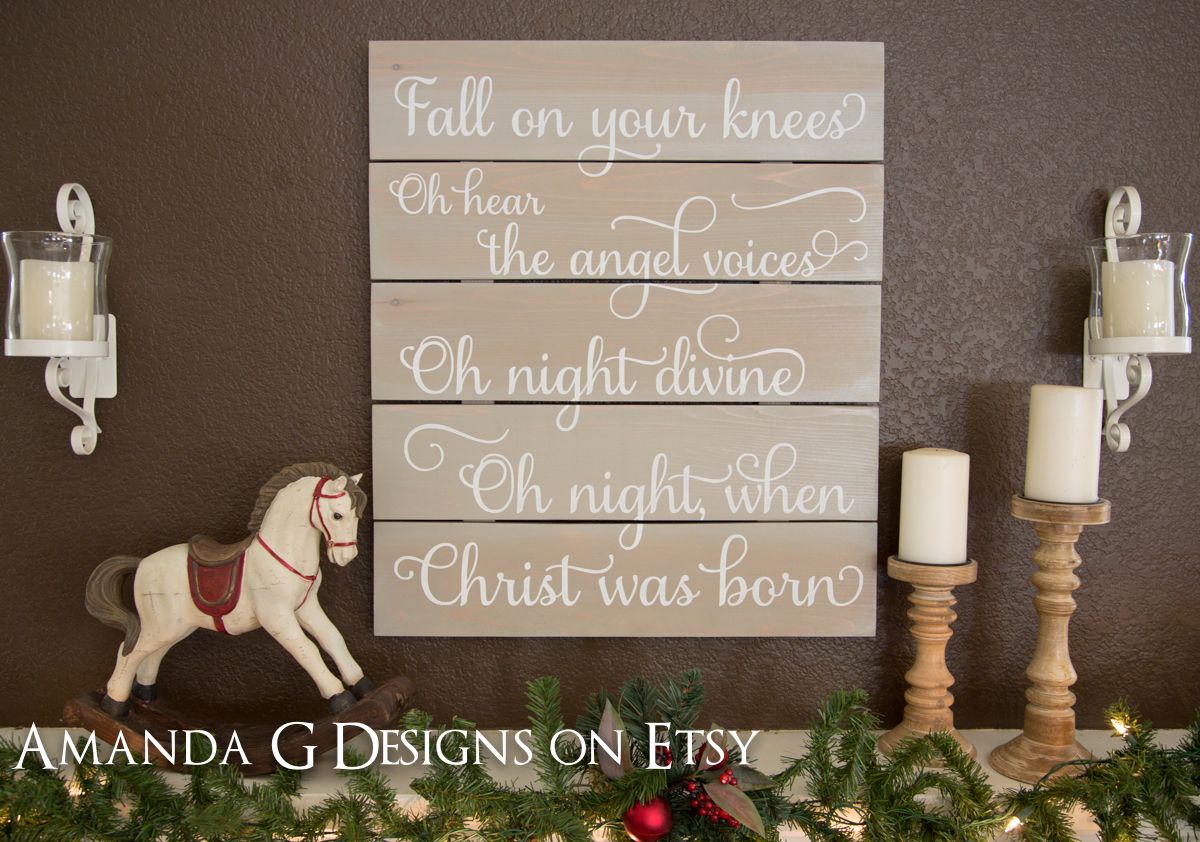
"Fall on your knees." This elegant sign will have you humming Oh Holy Night all winter long.

O Holy Night photo untitled-1035-2.jpg

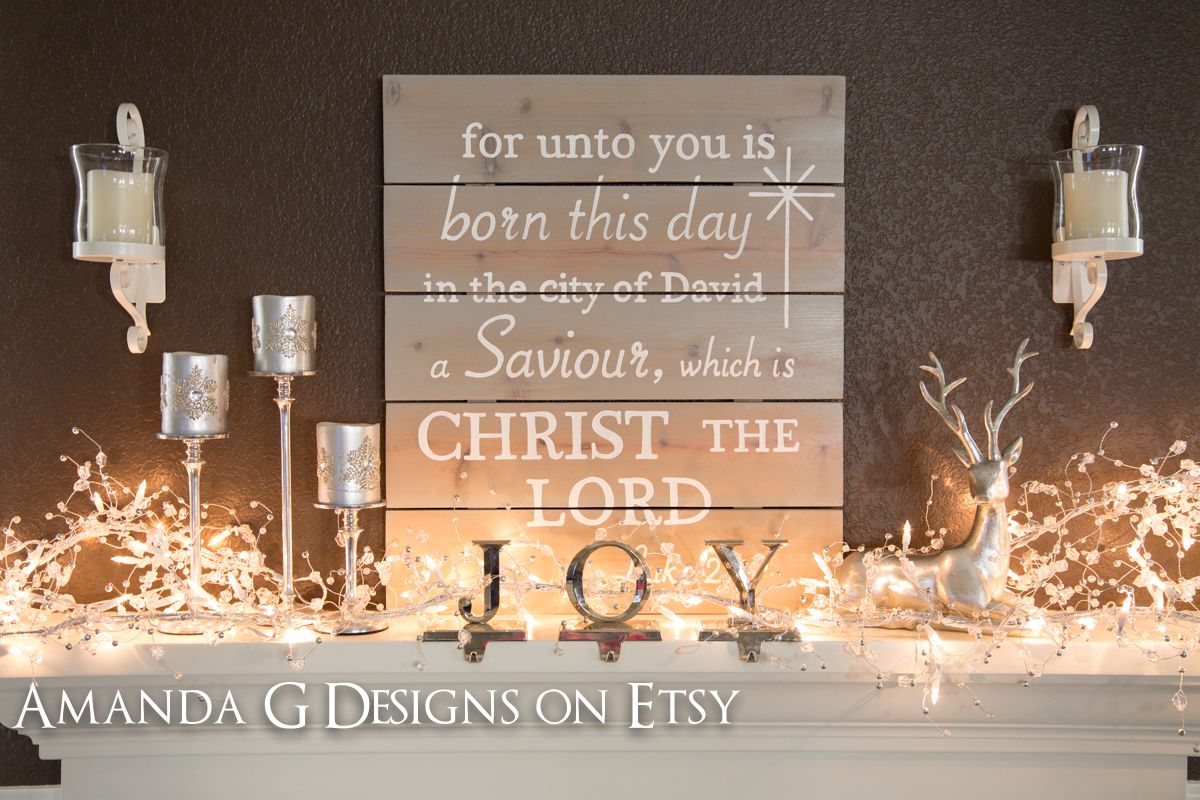
I've been adding Luke 2:11 signs to the shop all month long.

Luke 2:11 wood sign Amanda G Designs photo untitled-1134.jpg

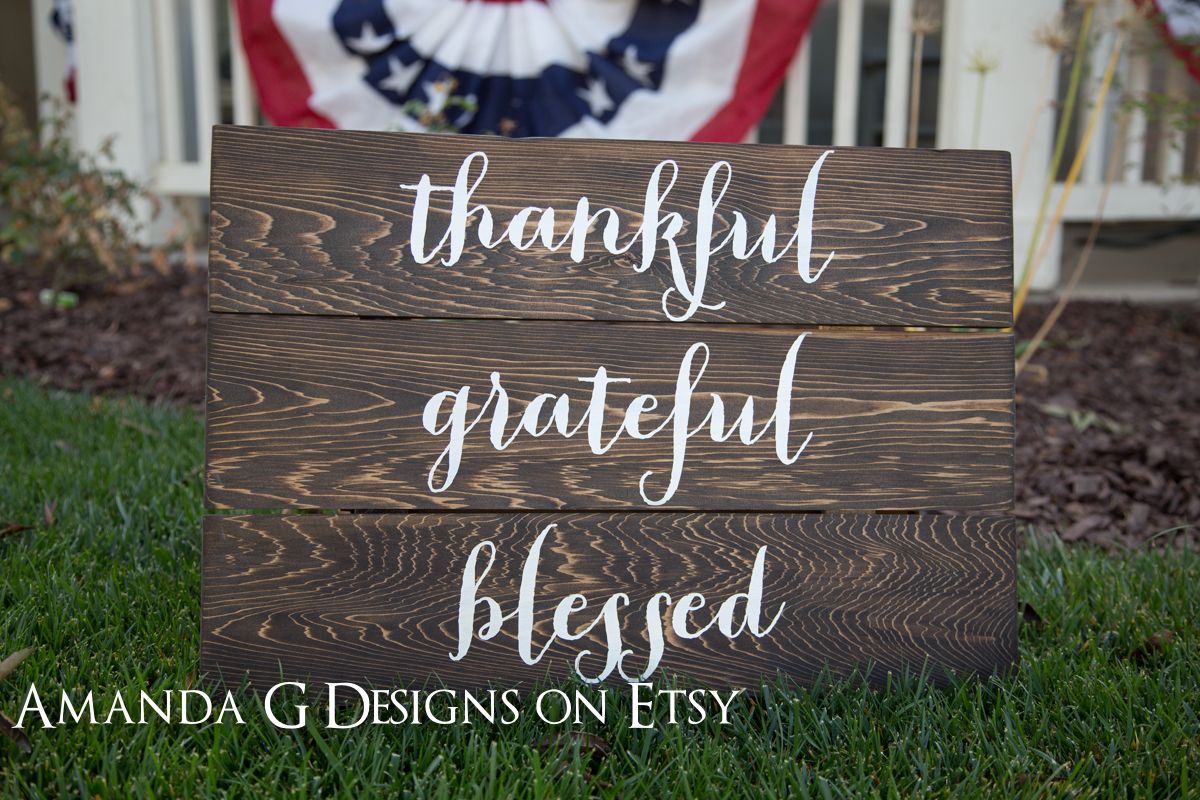
This lovely sign is in our gallery wall in the living room. It's also a wonderful sign for any Thanksgiving mantle or hanging in the dining room.

Thankful Grateful Blessed Amanda G Designs photo untitled-1023-4.jpg


I know it's only mid-November but it's full-on Christmas at the Gardner house. We won't be hosting Thanksgiving this year, so why not? It's our favorite time of year so if we can stretch it out a few extra weeks, then we are all for it!

Stop by Amanda G Designs and look around at the new items in the shop. And let me be the first to wish you a Merry Christmas!

Amanda


Friday, July 5, 2013

Strawberry Shortcake Party - Noelle Turns FIVE!

My girl is five. I look at my baby - fun-loving and shy - but gracefully maturing into a beautiful little lady. She starts Kindergarten this year and I'm terrified. When we talk about it and she sees the tears welling up in my eyes she reassures me with this speech, "Mommy, it's going to be okay. It will just be for a little while and you can go to Target while I'm gone. I have to go to school to learn stuff." I've heard it a dozen times already. She's so brave.

In May we went on our annual Disneyland trip during Mother's Day weekend to kick off the summer and celebrate her birthday. She agreed to have a small birthday party but insisted it have a Strawberry Shortcake theme. I grabbed her Strawberry Shortcake doll and we headed to JoAnn's for a few supplies. Six yards of fabric, a box of 12 mason jars, a string of Martha Stewart pom-poms and we were pretty much ready to party.

 photo strawberryparty-3-2.jpg

Since it was June and the day heats up quickly we decided on a mid-morning brunch. The menu included Sausage Quiche, Muffins, Strawberry Greek Yogurt with granola, Fruit Salad and Cinnamon Rolls. 

 photo strawberryparty-7.jpg

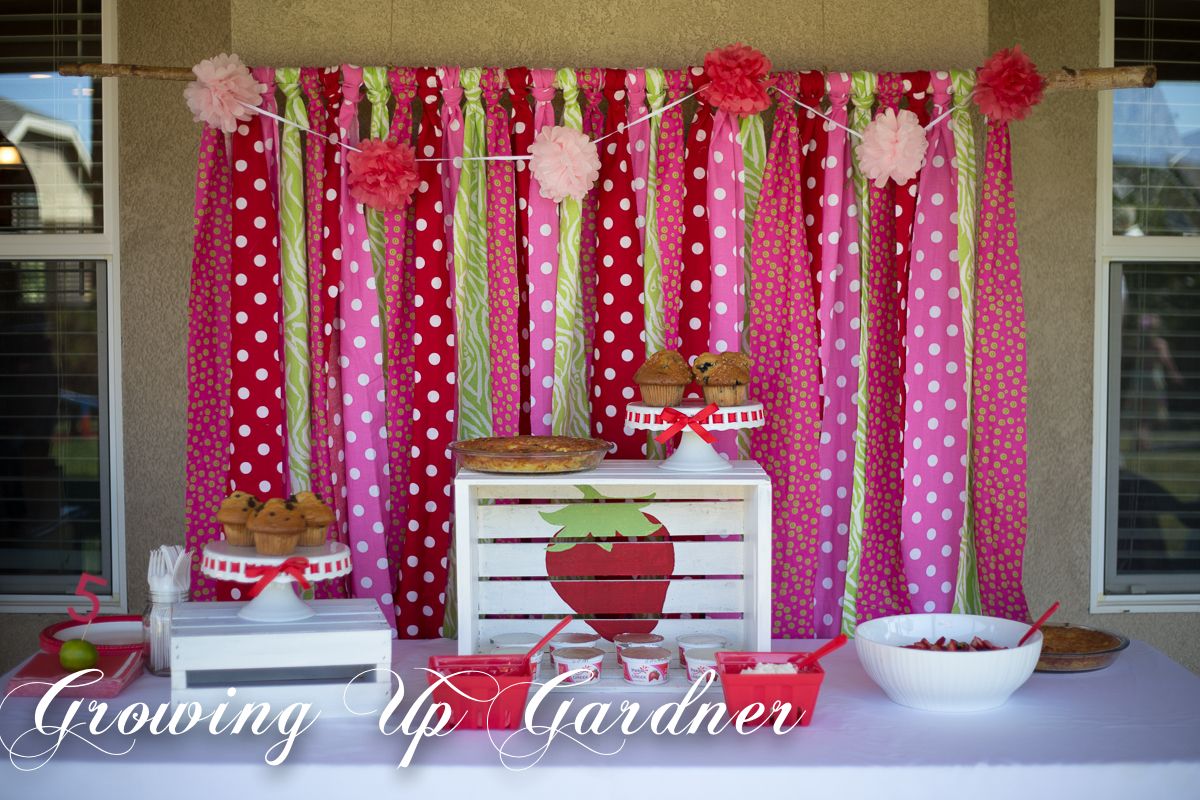
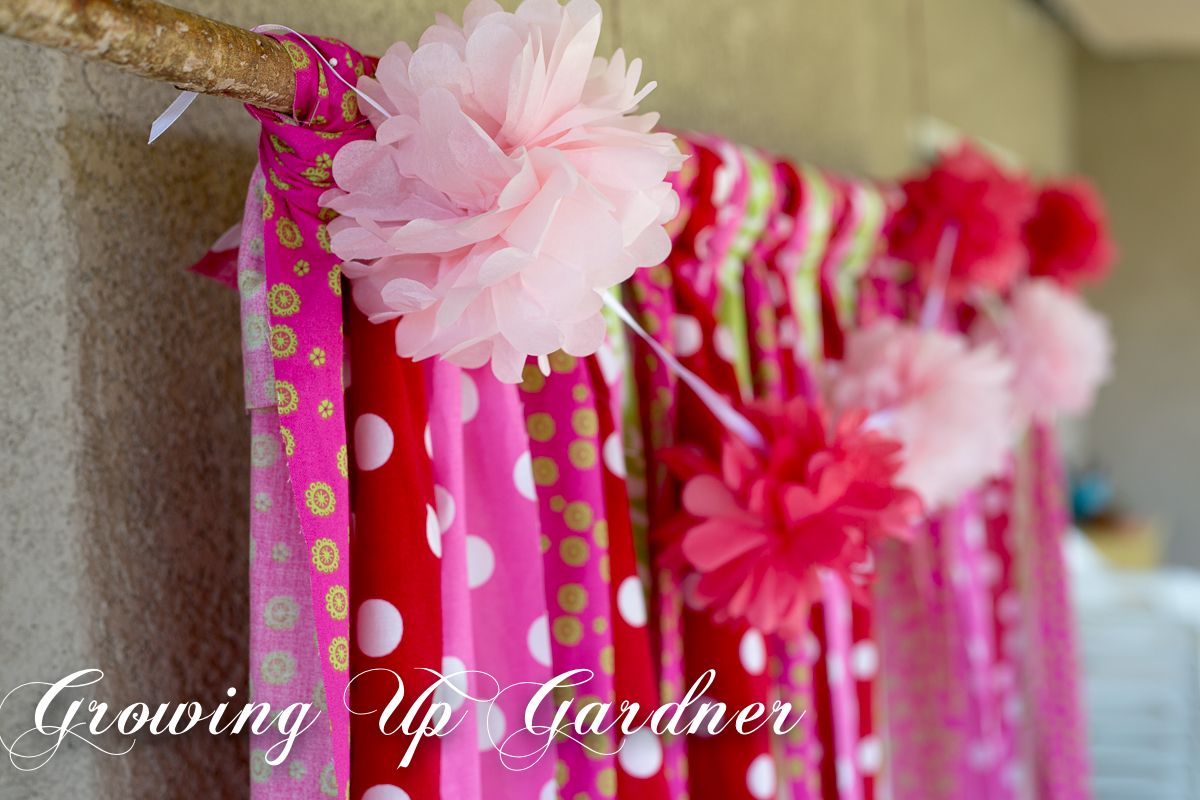
For the backdrop, I cut the fabric into 5-inch strips and tied them using a slip knot onto a birch tree branch. I had the crates but painted them white and added the strawberry to the inside of the large crate.

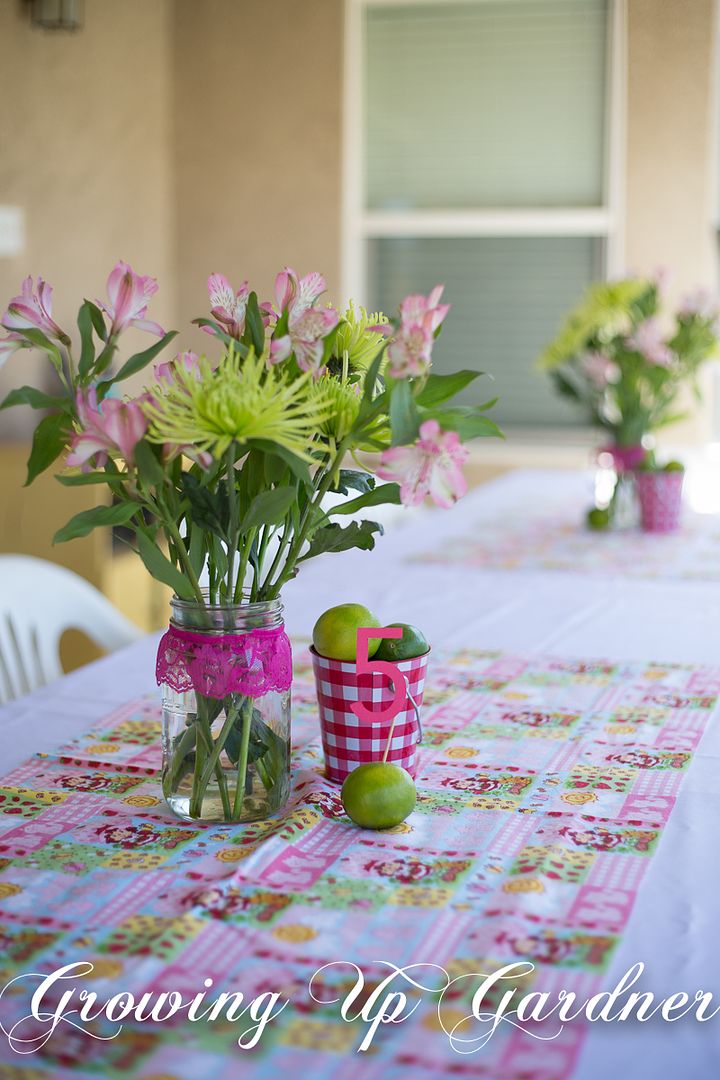
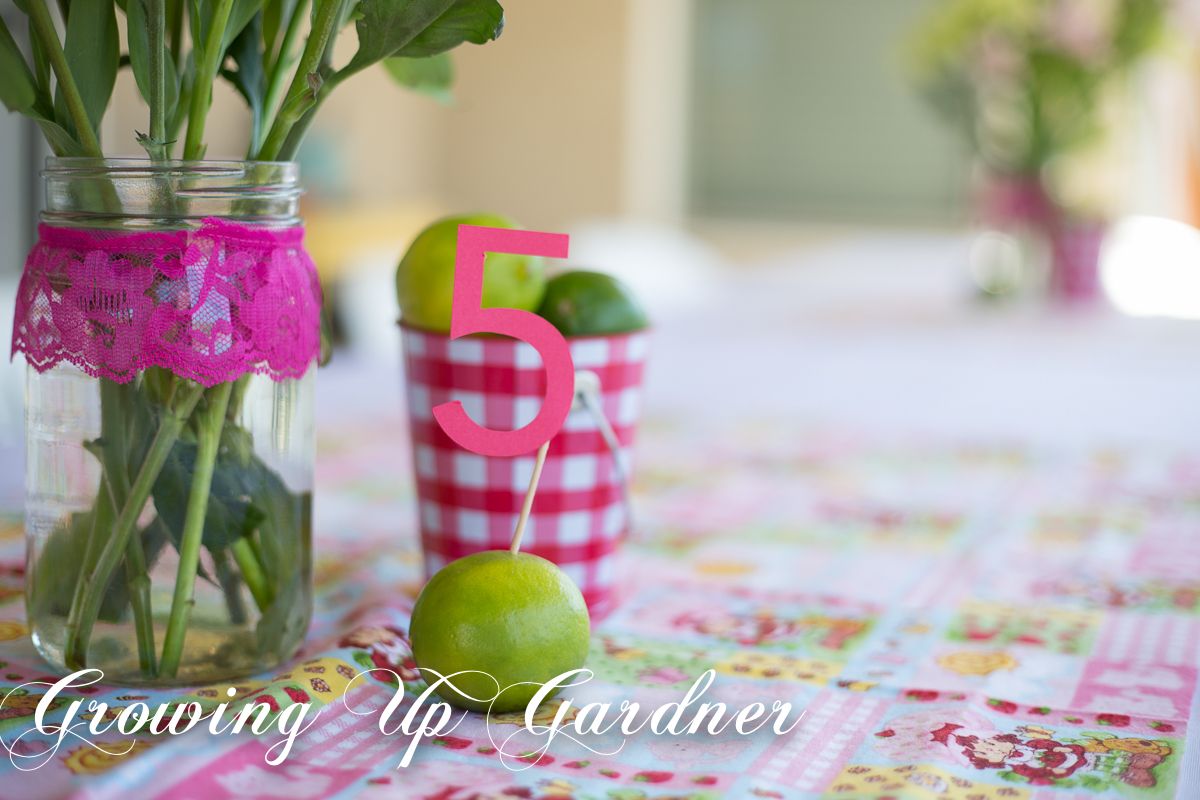
The table was very quick and easy to set up. I found vintage Strawberry Shortcake fabric at Walmart for $3/yard. 

 photo strawberryparty-3.jpg

At Walmart I also picked up a couple bundles of cheap flowers and a bag of limes. 

 photo strawberryparty-4.jpg

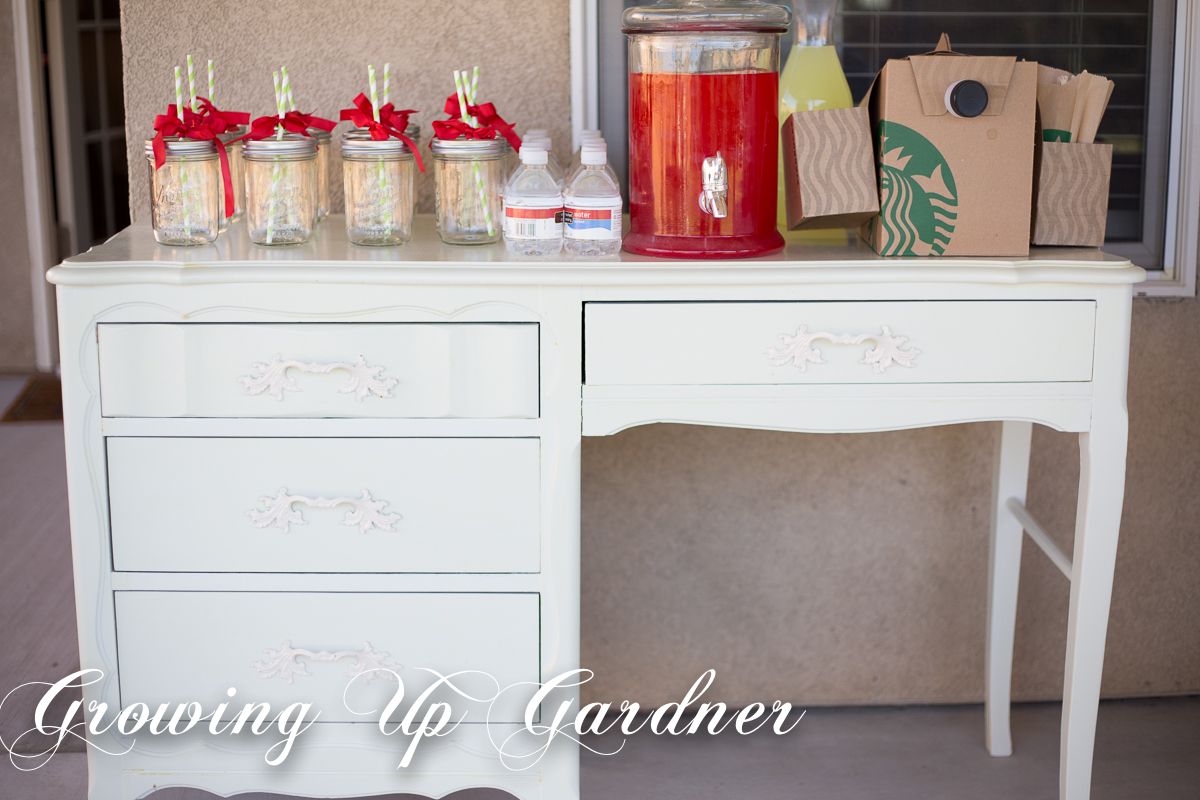
Noelle's refinished desk was used as the beverage table. 
 photo strawberryparty-5.jpg

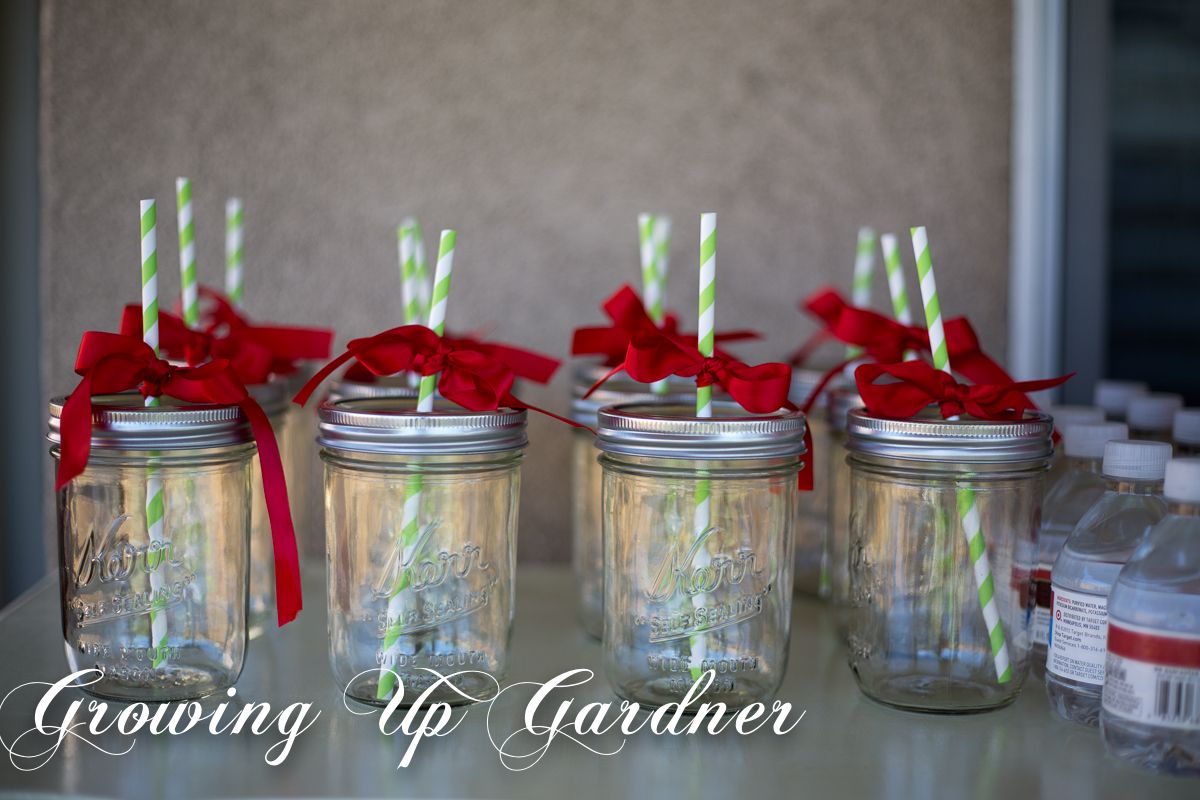
Mr. G drilled holes into the mason jar lids just big enough for the paper straws. It's a one time deal since the lids will rust if they are washed. 
 photo strawberryparty-6.jpg

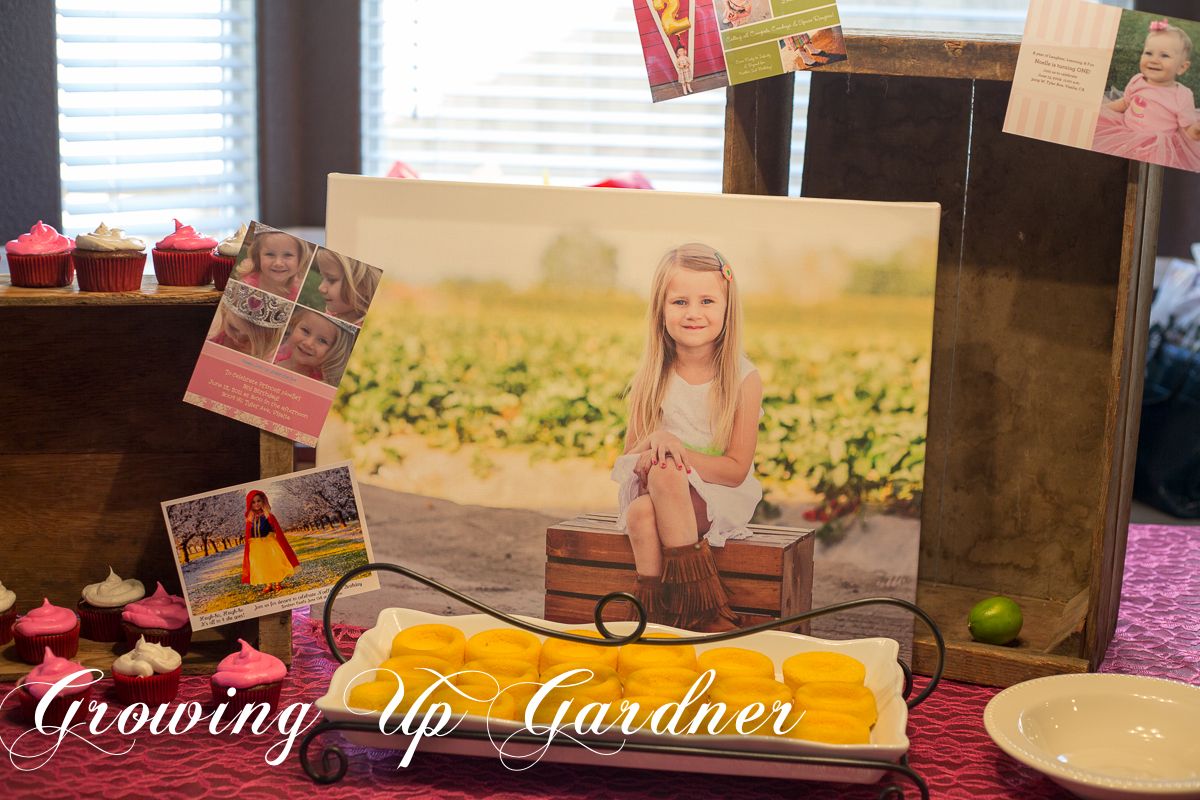
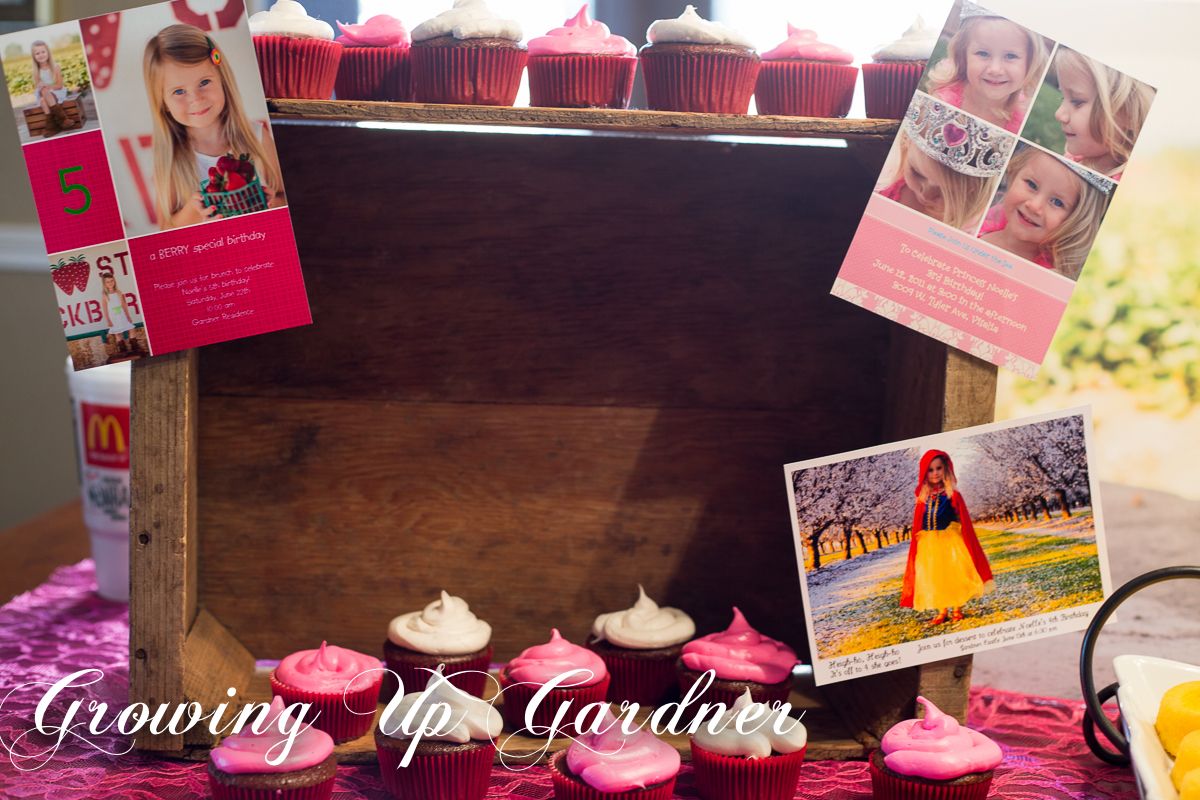
In the dining room I set up the dessert (strawberry shortcake and cupcakes) along with Noelle's previous birthday party invitations. 
 photo strawberryparty-8.jpg

When frosting cupcakes, I always whip a half teaspoon of vanilla extract into the frosting and pipe it onto the cupcakes for a bakery-style look. 

 photo strawberryparty-9.jpg

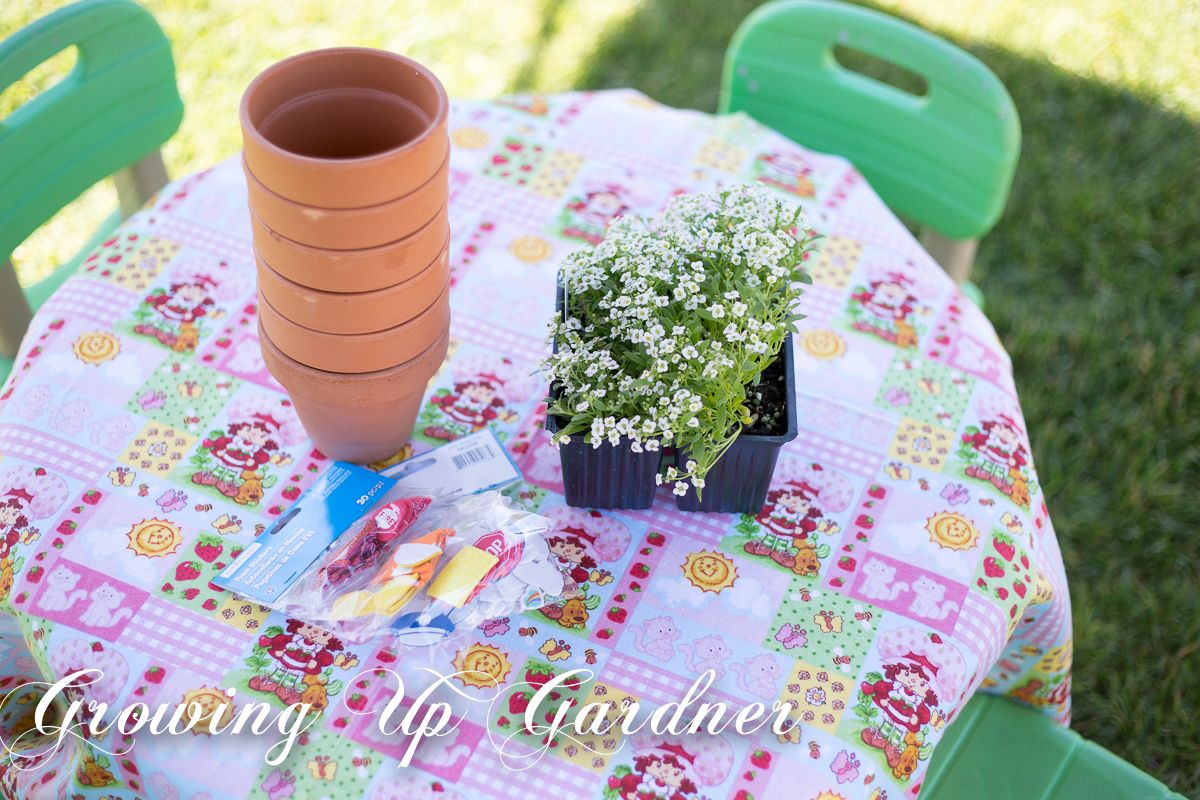
For the craft, the friends decorated a clay pot with foam stickers and then planted a flower. 

 photo strawberryparty-11.jpg

I'm certain that no flower made it more than a day but it kept them busy for 10 minutes. 

 photo strawberryparty-12.jpg

It was a lovely morning! 
 photo strawberryparty-13.jpg

 photo strawberryparty-4-2.jpg

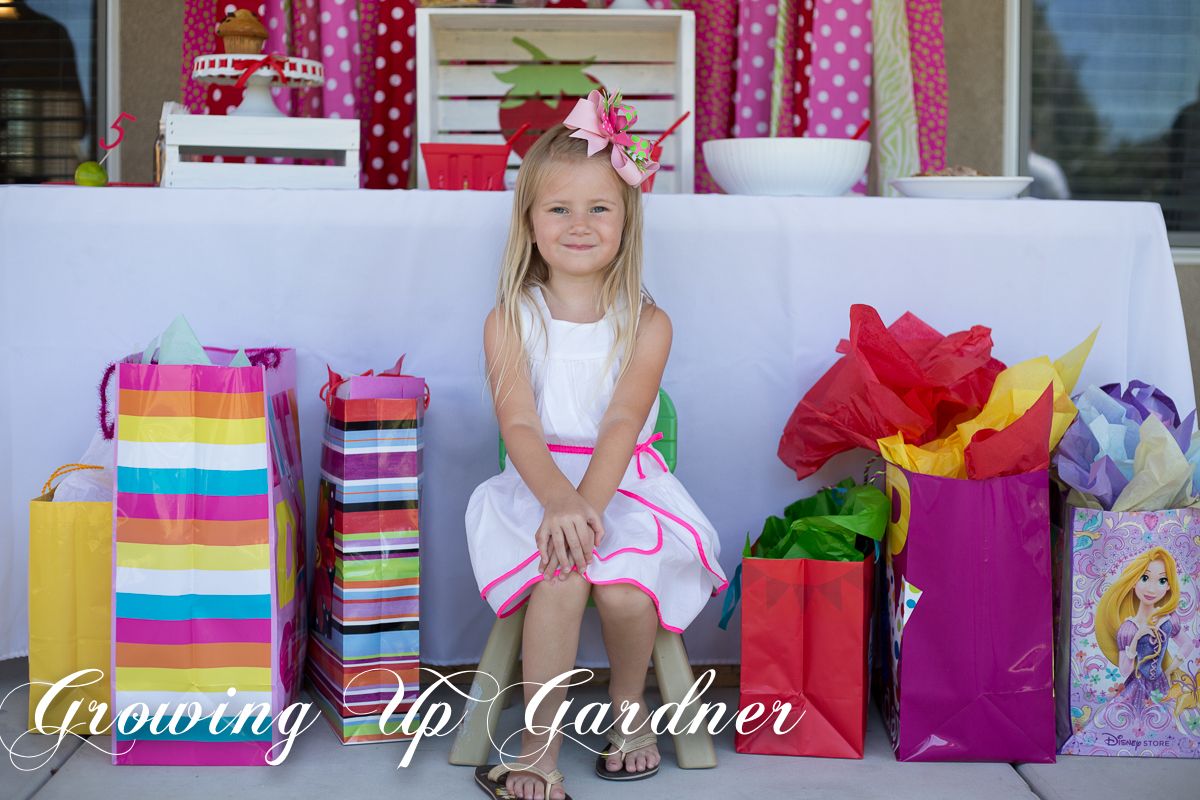
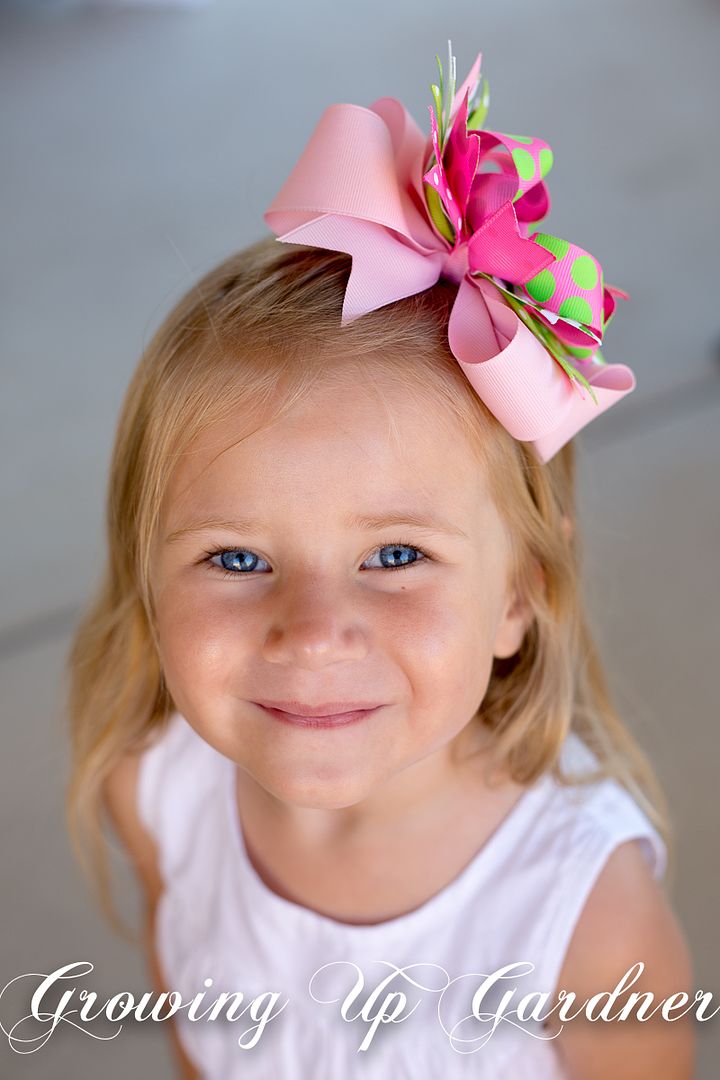
My girl. 
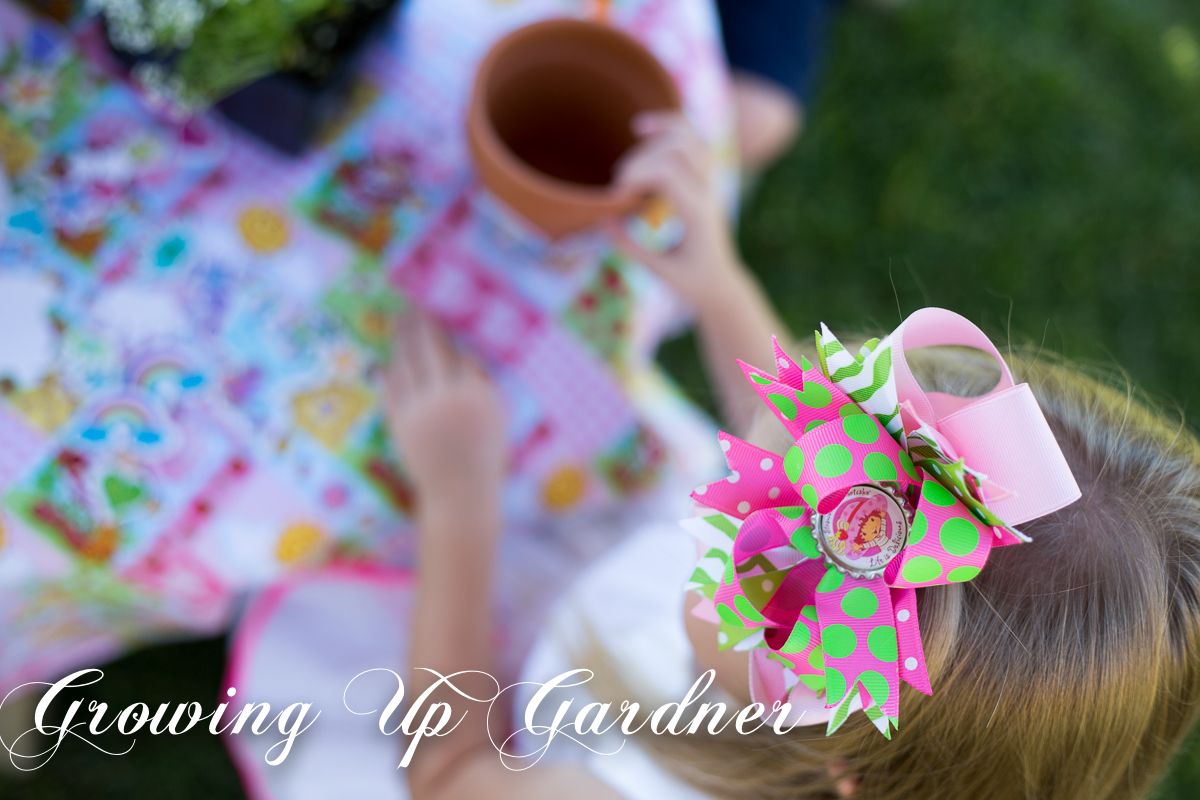
Strawberry Shortcake hair bow from The Palmetto Baby on Etsy
 photo strawberryparty-10.jpg

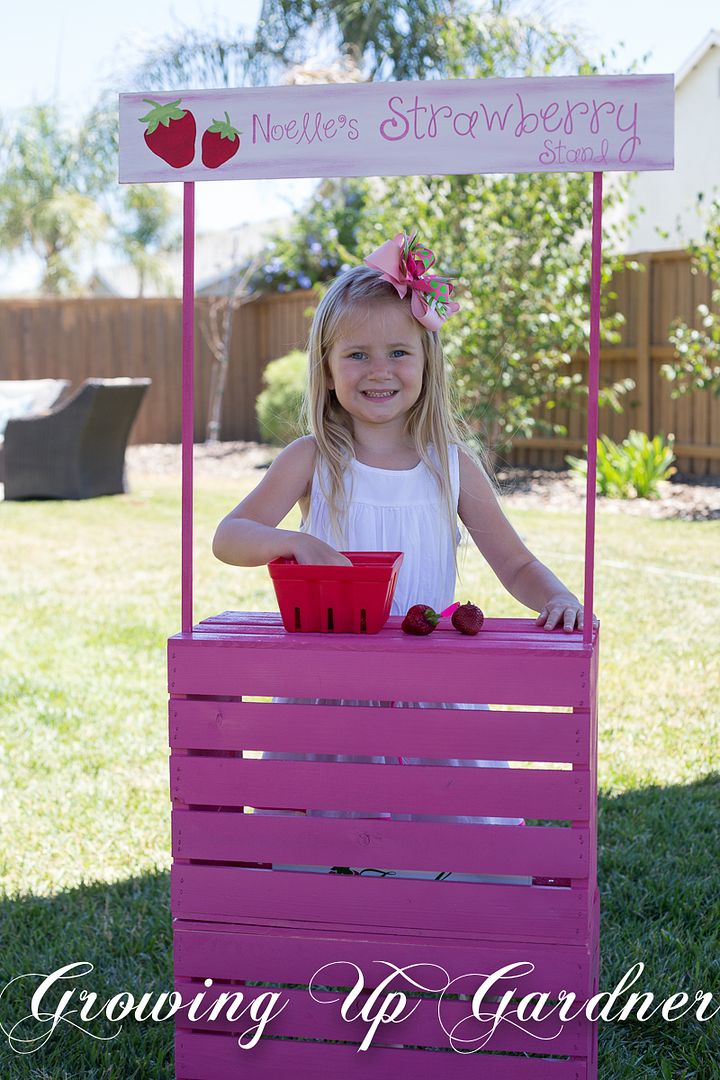
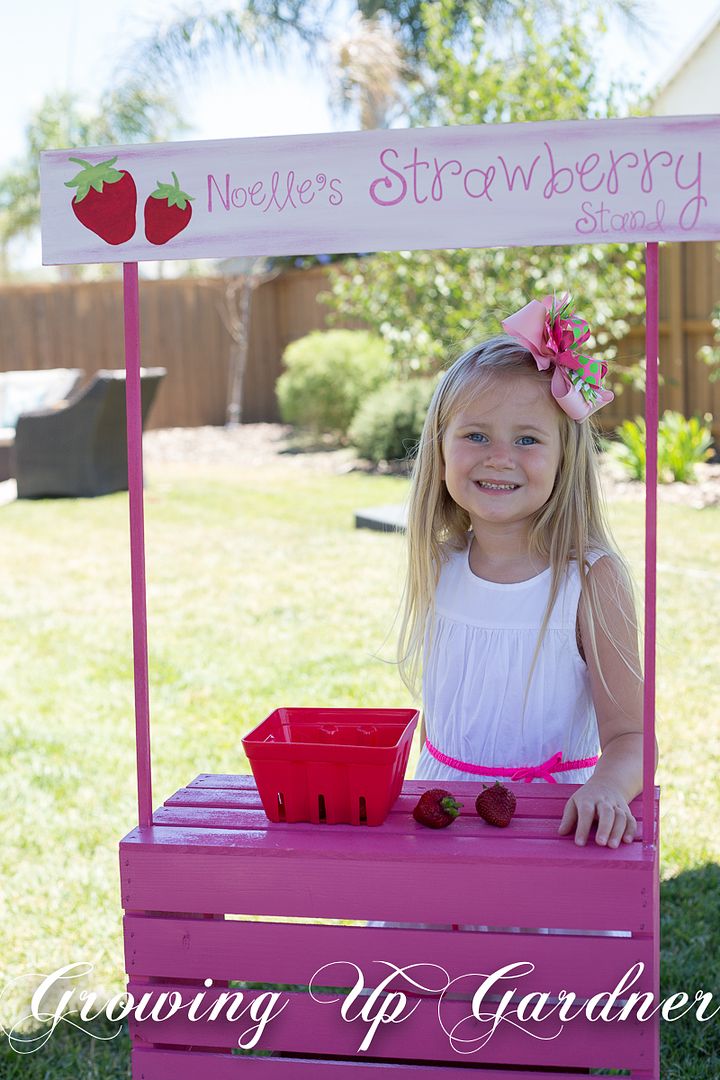
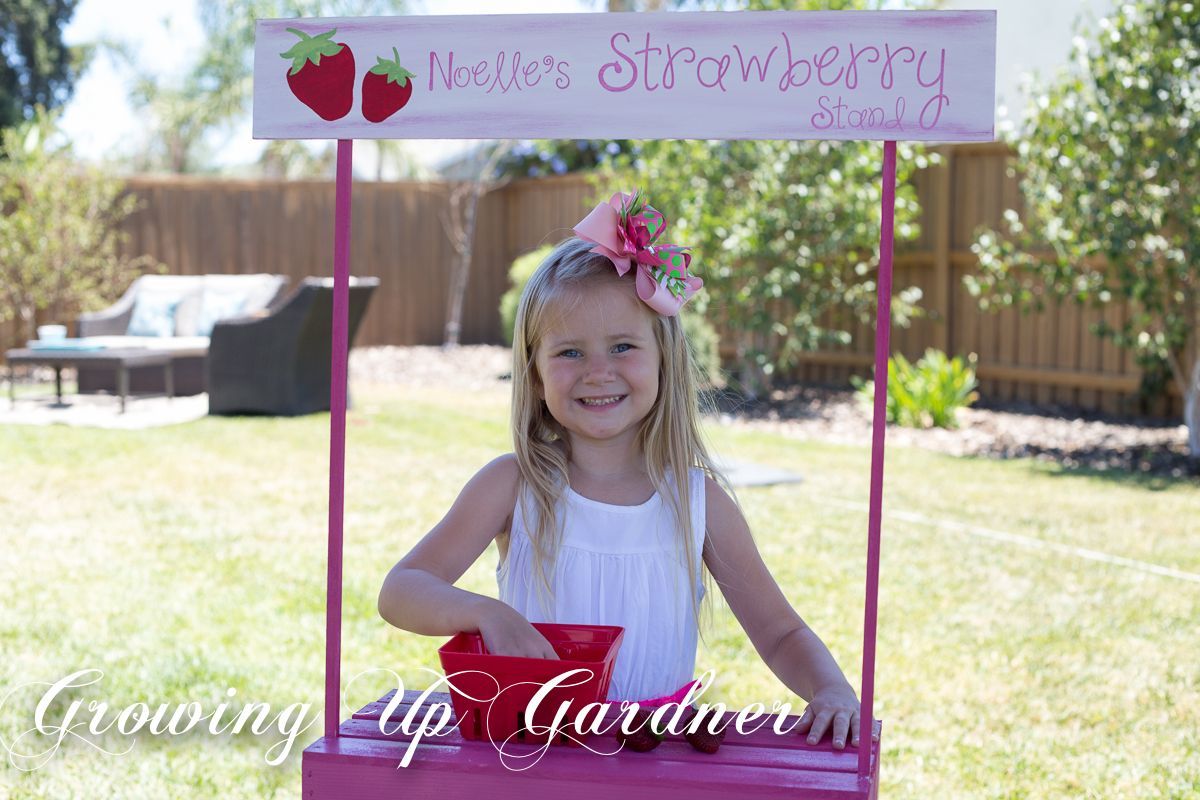
Noelle's Strawberry Stand was an easy project that she loves and plays with every day. The total cost was about $20. 
 photo strawberryparty-15.jpg

Here's what you need from Michael's:
(2) Crates - They were half off for $7 each
(2) 24" sticks
4"x 24" plywood
From Home Depot:
Berry Pink Spray Paint
Wood Screws


Once all the pieces are sprayed with paint, stack the crates and line them up. Then drill the screws through the top crate into the bottom crate. 

The 24" sticks fit perfectly snug in between the gaps on the side of the crate. Mr. G used wood glue to hold them in place. You can touch up the glue with spray paint when you're done assembling the stand.


Lastly, paint the plywood slab and use wood glue to secure it to the top of the sticks. Done! Such a cute little stand that can be used as a ticket counter for a circus party, lemonade stand, grocery store play, etc.


 photo strawberryparty-2-2.jpg

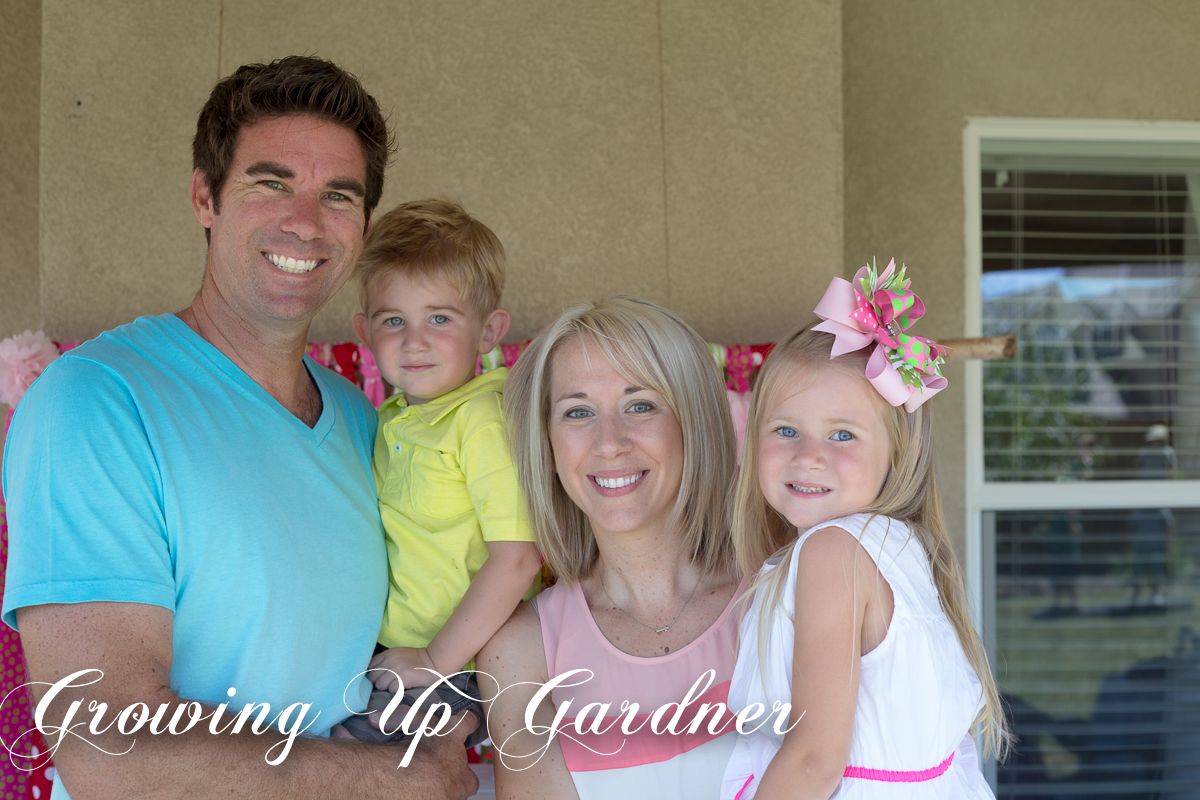
A family photo for once!
 photo strawberryparty-14.jpg

Happy 5th Birthday sweet girl! I love you so.

Tuesday, May 7, 2013

DIY Race Track Tutorial

DIY Race Track Tutorial
 photo racetrack1-11x.jpg

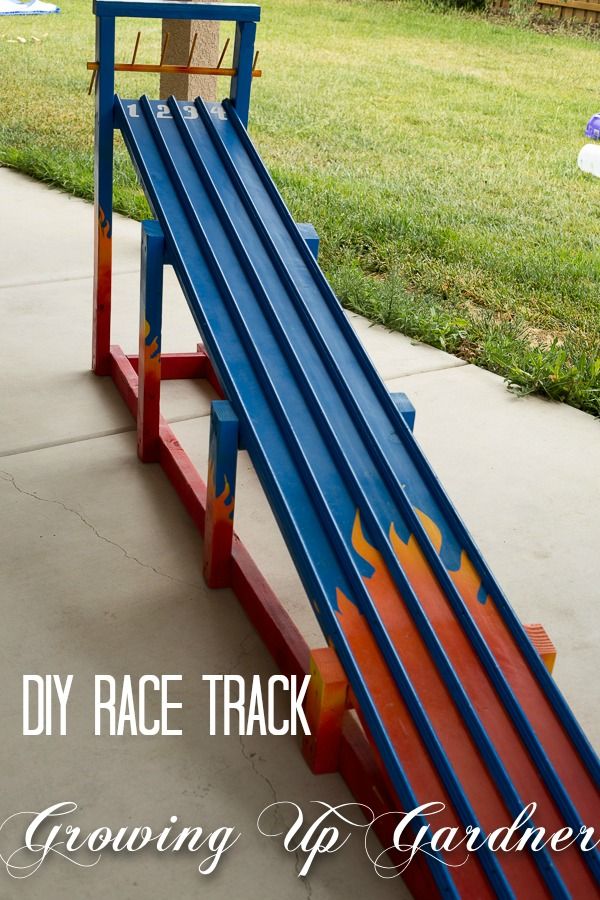
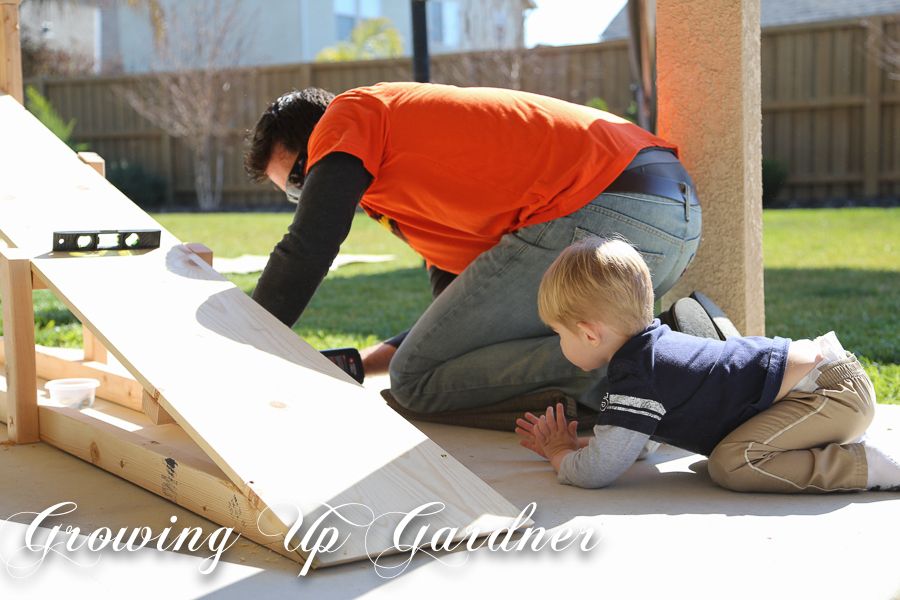
Mr. G built this awesome race track for Noah's Race Car Birthday Party. He made a quick sketch of the  track and headed to the hardware store for supplies. He tried using things we had in the garage (screws, rails, finishing nails) to keep the cost down. Including the spray paint, the total was around $60.  Here's a (mostly picture) tutorial of how he and his little helper built the track.

 photo racetrack1-22.jpg

Materials:
1x12x8 - race track ramp
2x3 pieces:
(4) 12"
16"
(2) 3' side rails
(2) 21" side rails
(2) 14" side rails
(2) 7" side rails
(2) 7'9" ground beams
8.5"
(5) 3/4 x 8ft red oak decor shelf edges
Finishing nails (for lanes)
Dry wall screws or wood screws
17.5" Large dowel
6 Small dowels
Spray Paint - Yellow, Orange, Red, Blue
Flame Stencils (I made with my Silhouette Cameo)
*Pre-Drill all holes

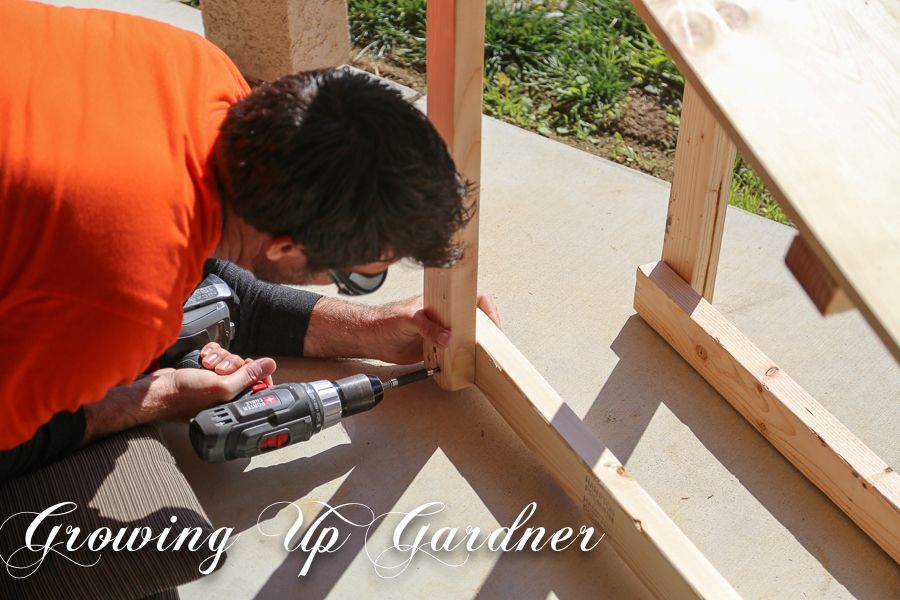
1. Take the 1x12x8 ramp and brace it with the four 12" 2x3s at 2ft, 4ft, 6ft & 8ft (8ft will be the top of the ramp). These will act as supports for the track. Drill through the 2x3s into the ramp.
 photo racetrack1-1x.jpg

2. At 2'2" (we used this measurement because it was perfect for Noah's height) drill the 3ft 2x3 side rails into the top support.

 photo racetrack1-2.jpg

3. Place the 16" 2x3 piece on top of the side rails and drill through the 2x3 into the rails.
 photo racetrack1-3x.jpg

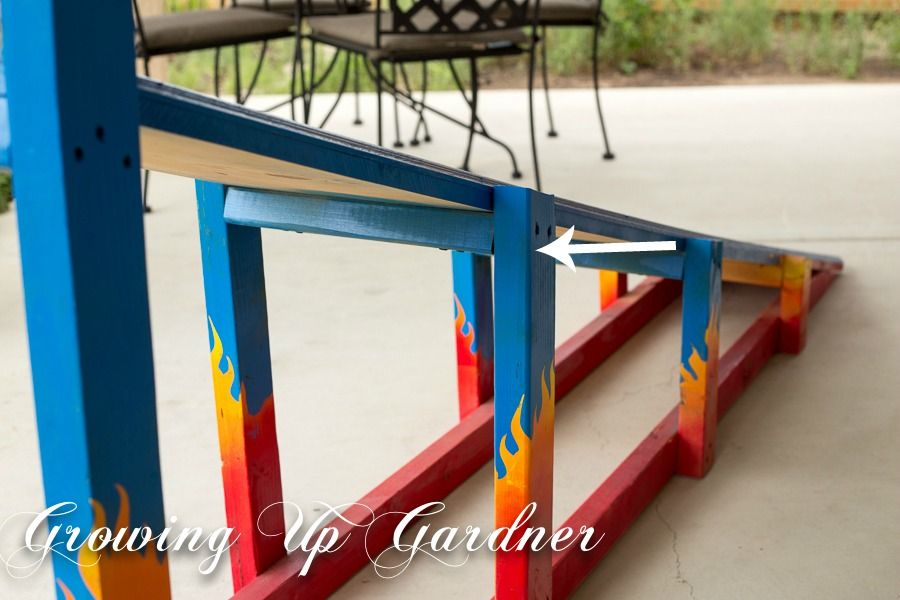
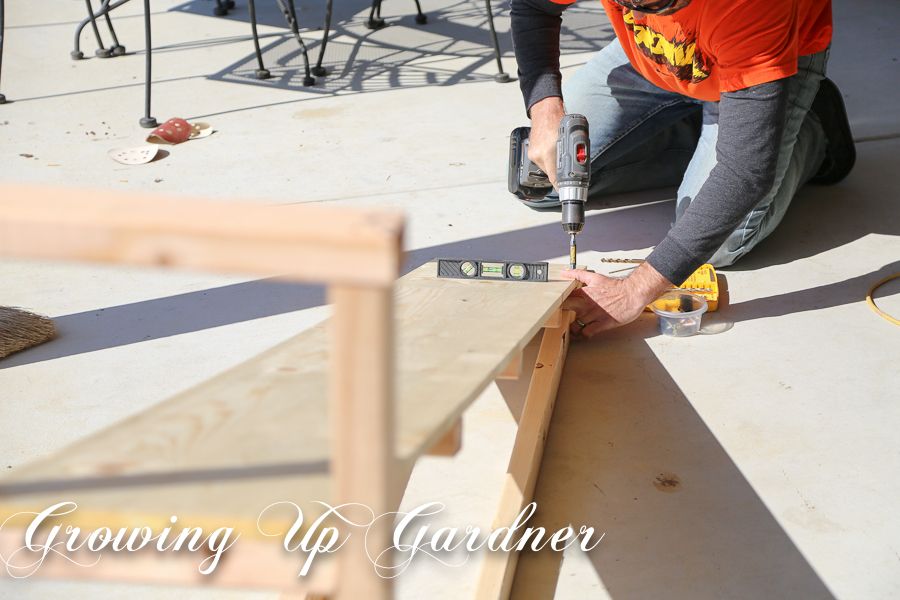
4. Now drill all side rails (6) into the support pieces (6ft, 4ft, 2ft). Keep a leveler on the ramp and continuously check to make sure the ramp stays level.
 photo racetrack1-4x.jpg

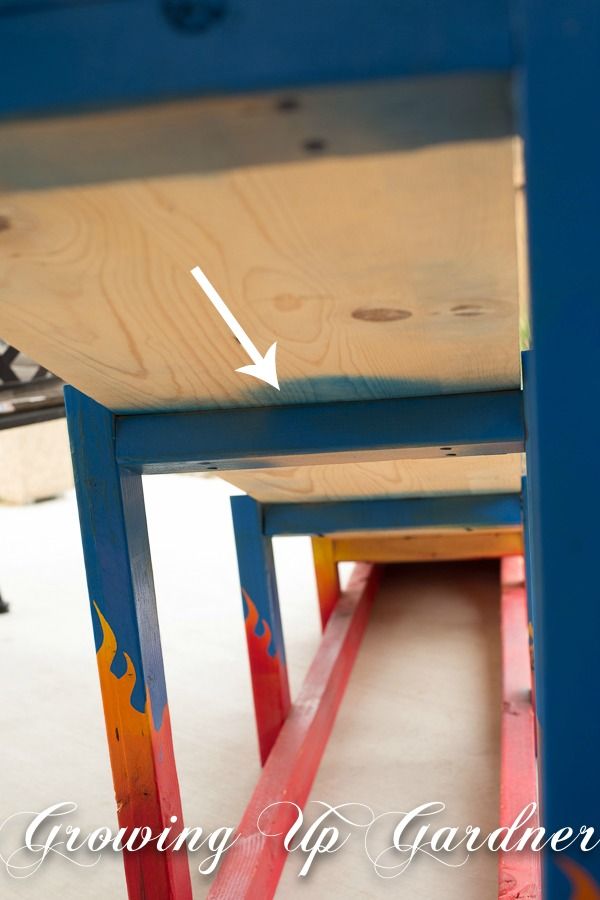
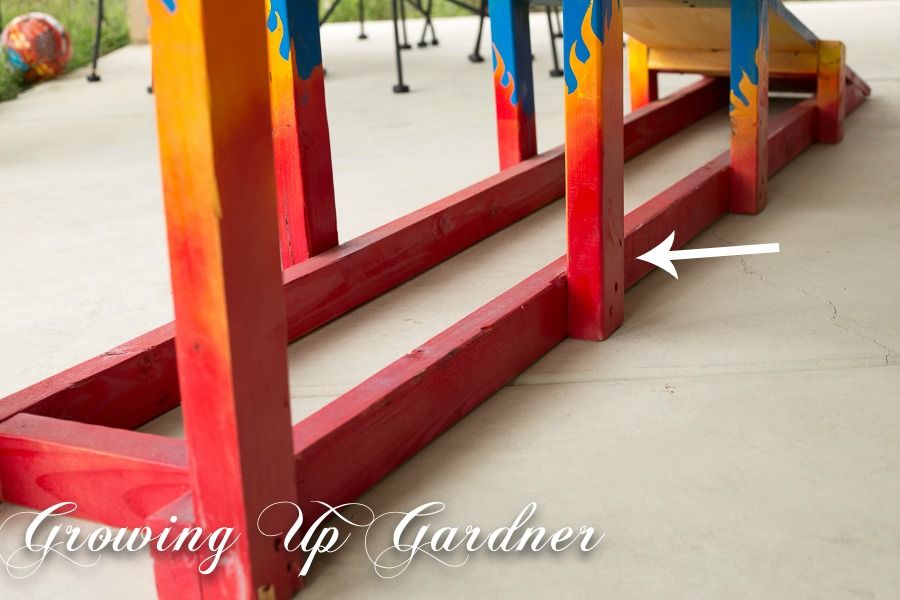
5. One of the trickier parts is the 7'9" ground stabilizer beam. It goes on the inside of the side rails, underneath the ramp.

 photo racetrack1-21.jpg

Drill through the side rails into the ground beam.
 photo racetrack1-5x.jpg

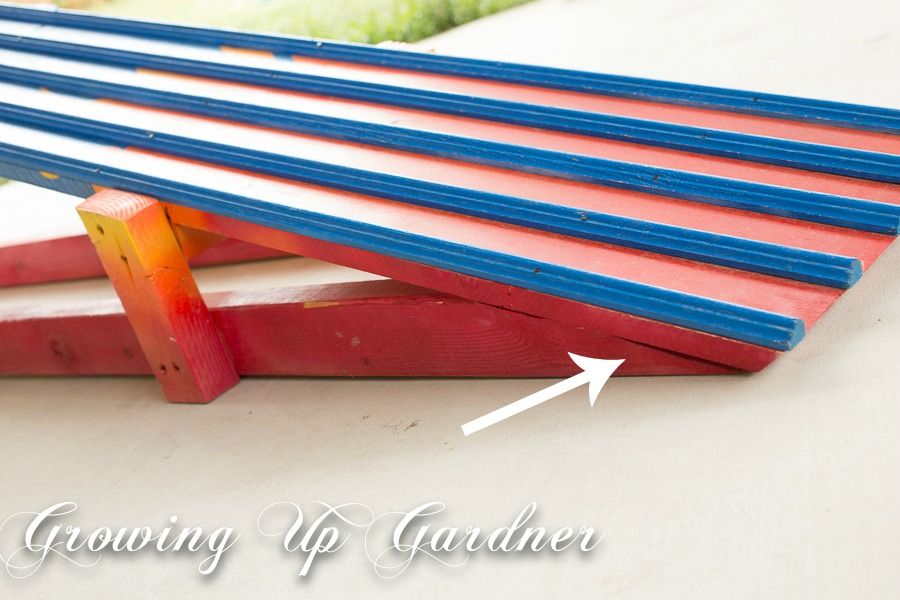
 He angled the end of the beams so they fit semi-flush with the ramp in order to drill the ramp to the beams.

 photo racetrack1-6x.jpg

Making sure that the ramp stays level while drilling.

 photo racetrack1-20.jpg

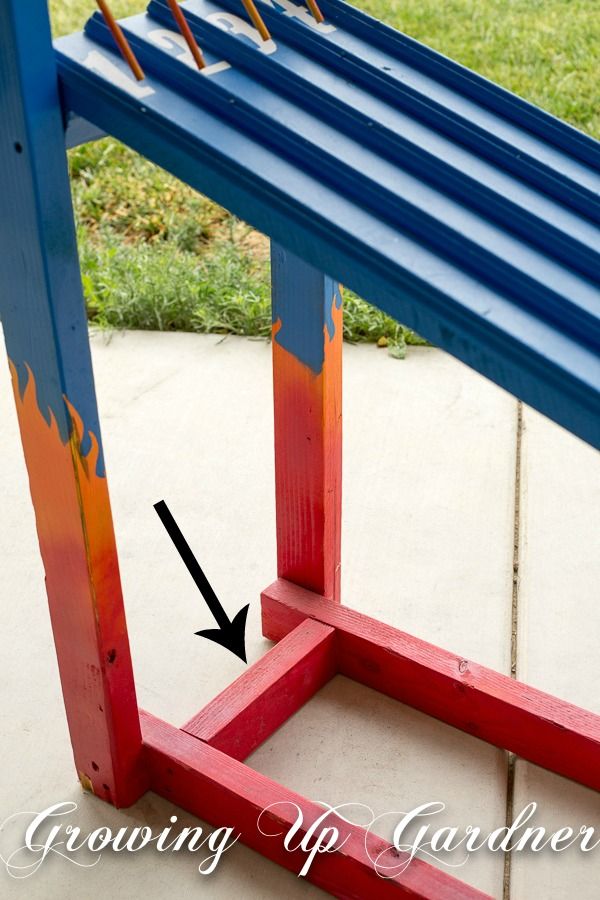
6. Use the 8.5" 2x3 piece and place it between the ground beams. Drill through the ground beams into the 2x3.

 photo racetrack1-7x.jpg

7. Using a hammer, nail the rails into the ramp to act as the lanes. We tried a nail gun but it didn't puncture through the rails. Space them evenly across the ramp (roughly 3 inches apart, compensating for the width of the rails).

 photo racetrack1-12.jpg

Last step is to paint the track. The flames were made in a few steps.
1. Spray yellow on the track
2. Add orange
3. Add red all the way to the bottom
4. Place stencil over the yellow & orange and spray the top portion blue.
5. Repeat for the side rails of the track.


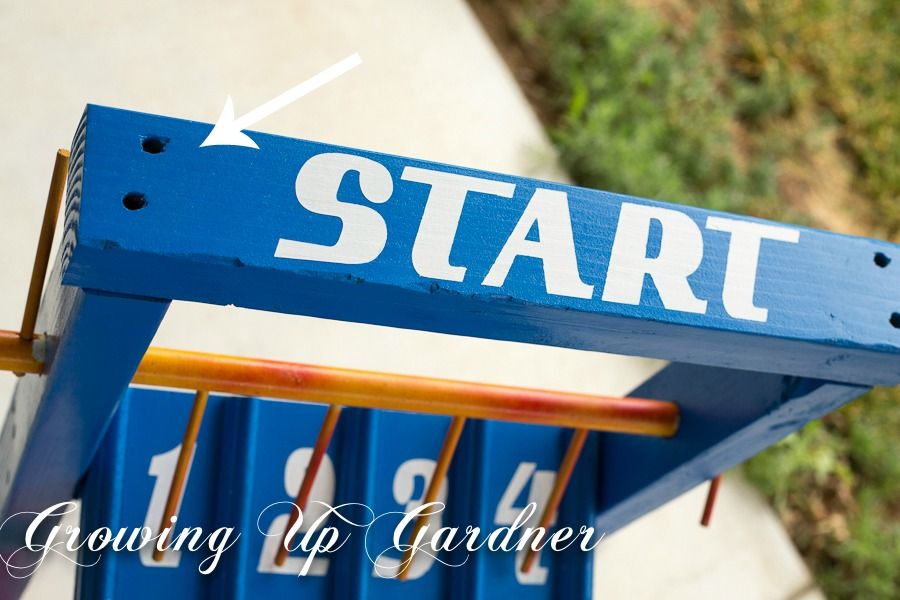
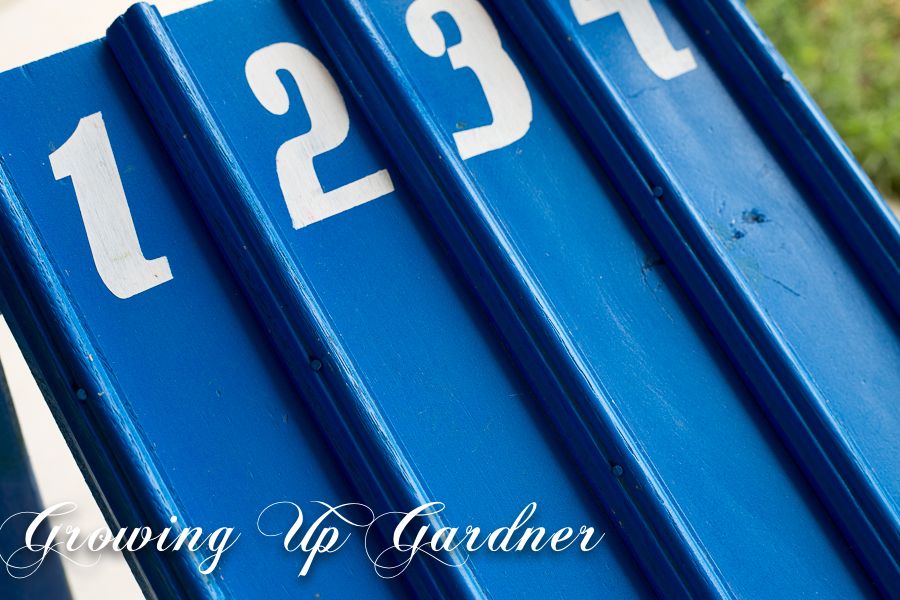
Once it was painted and completely dry, I added "START" and the lane numbers using a stencil.

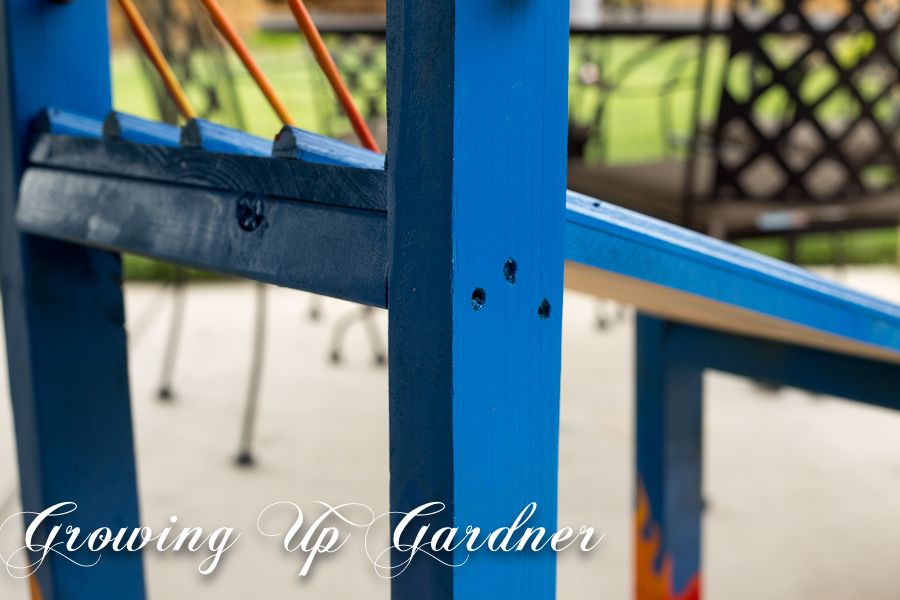
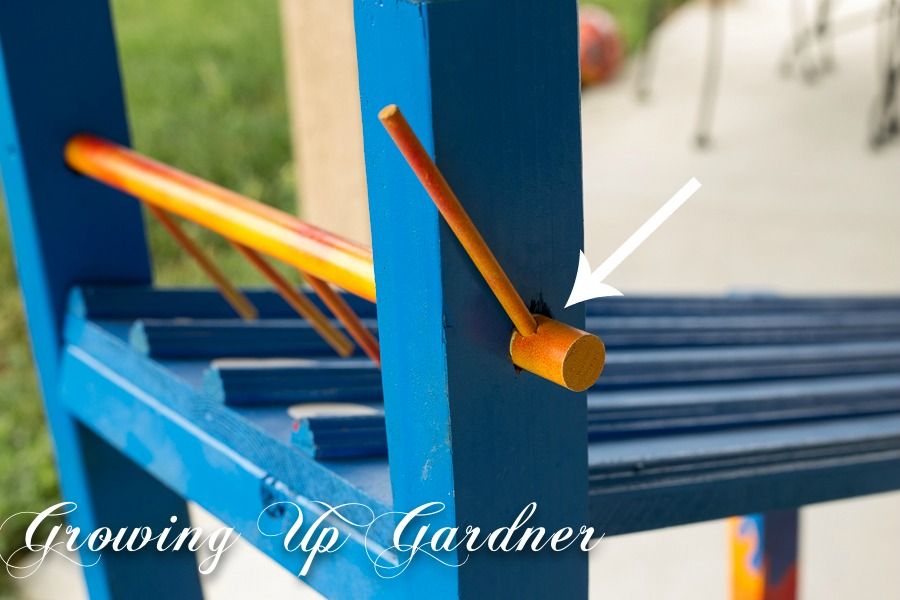
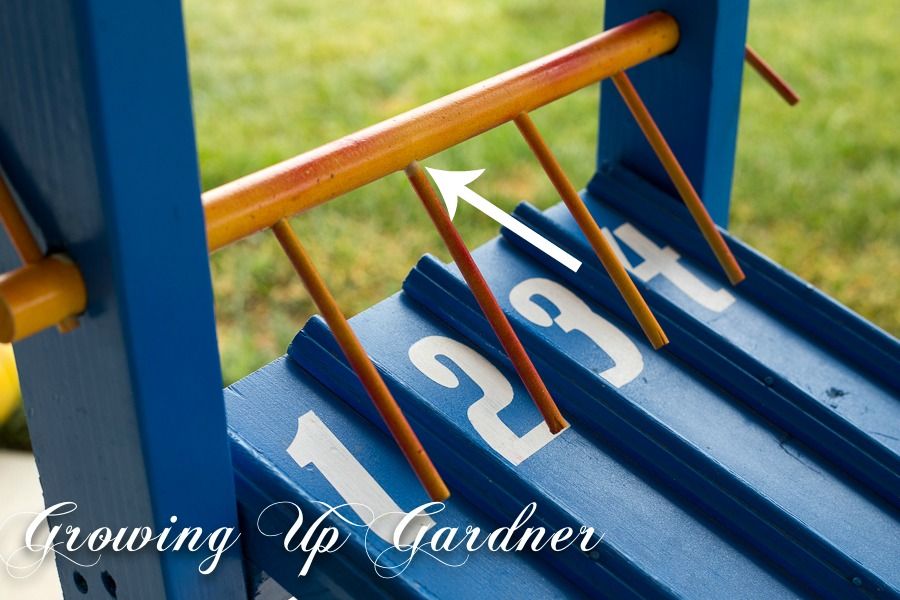
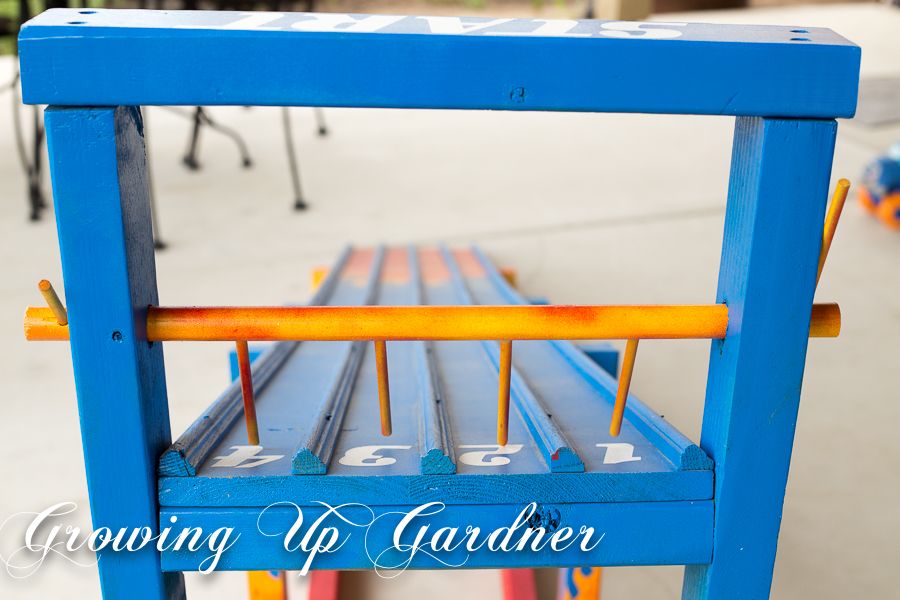
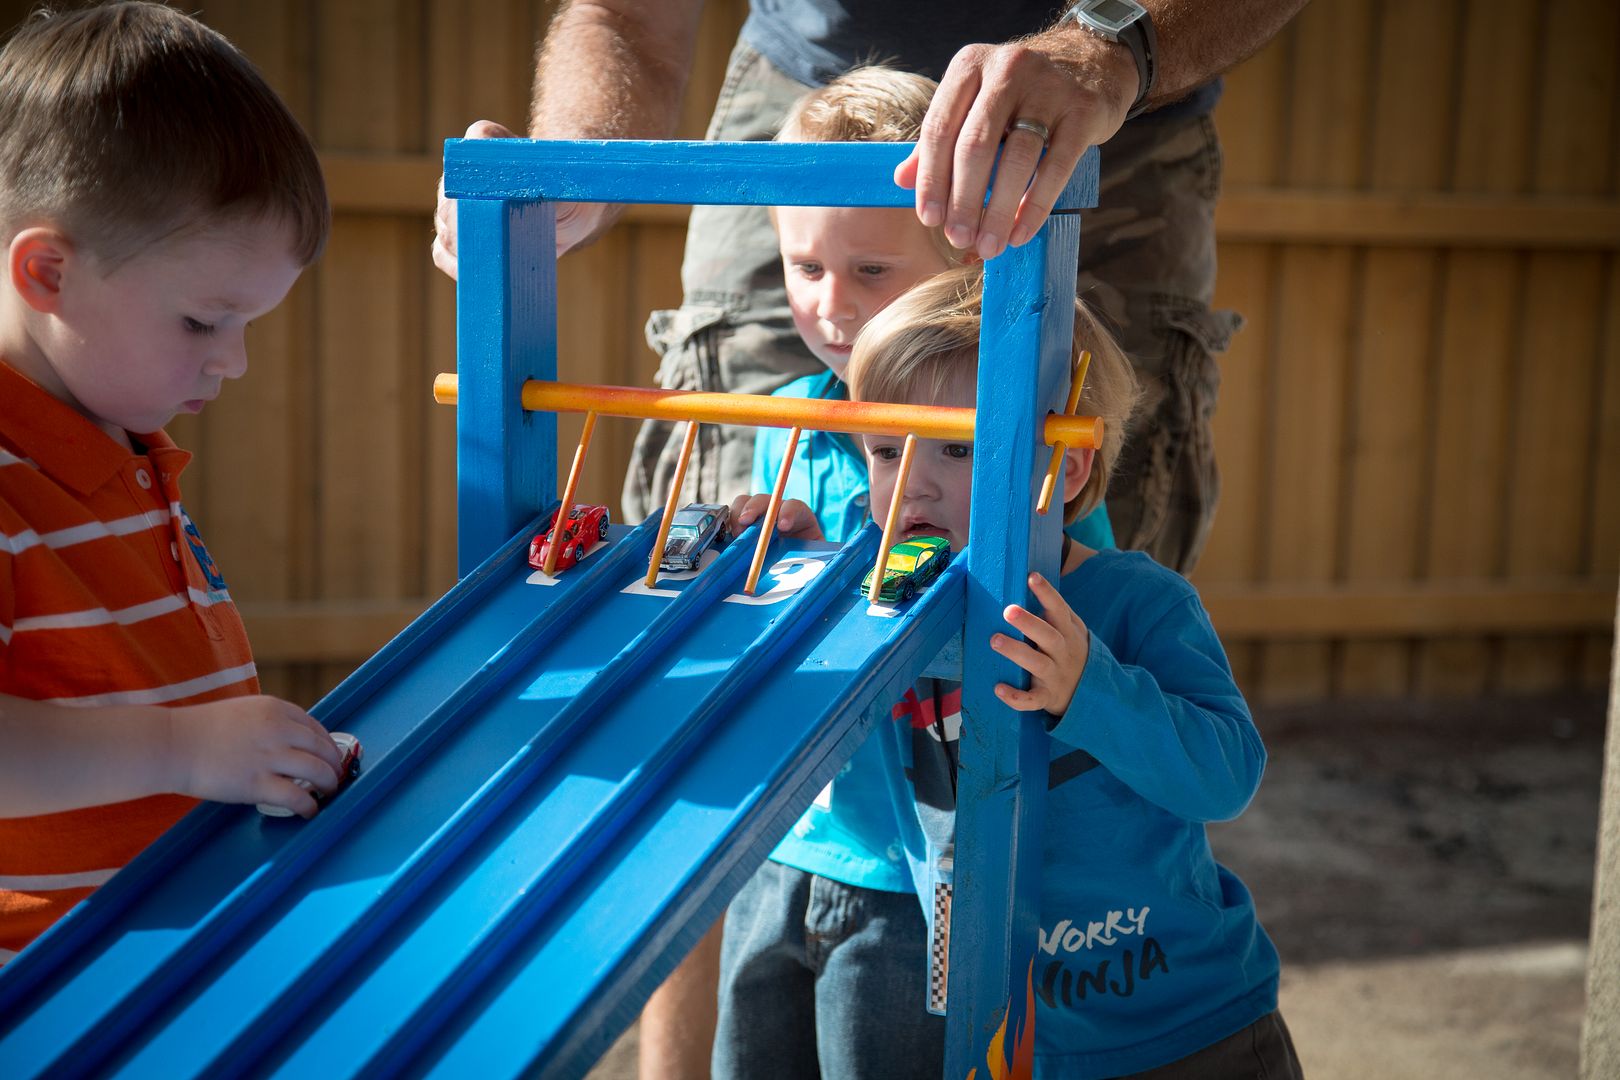
8. Optional: Car release lever.  Drill holes just larger than the width of the large dowel (approx. 3/4") through the two front side rails.

 photo racetrack1-8x.jpg

Drill 4 holes into the large dowel and push in the small dowels. The small dowels length will depend on the distance from the large dowel to the ramp. Then drill a hole at each end of the large dowel and push two small dowels through to act as the release levers.
Spray paint the dowels before adding them to the track.

 photo racetrack1-9x.jpg

And there you have it! A race track any little boy would love to have! I took these pictures 5 months after the party and it is still in good shape - just normal boy wear and tear. He plays with it every day! I'd also recommend to spray the entire track with a couple coats of clear lacquer when it's finished.

 photo racetrack1-10.jpg

Please let me know if you have any questions.
Amanda
Monday, February 18, 2013

Colorful Race Car Birthday Party- Noah is TWO!

Photobucket

My baby is now my big boy. Noah turned two on February 15th! We celebrated with a colorful race car themed party which included his favorite activities. It was a fun, exhausting, absolutely gorgeous day. We all had a blast!
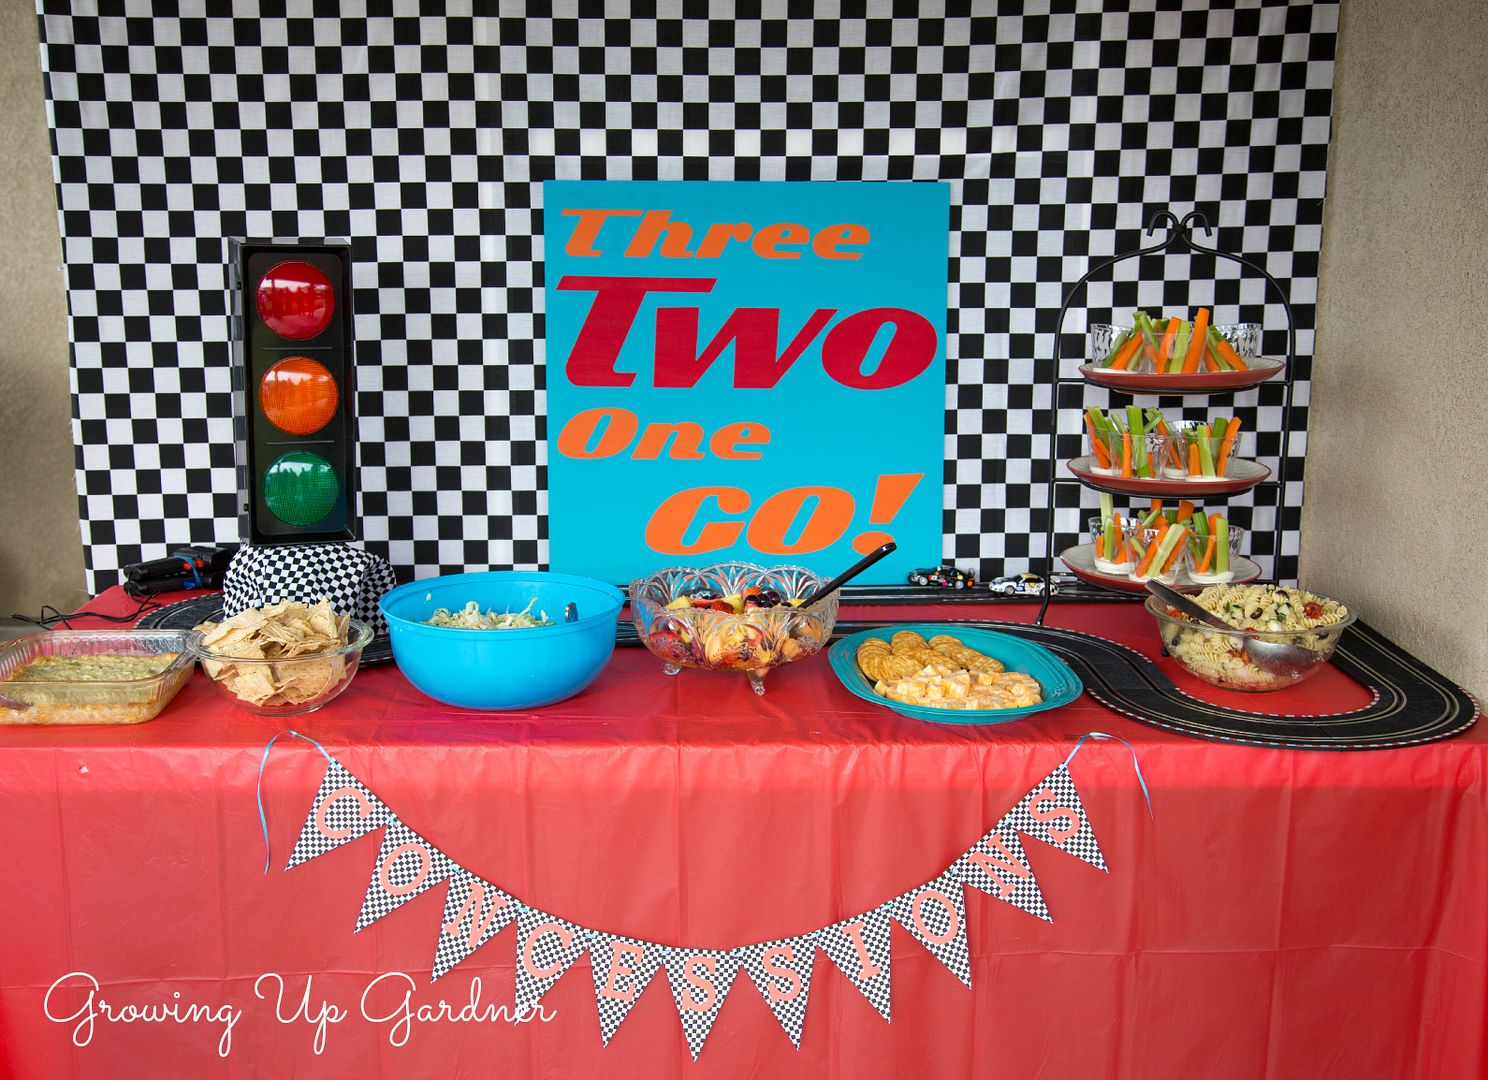
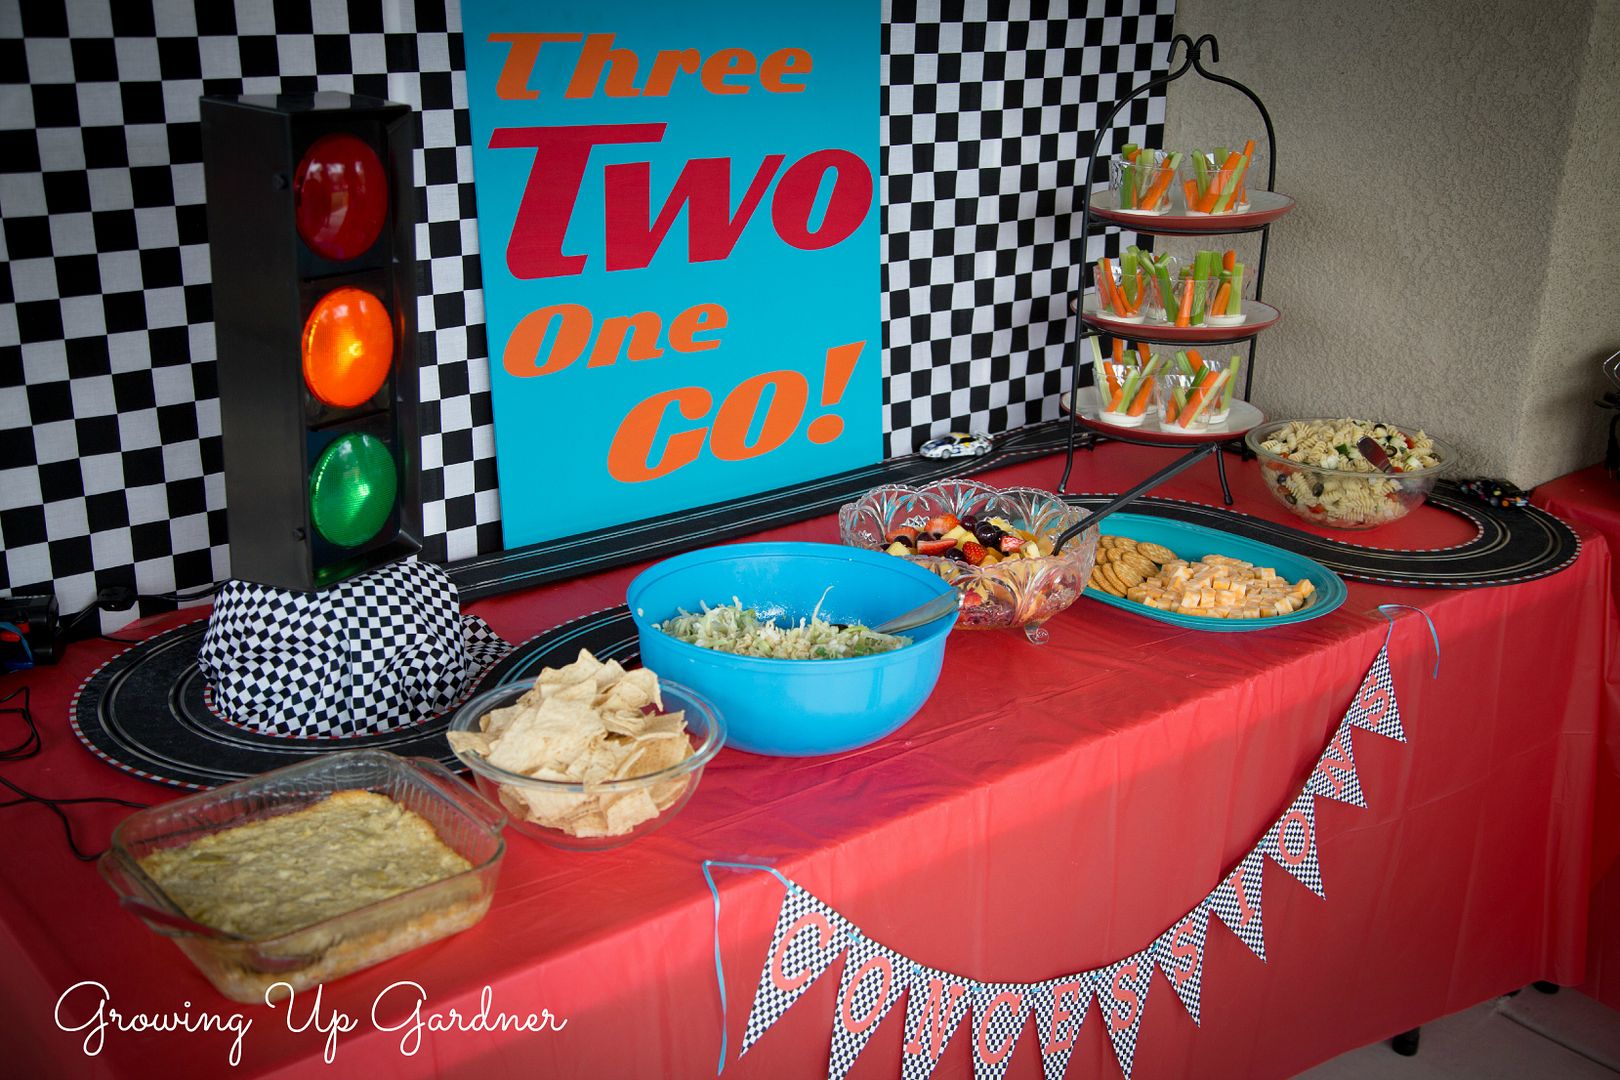
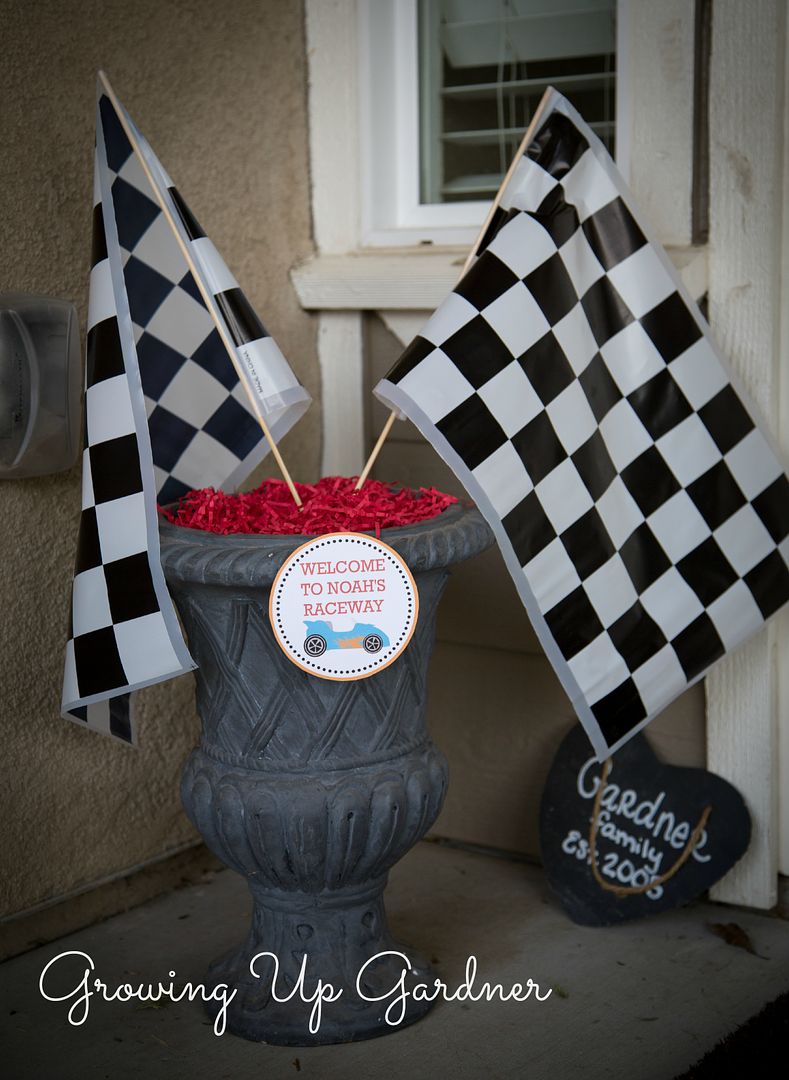
The food table is always one of the first things I plan for parties. Once we decided to go with a race car theme, I asked my dad if we could borrow his race track. Watching the cars zoom around the track was an unexpected element. I love the way it turned out.
Here's a quick clip of the race track in action.

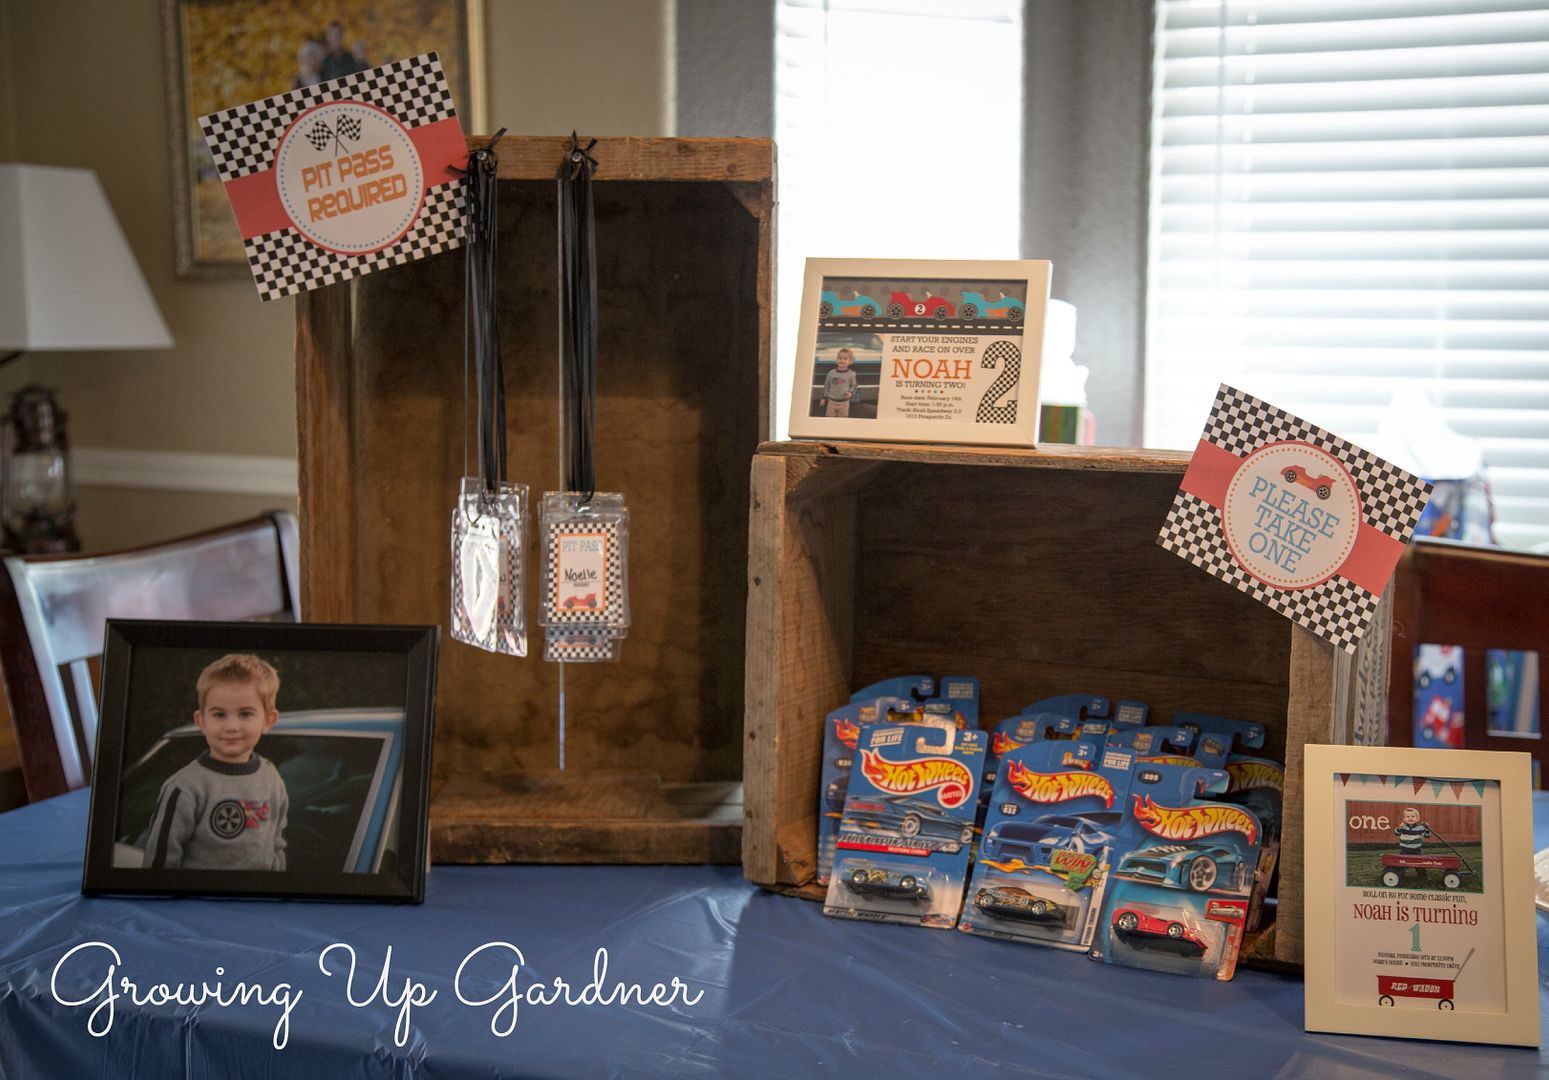
For Noah's Red Wagon first birthday party, I purchased a printable package from Dimpleprints. All of the personalized touches really made that party special so I asked Carli for help once again. She is such a pleasure to work with and customized the package to fit the colors of the party.
I made the "Three TWO One Go!" sign out of a 2ftx2ft slab of plywood. The flashing traffic light is from Amazon.

Photobucket

When the friends arrived, they grabbed a car to race on the track and an official Pit Pass. I have framed the kids birth announcements and invitations to display at their parties. I usually put them on the cake table so guests can see how they've grown.

Photobucket

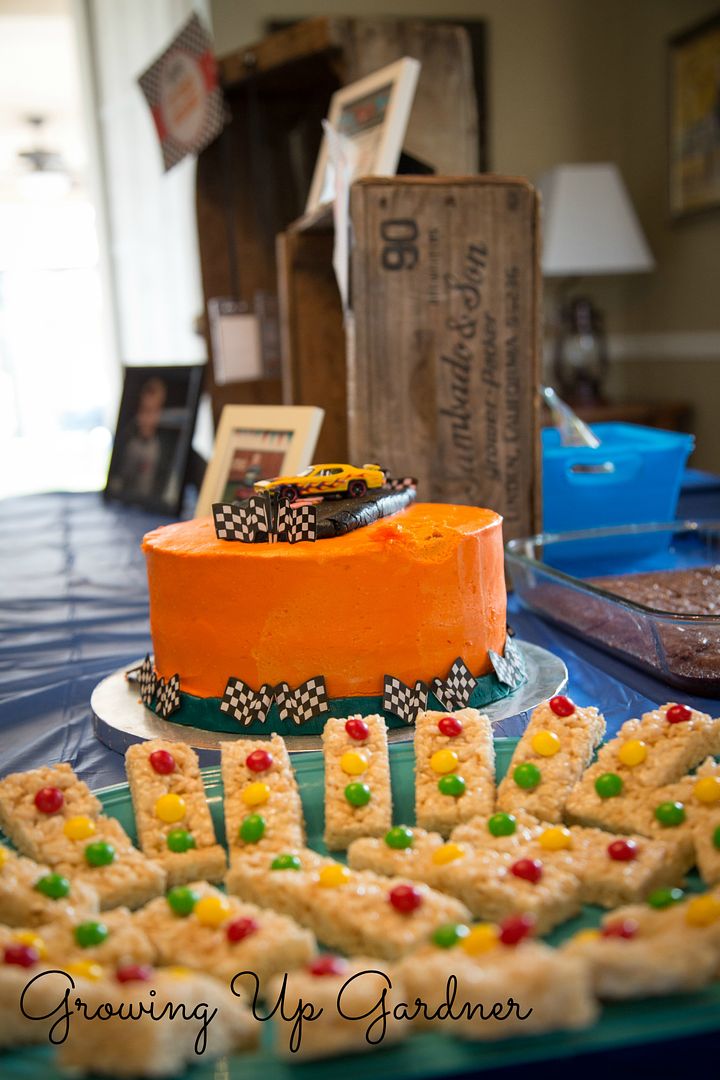
Aaron's mom, Nana, made this delicious cake. The dent in the cake is from Noah reaching up to grab the car on top. Of course it was the only car he couldn't have that day, therefore the only one he wanted. And how sweet are these stop light Rice Krispies treats?

Photobucket

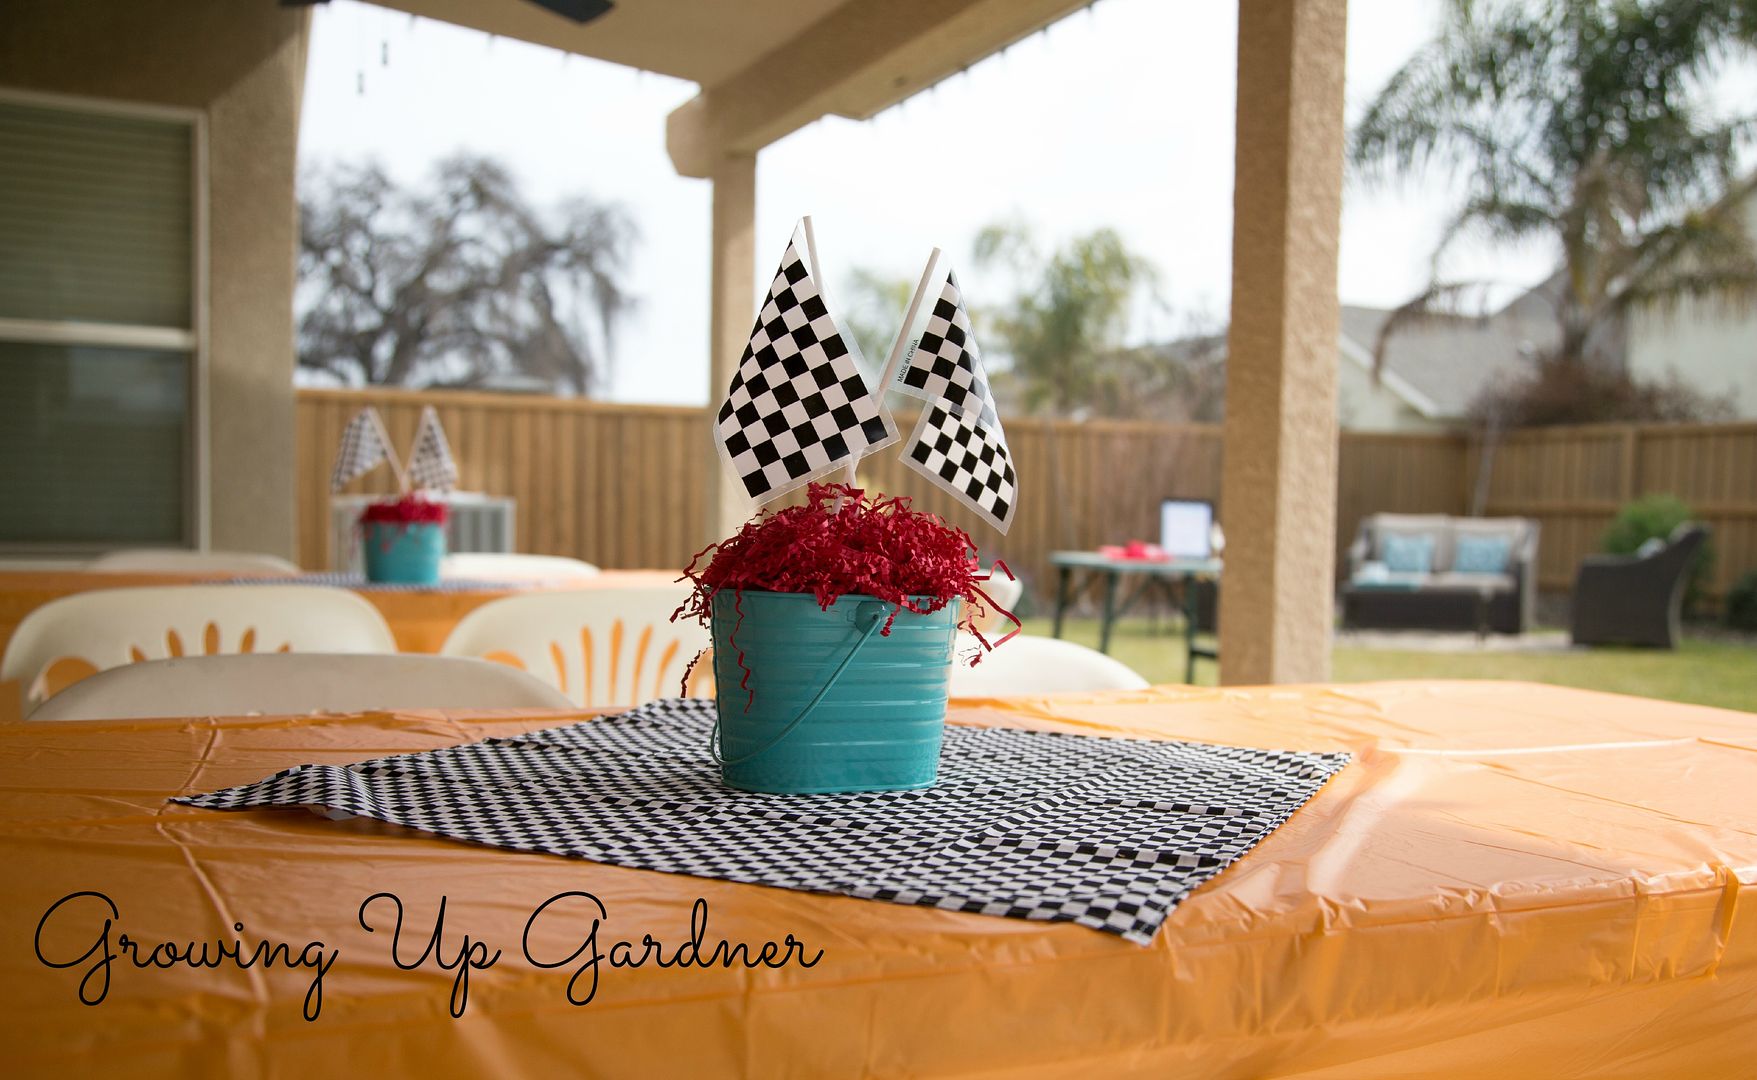
The weather was amazing, a huge blessing since we partied outside. 
Photobucket

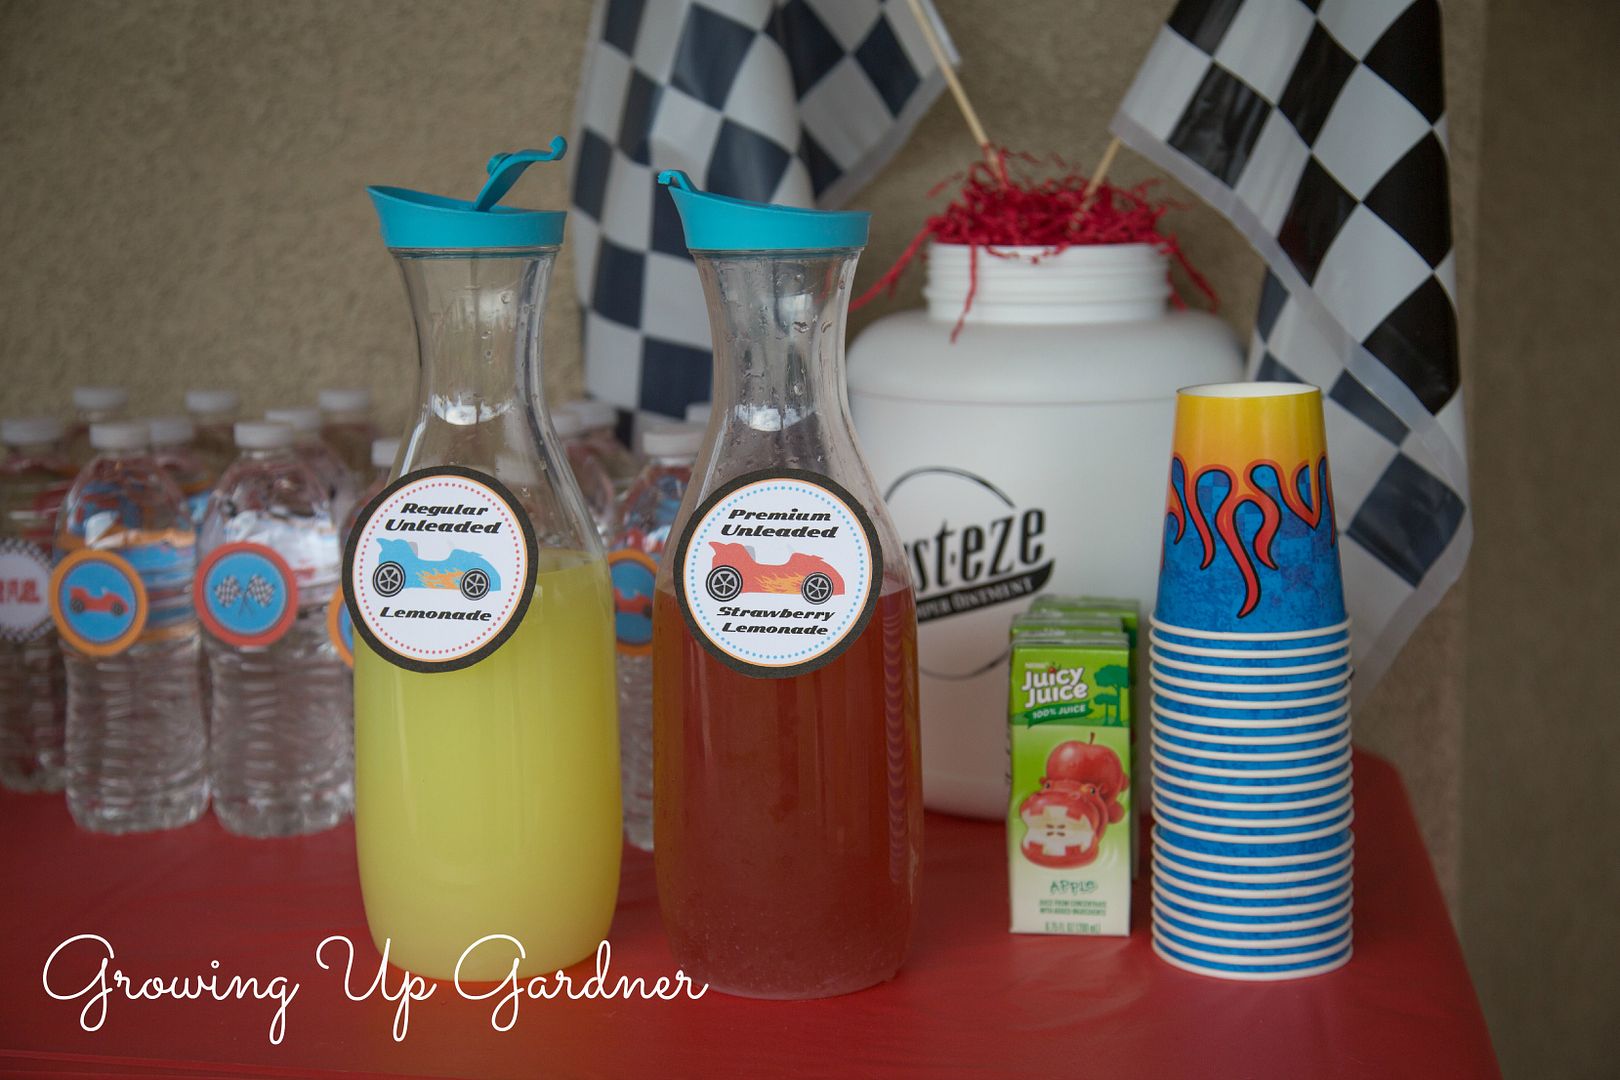
I mentioned in Noah's birthday post that he loves the movie Cars. There were a few touches of Cars here and there. The "Rust-eze" tub is made from one of Aaron's empty Muscle Milk containers. I cut out the logo with the Silhouette machine using black vinyl. More printables from the race car package. I used the cupcake toppers for the water bottles and added text on a couple of the larger circles for the drink pitchers.

Photobucket

A successful party keeps the kiddos busy having fun. And when the kids are having a good time, the parents are able to enjoy their time as well. I set up four "stations" of activities for the party.
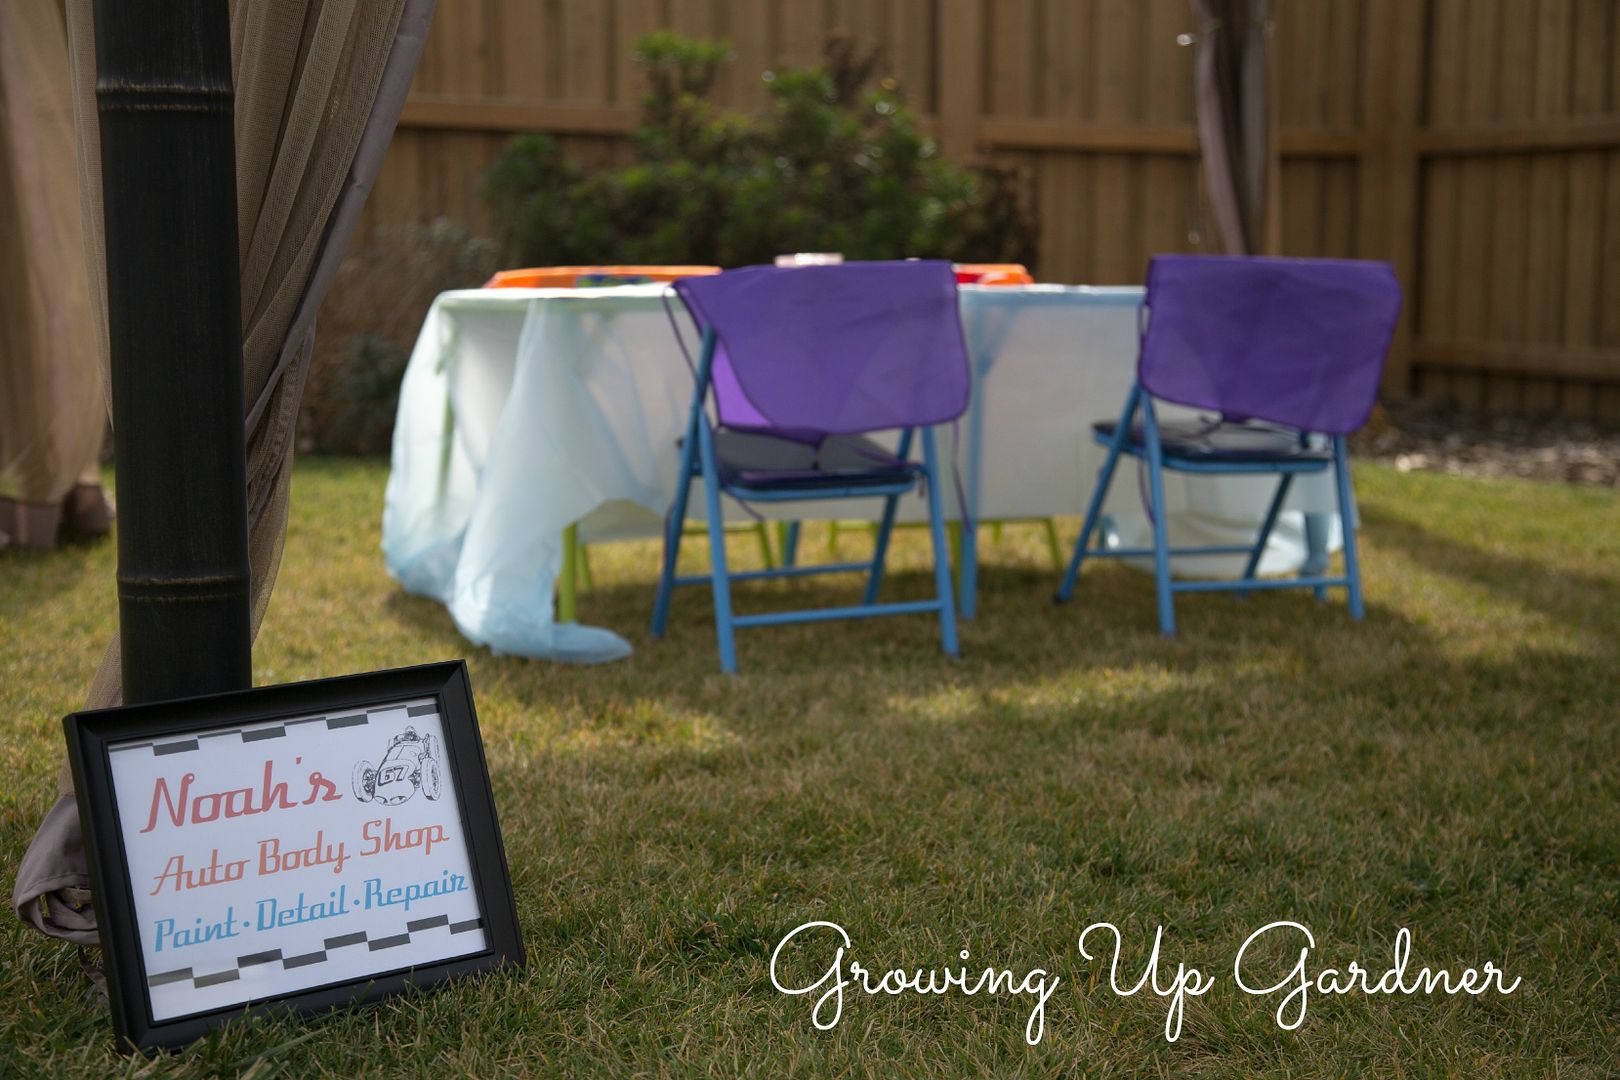
1. Noah's Auto Body Shop
Photobucket

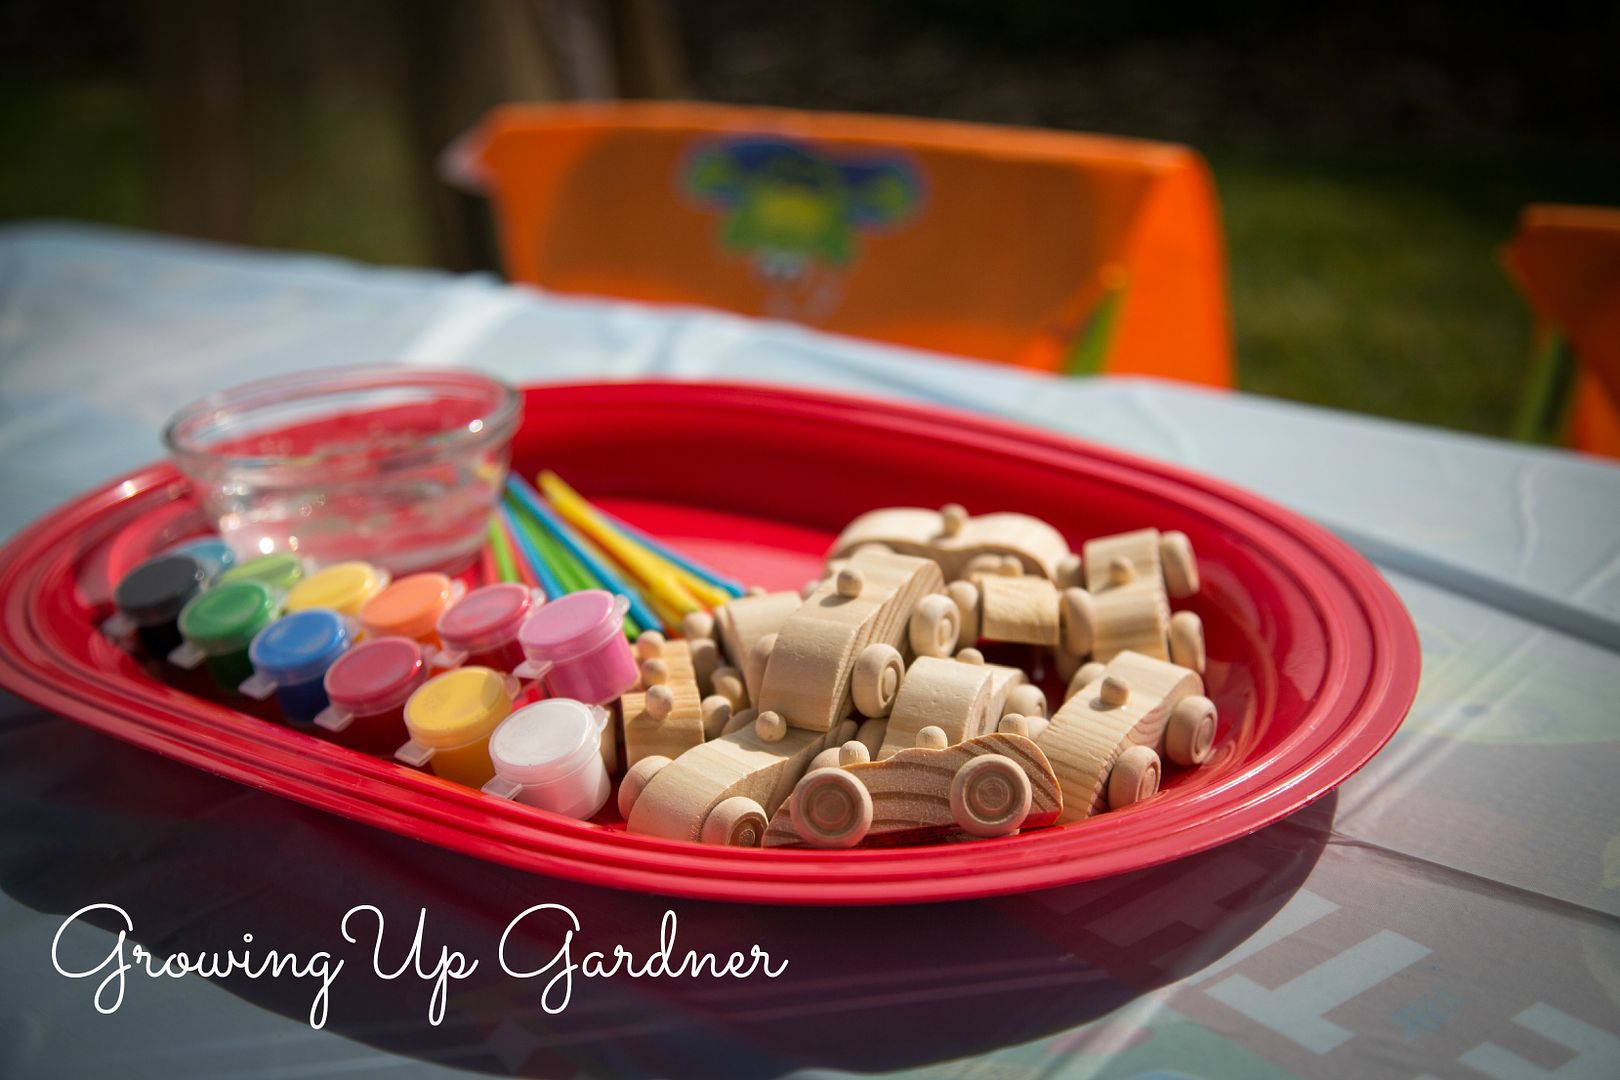
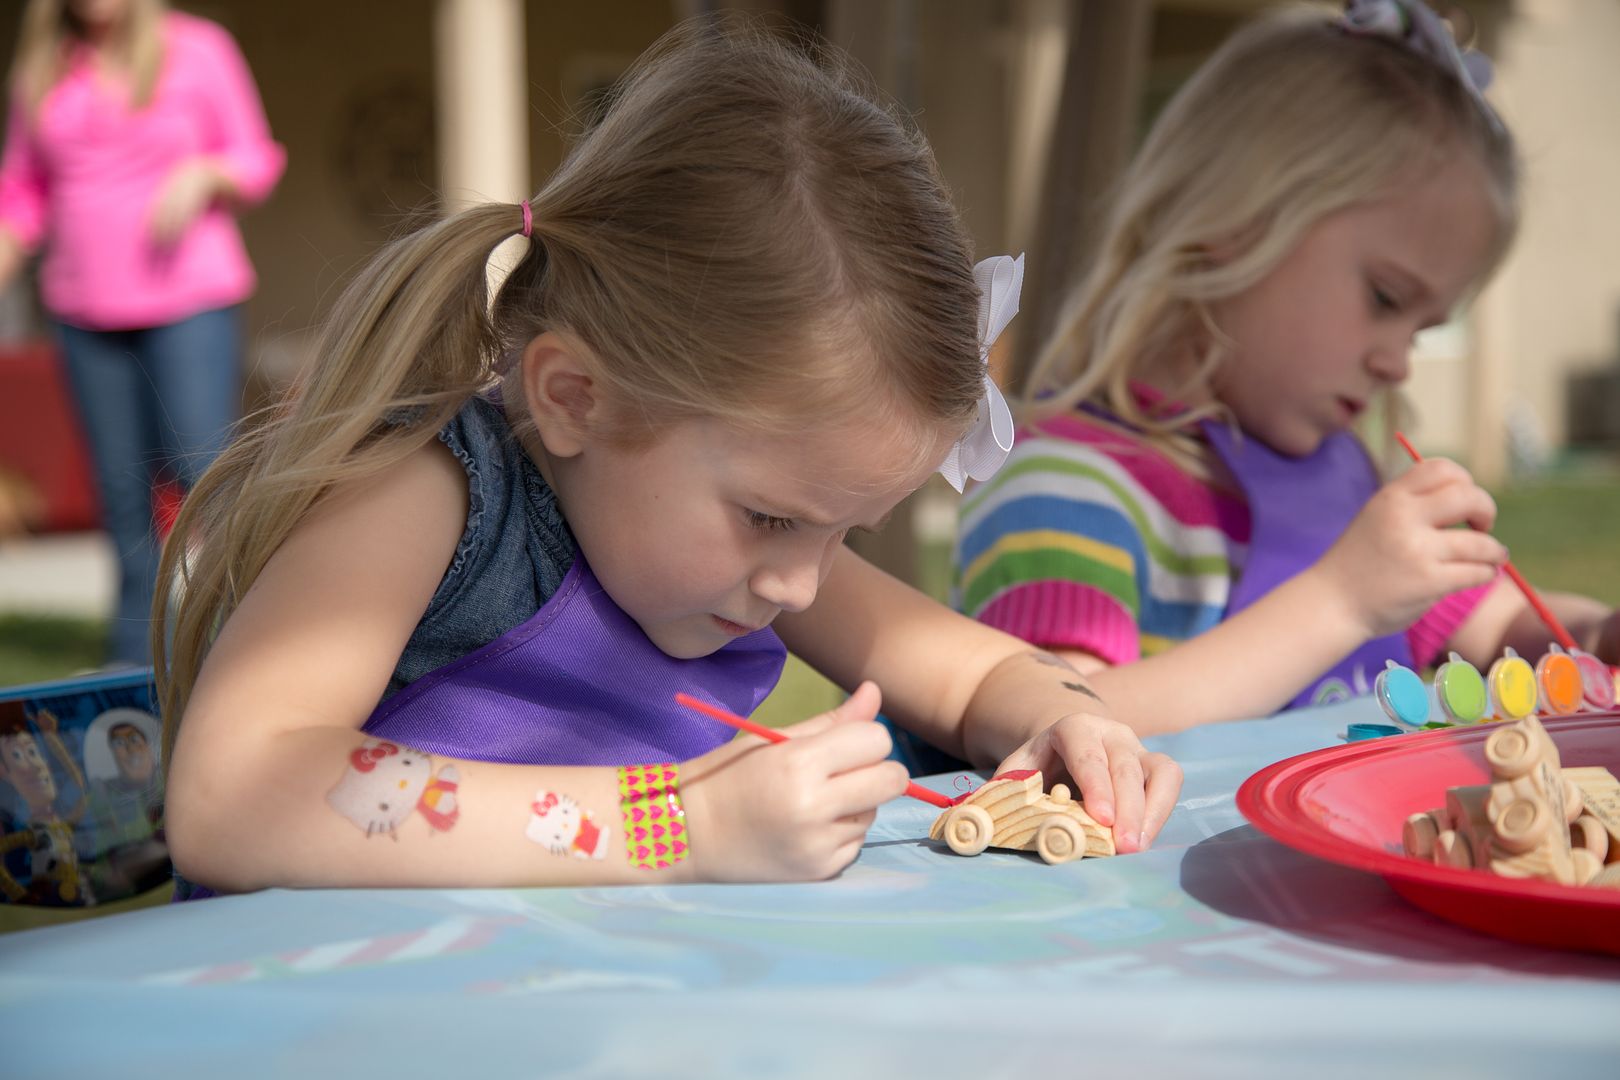
The kids painted mini cars (Oriental Trading Company). I picked up the acrylic paint and brushes from Michael's. The aprons are from the Dollar Tree.
Photobucket

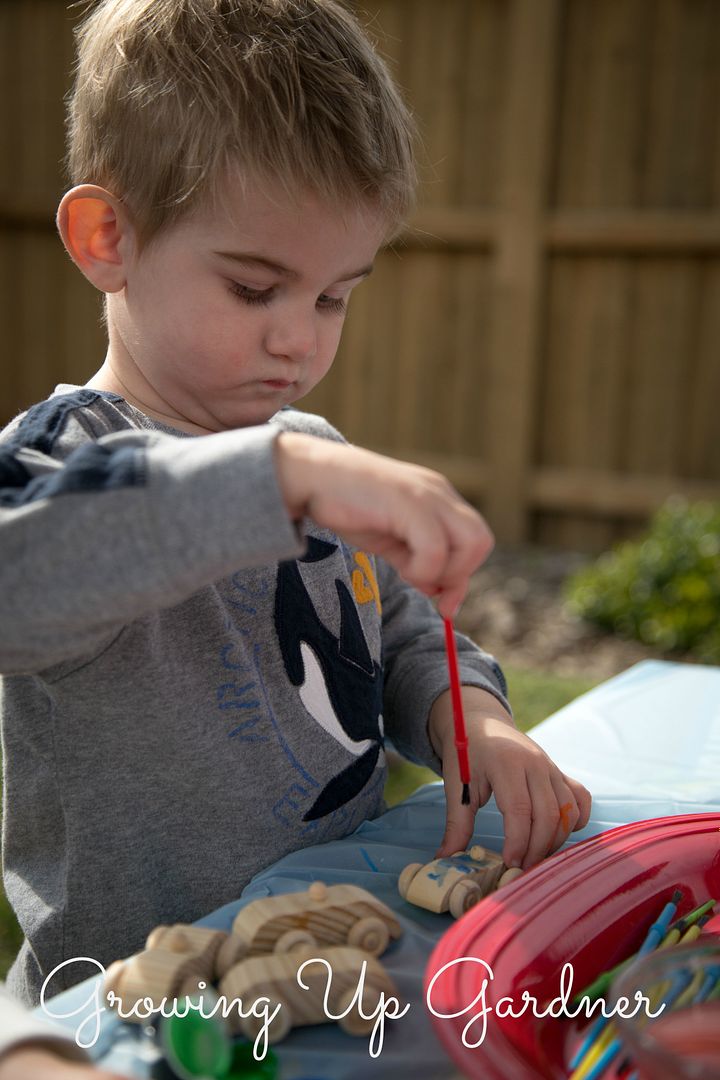
Noah very seriously painted three cars. Then came back to paint another one.
Photobucket

Noelle is a bit of a perfectionist. Wonder where she gets it...
Photobucket

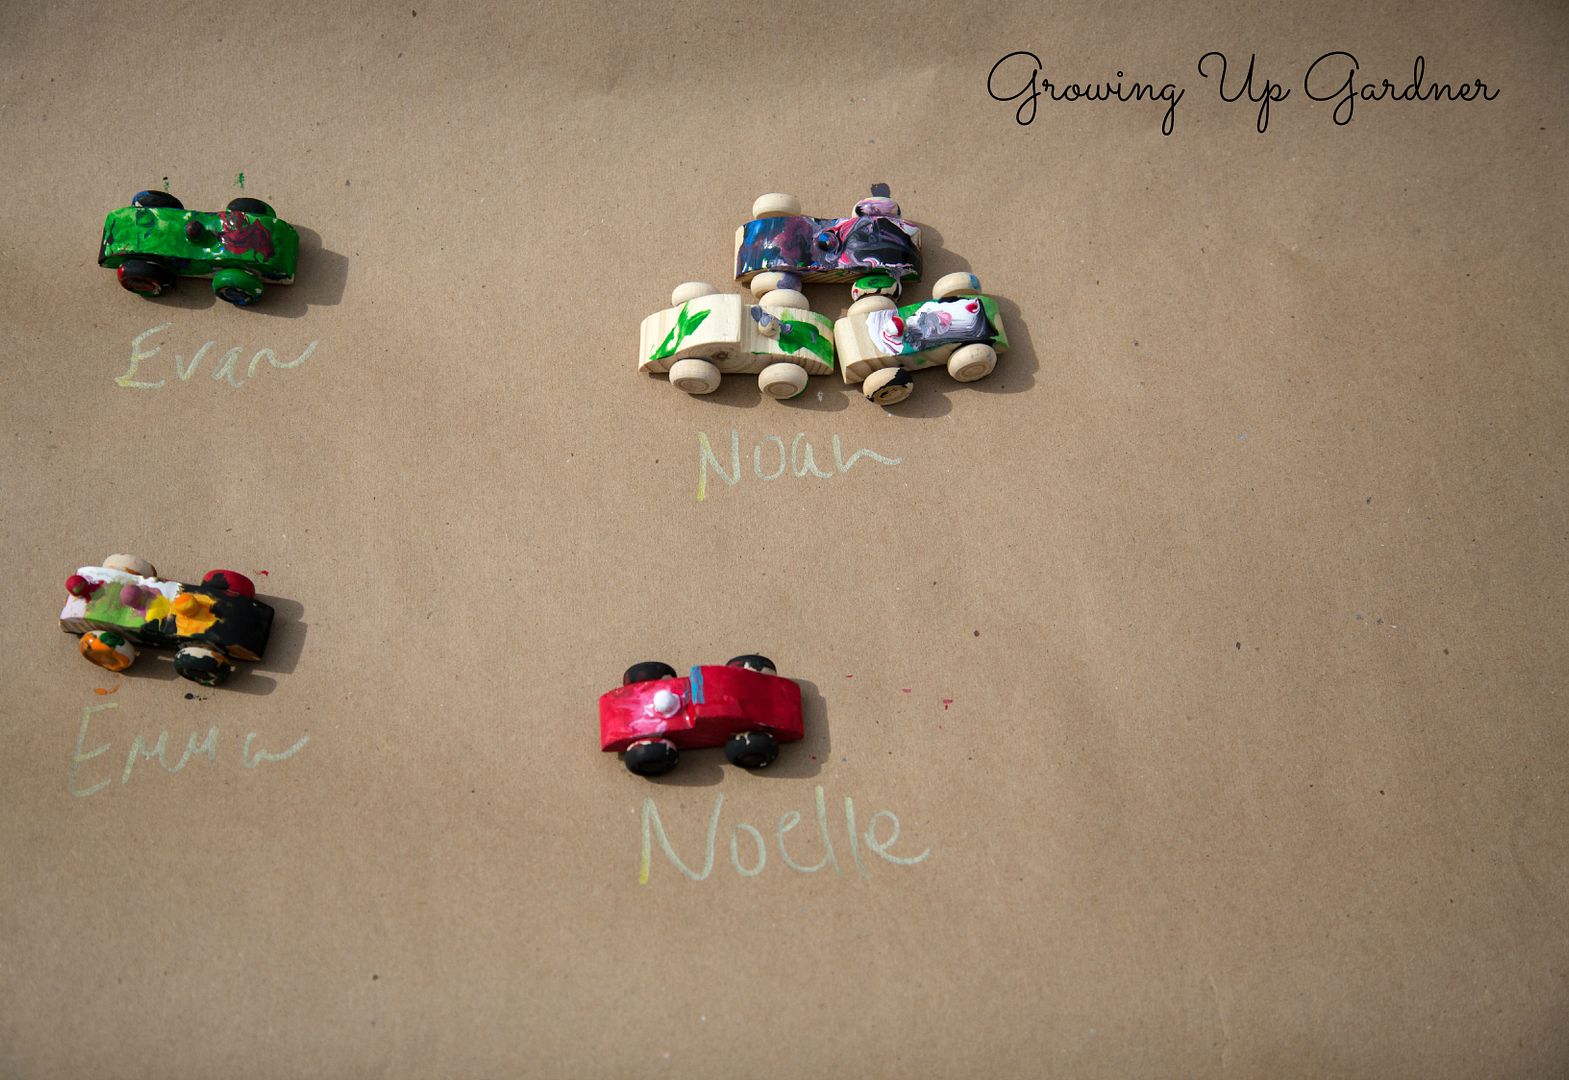
The cars dried in the sunshine on brown construction paper.
Photobucket

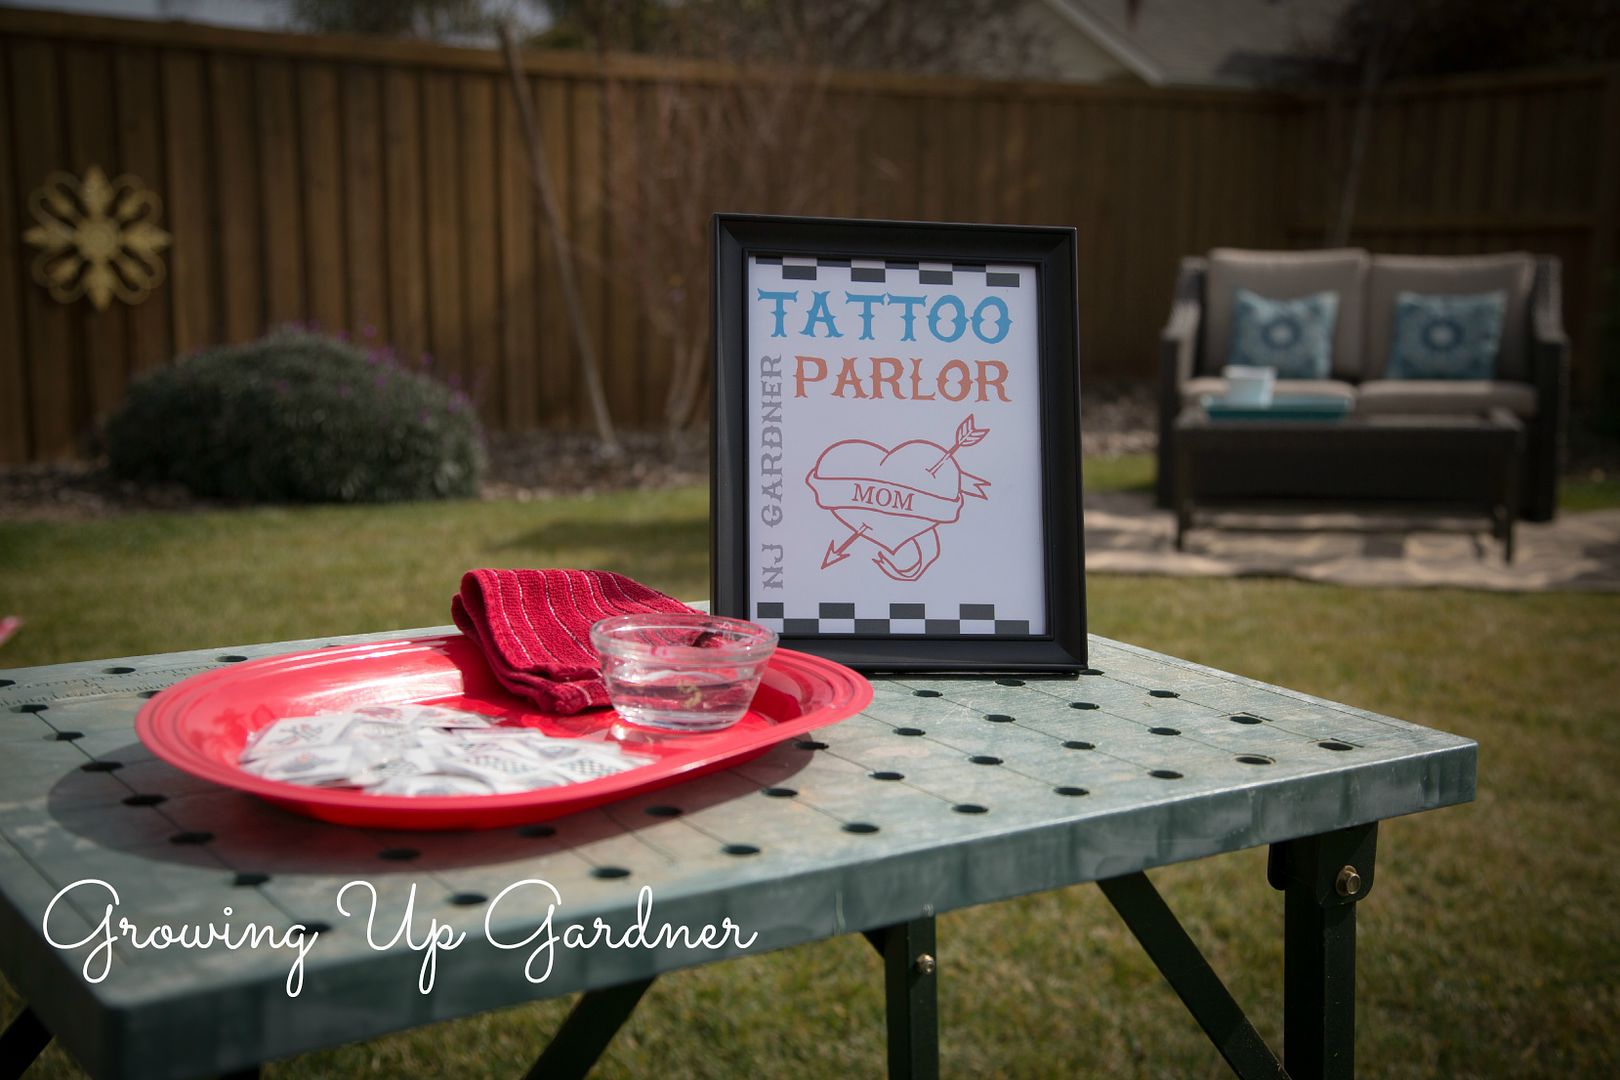
2. NJ Gardner Tattoo Parlor
Photobucket

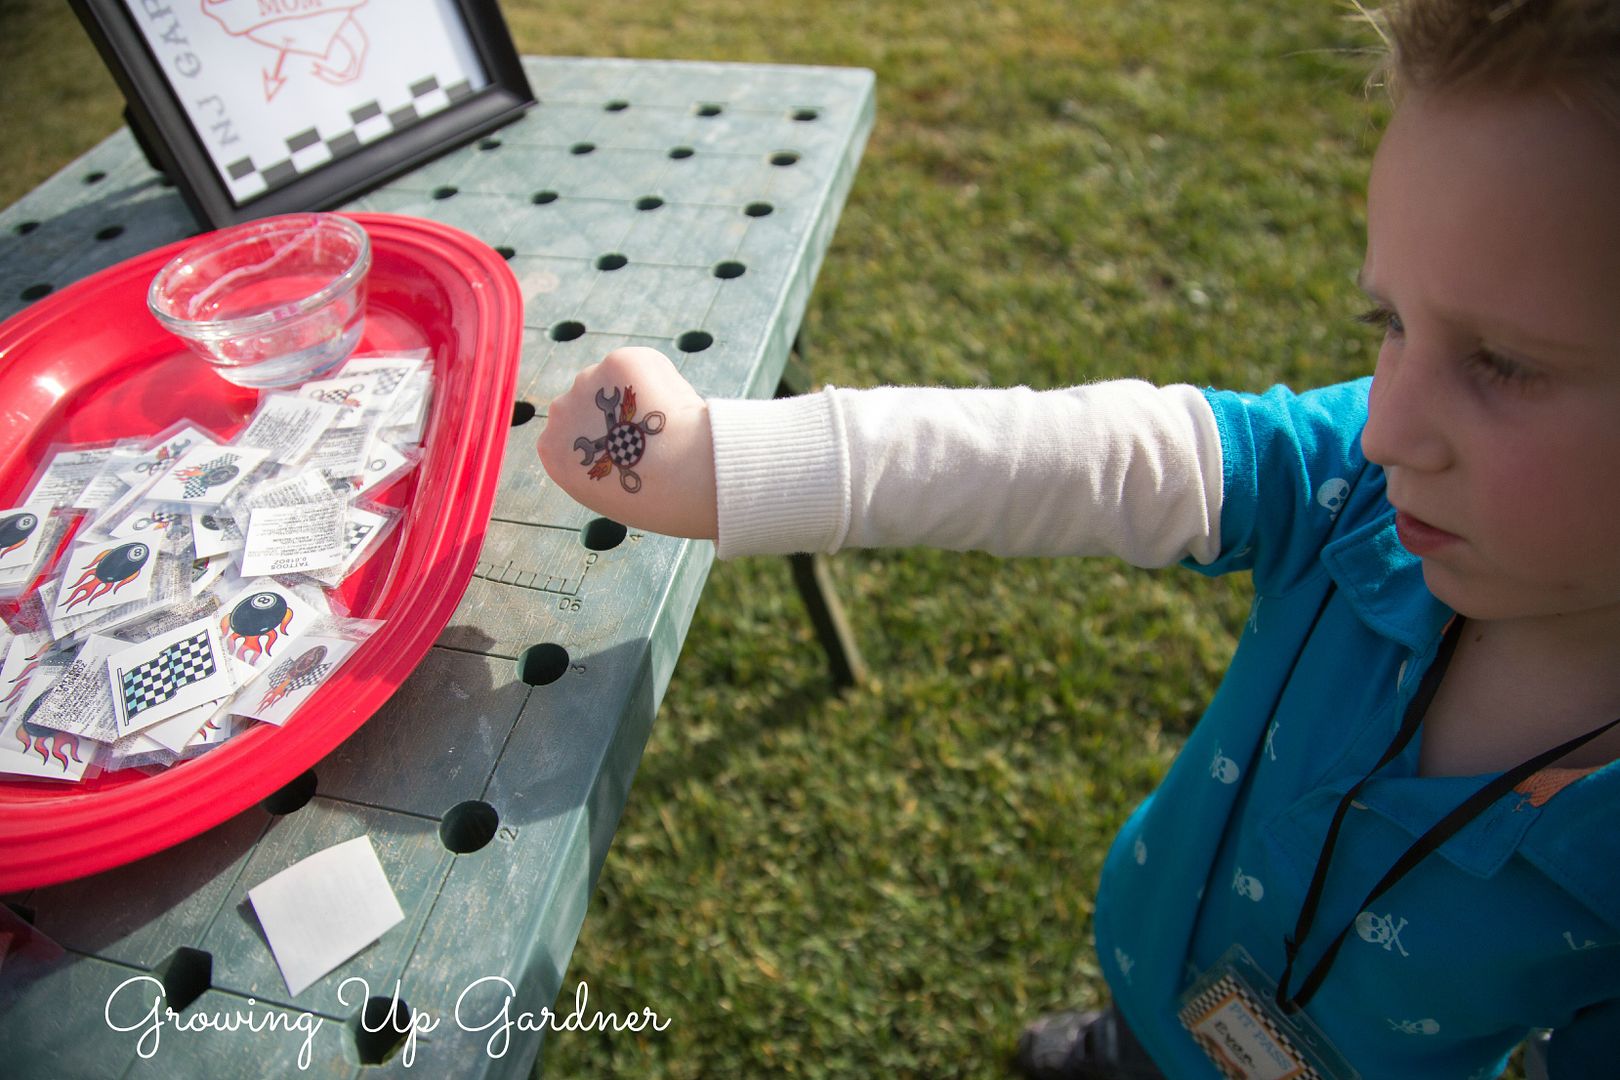
My nephew, Evan, showing off his new ink. Tattoos also from Oriental Trading Co.
Photobucket

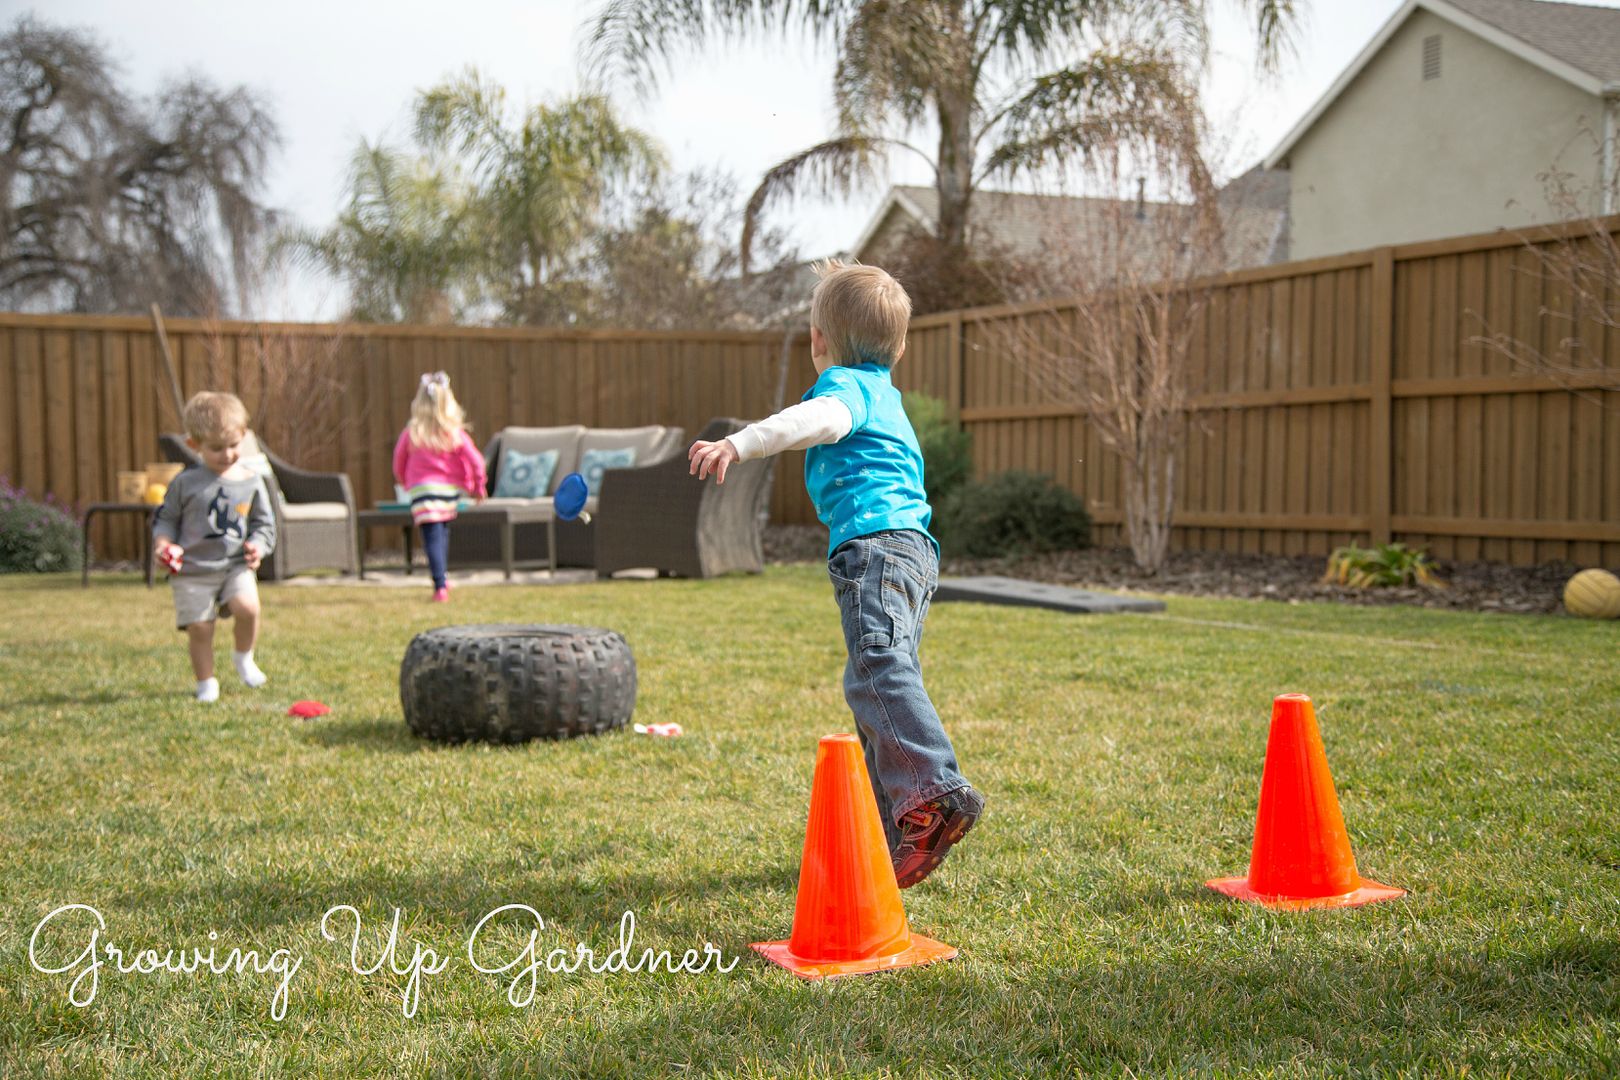
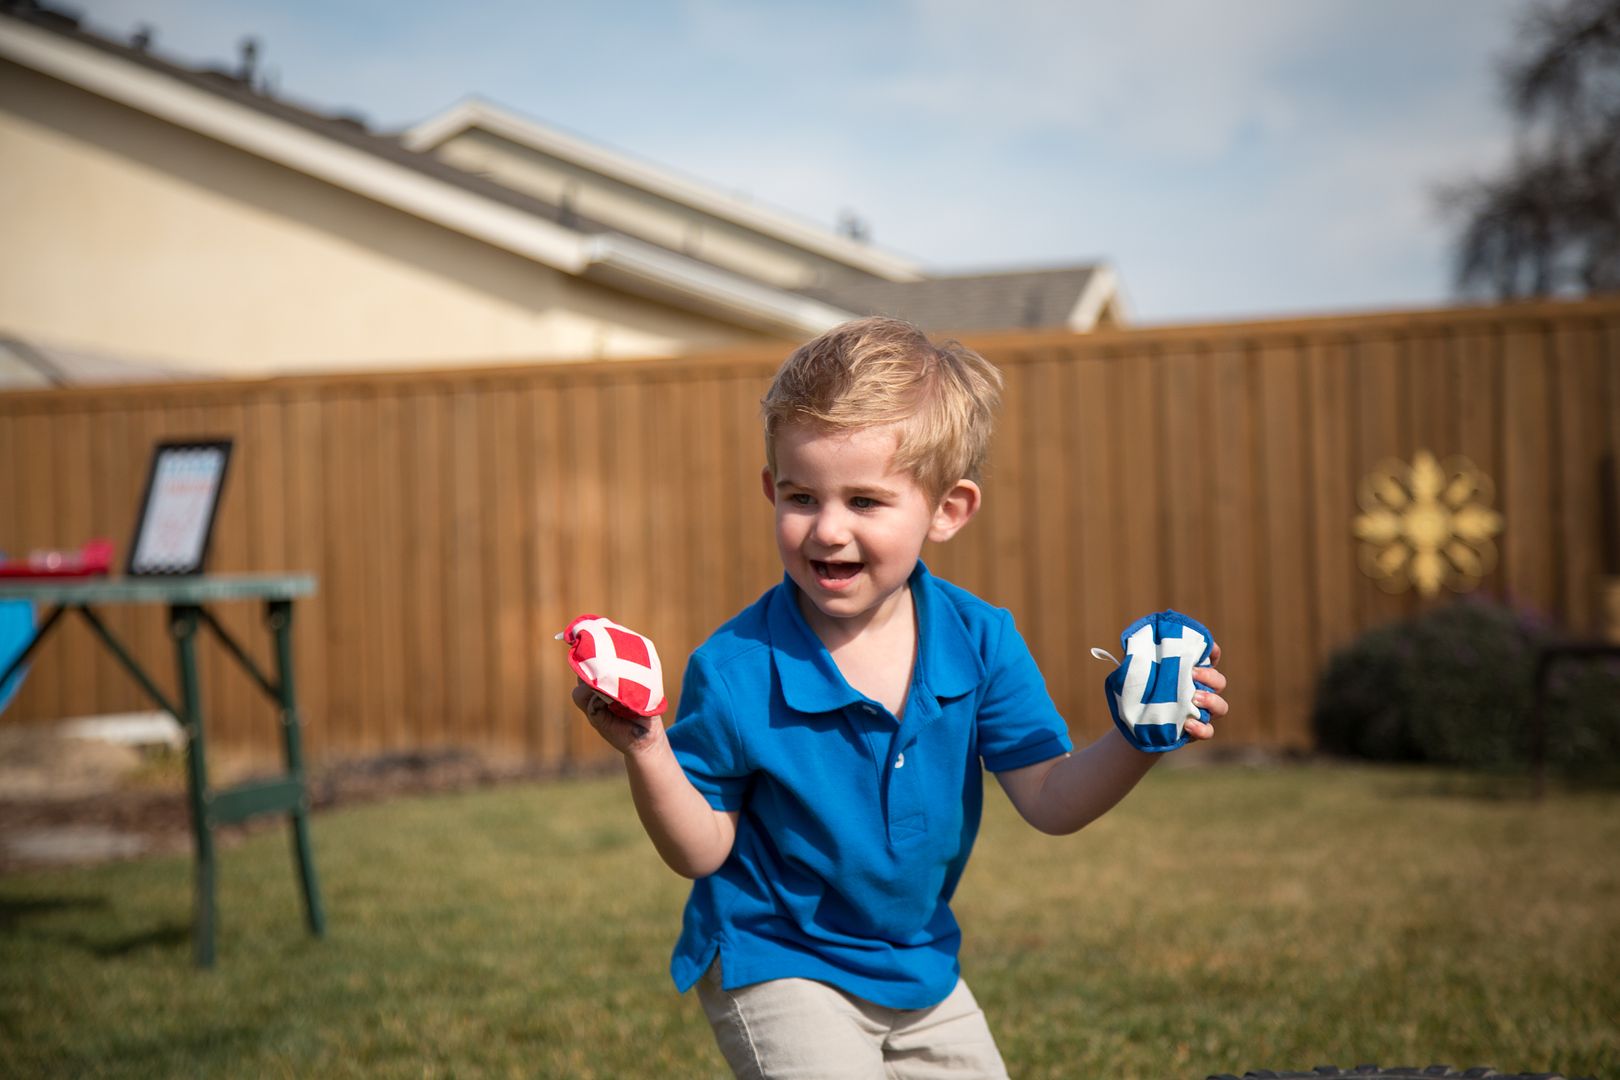
3. Bean Bag Tire Toss
Photobucket

The best part of these activities - they were inexpensive to put together.
Tire toss = free (borrowed materials).
Tattoos = $5.
Painting Cars = $15
Photobucket

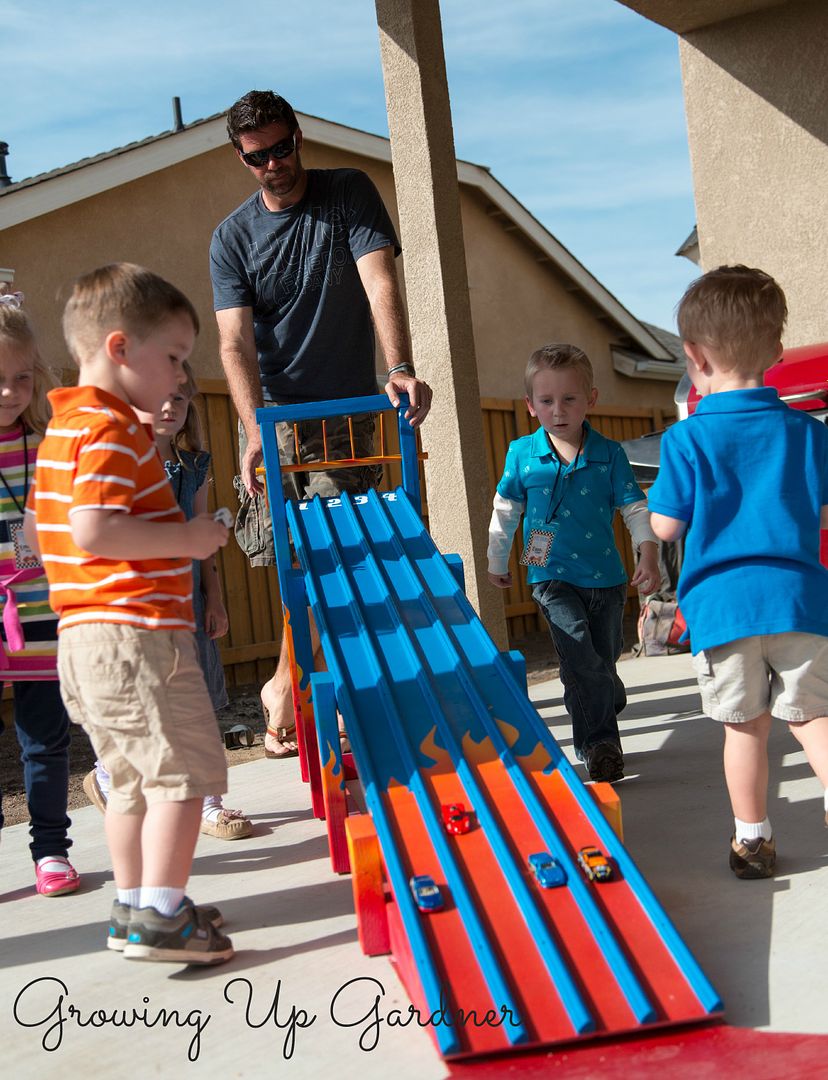
4. Race Track (not that inexpensive)
Photobucket

The kids loved racing their new cars. For the "official" races, Aaron flipped the release lever so 4 cars could start at the same time.

Photobucket

Aaron drew out the plans and picked up the materials at Lowe's. The total cost was about $60 including the spray paint.

Once the track was built, he sprayed it by gradually adding yellow, orange and red. Then he covered the top of the colors with a flame stencil I cut out of vinyl, and sprayed on the blue. The end result was an awesome flame on the track as well as on the side poles. 
The last steps included putting on the lanes, painting lane numbers and "START" to the top, then spraying the entire track with a clear sealer. 

Here's a tutorial on how the track was built! DIY Race Track

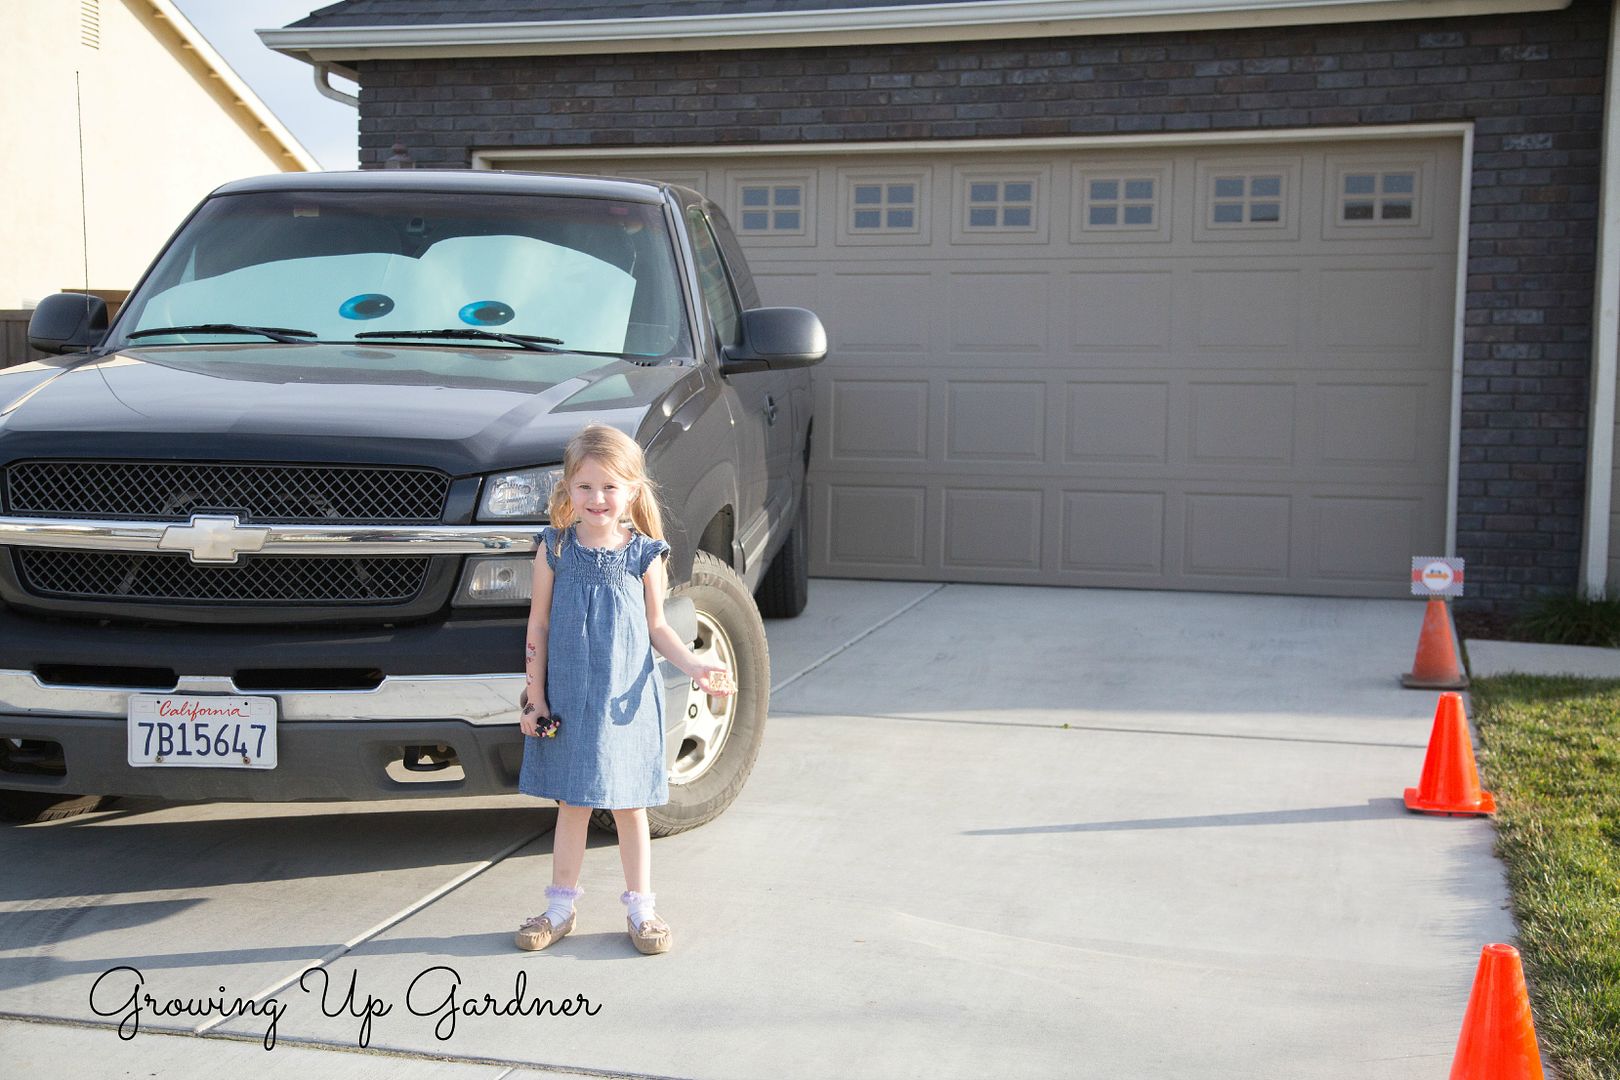
And one more "Cars" touch. Lightning McQueen's eyes on Aaron's truck. Just two pieces of construction paper and eyes glued on. Super easy and a fun way to welcome our guests.
Photobucket

Something that I heard several times was, "I wish I had that race track growing up" from the guys at the party. They were just as excited as their kids, probably because they are just big kids themselves!

Photobucket

A huge thanks again to Carli at Dimpleprints for the printables, to my handy husband for all he does, to my mother-in-law for the delicious cake, to my best friends and sister (my bridesmaids) for sharing the day with us and helping in many ways, to my mom and dad for all they do to make everything run perfectly smooth.

Photobucket

And one last HAPPY BIRTHDAY to my little man. I love you to the moon!
-Amanda
Photobucket