Sunday, October 28, 2012

Organizing Email/Online Coupons into a Photo Album

Online coupons are becoming widely accepted at large retailers. Stores like Target and Michael's will scan coupons on smart phones, eliminating the need for paper coupons.  I usually have both kids with me while running errands and I've found myself panicking during check out, flipping through my inbox for coupons too many times. To resolve this problem, I started organizing my emailed coupons in a photo album on my iPhone and it has been a complete time saver.

When I get an emailed coupon from a store that I frequent (Michael's, JoAnn, Hobby Lobby, Fresh & Easy), I take a quick screenshot of the coupon on my phone by holding down the power button and the Home button at the same time. The screen will flash and the image is immediately saved in the photo album.
It looks like this:

TO ADD AN ALBUM click on the photo album app > Edit (top right) > Add (top left) > Name Your Album (Coupons)


To get the coupon images into your Coupon album go to your Camera Roll > Move Photo (top right) > touch each image you want to move > Add To (bottom) > Add to Existing Album > Coupons

And all the coupons for the week (or month) will be in one place for easy access (and stress-free checkouts).


Simply delete them when they expire and start over. I've found that my inbox is much more organized as well because I delete the emails after I take the screen shot. Having the coupons in a photo album also saves on battery power!

- Amanda

Thursday, October 11, 2012

Paper Plate Pumpkin Craft

The first rain of the season fell early this morning. It seemed like an appropriate day to make an easy fall craft with the kids. They also needed some winding down after a fun morning of autumn initiation activities - puddle jumping and tree shaking.

{Pumpkin Plate Craft}
Paper Plate - Paint brush - Orange Paint - Construction Paper (green, brown, black) - Glue

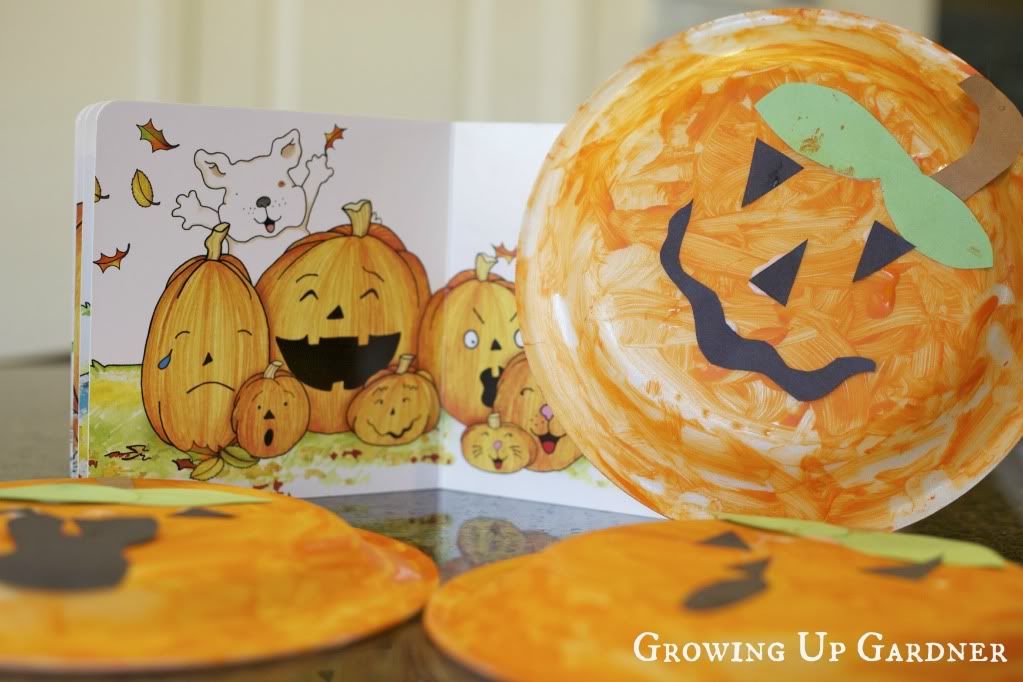
I didn't have anything planned so I went with an old standby - paper plates. First, I read It's Pumpkin Day, Mouse, in which the mouse paints different faces on his pumpkins. Then I gave the kids a plate, brush and orange paint. While they worked at covering the entire plate orange, I asked them what face they wanted on their pumpkin (just like in the book) - happy, sad, surprised, silly or scary. They cut out the face, along with a stem and leaves. Then they glued the pieces onto their pumpkins. The leaves turned out to look more like unibrows, so you might want to try to glue crinkle paper on instead. 

Photobucket

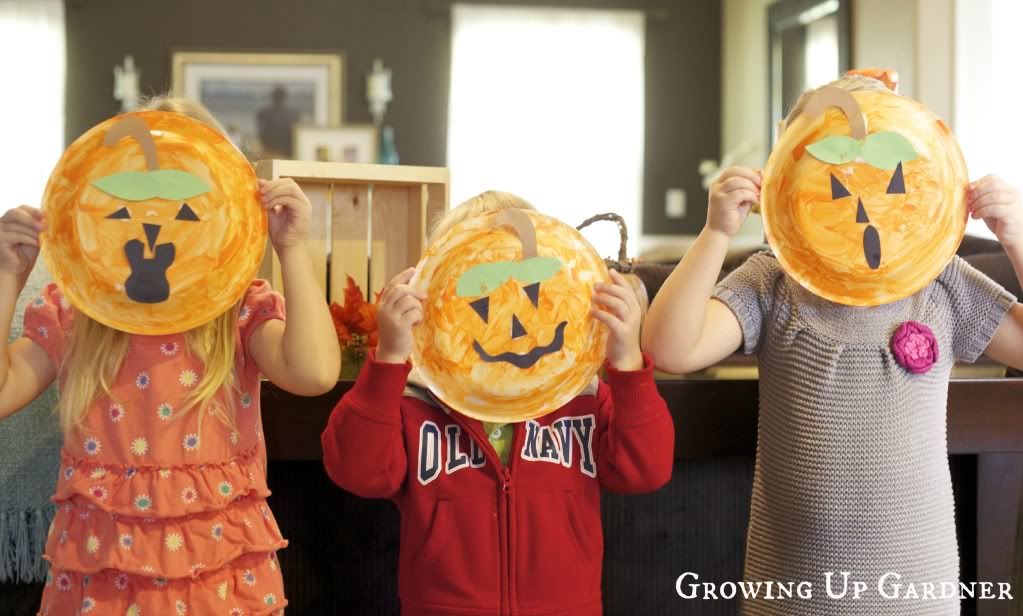
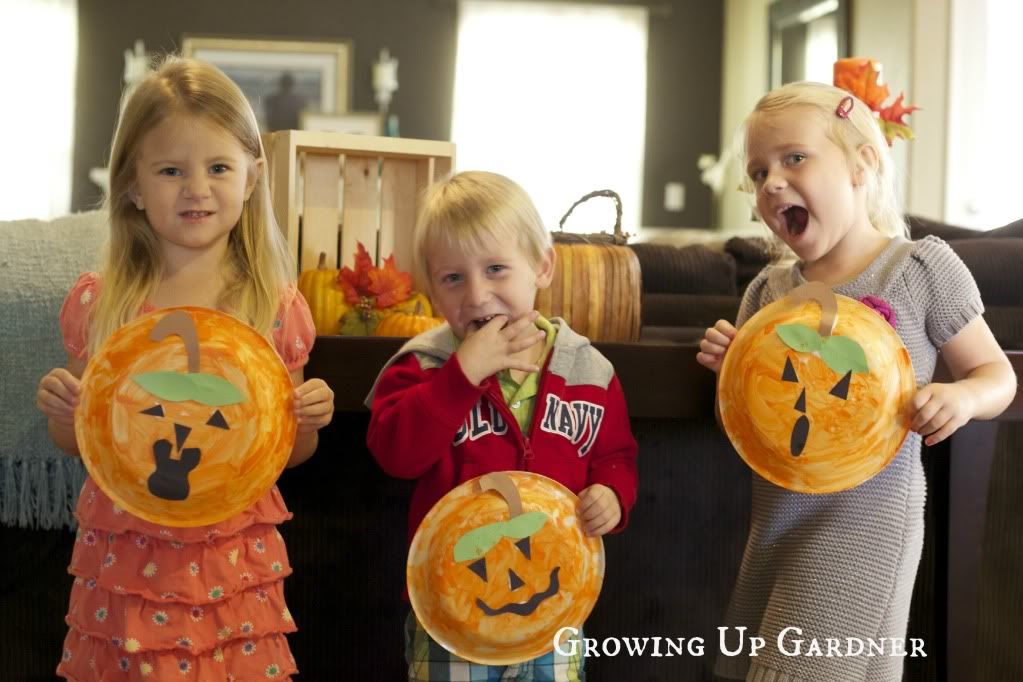
Scary, Silly, and Surprised faces.
Photobucket

Noah loves all of Laura Numeroff's Mouse books.
Photobucket

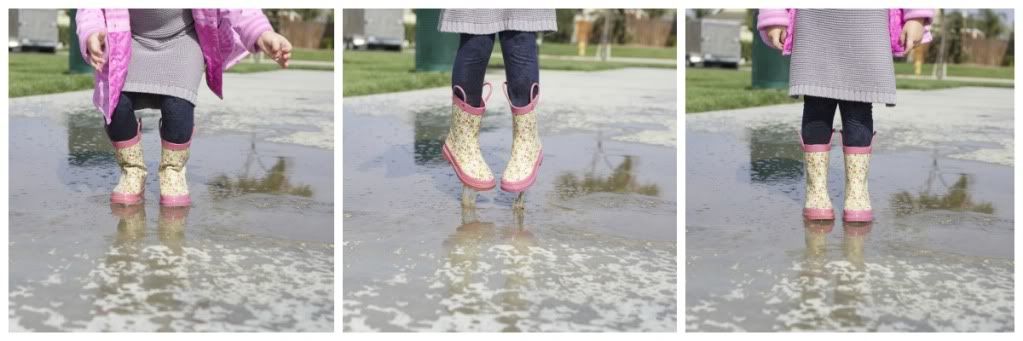
As I said, the morning was spent puddle jumping and enjoying the cool air and cloudy sky.

Photobucket

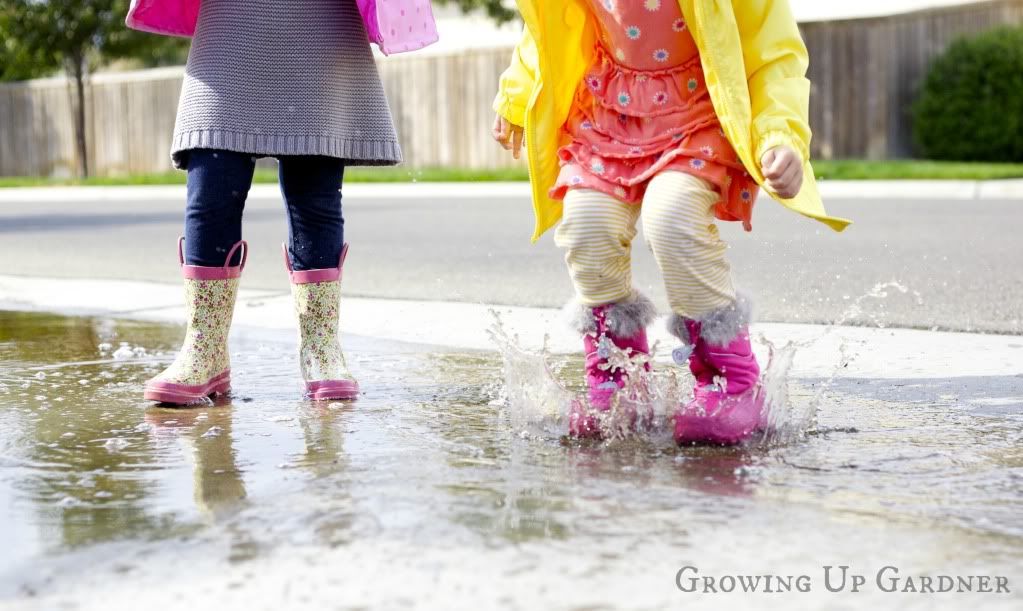
My niece, Emma, is not afraid of getting dirty.
Photobucket

Noah, new to puddles, decided puddle slapping was much more entertaining. Whatever works, kid.

Photobucket

And there was tree shaking. The leaves aren't quite ready to fall. We only had a few takers, but a few was all we needed.

Photobucket

Welcome, fall. We are so glad you've arrived.
Photobucket


-Amanda

Sunday, October 7, 2012

Autumn. {and a corn husk wreath tutorial}

Let me keep it real. Our fall decorations are up. They've been up for a couple of weeks now. We are enjoying them, but right now, Michael Buble Holiday on Pandora is blasting from the speakers in the living room. Martina McBride's version of Baby It's Cold Outside captivated us immediately. Noelle's dancing and twirling her Little Mermaid umbrella. Noah is running around in his pajama's and Aaron is smoking chicken out back taking regular breaks to peak at football scores. It's a typical weekend morning at the Gardner house.

Soon we'll be hosting friends for a BBQ, but first, I'll give you a quick tour of our fall decor (which is just the beginning since we haven't visited the pumpkin patch yet).

Photobucket

To make this sunburst-style corn husk wreath, first gather the supplies: corn husks, small-medium size wreath (any material should work. I already had this one from the Target dollar section), and a glue gun.

Photobucket

First soak the corn husks in water until they are pliable. Drain the water and peal the layers to open the husks and let them air dry. While they are still damp, wrap individual husks around the front of the wreath, hot gluing the back and front of the husk to the wreath. 
Continue around the wreath several times, making the tips of the husk shorter each time around.


It needed an embellishment so I cut three strips of burlap and hot glued a bow together.

Photobucket

A couple of buckets, lanterns and pot of crimson chrysanthemums finished the porch. 

Photobucket

Using carbon paper, I traced "Welcome Friends" onto the pumpkins (real from Target) and painted the tracing gray. If you're intimidated by tiny paint brushes, you could use a sharpie marker. 
Photobucket
On the mantel this year I only added to the "year-round" decor.

Photobucket

The "Harvest" bunting was recycled from the Harvest Fest photo area that I decorated last year at our church.

Photobucket

Besides making the corn husk wreath and picking up the Target pumpkins, I didn't buy anything new this year. In fact, the orange bins labeled "fall" in the garage are still half full. Which either means I'm in a continuous downsizing trend or I have too much stuff to begin with.

PhotobucketPhotobucket 

Dining room. Our "family code" found a new wall spot.
Photobucket

The weather is cooling off here in California. There was even a chill in the air this morning that required a sweater for fetching the coupons Sunday paper out front. Although Mariah's "All I Want For Christmas" has everyone bobbing around the house, we can wait for a little longer for winter. There's still pumpkins to pick and turkey (or three) to slice. Happy fall.

Amanda