Showing posts with label Upcycle. Show all posts

Friday, July 13, 2012

Mellow Yellow: Thrift Store Cabinet Makeover

Our patio cover is finished! Hooray for shade. Especially in this ridiculous heat. We decided to go all the way and add stucco to match the rest of the house which led to the addition of three ceiling fans and two built-in speakers. The new sound system needed a home so I searched high and low for a little cabinet but was unsuccessful. Until I stubbled upon a beat up blue disaster at the thrift store for $6. 
Mr. G thought I had seriously lost it but I saw potential. 

The cabinet is the perfect size for the patio, it just needed some love. And love often comes in a spray paint bottle. 

Here's what to do.
1. Sand the varnish off. I didn't do much, just scuffed it up.
2. Wipe off with a damp cloth and add a coat or two of spray paint. 
3. Allow the paint to completely dry and distress the piece with sand paper. Wipe clean again.
4. Paint on the wood finish and wipe off with a clean rag. 
5. Add new hardware if necessary.


Tip: Don't let the stain sit for too long. I work quickly during this process. It takes less than a minute.

I fell in love with this pot at Ross for only three bucks. It has so much character and the vibrant teal is delicious. I think I found my color palette for the patio decor. To be continued :)


-Amanda

Tuesday, June 19, 2012

Noelle's "Snow White" woodland themed party

Heigh-ho, Heigh ho. It's off to FOUR she goes!


Noelle has had the theme for her fourth birthday planned since she was 2. She insisted on an Ariel party for her third birthday and has been waiting for a Snow White party for a couple of years. All of the Snow White books I read to Noelle (every night) has the woods and animals involved so I decided to use that as inspiration with a yellow, blue and gingham color scheme. 


We took Noelle to Disneyland for her birthday last month so this party was very low-key and inexpensive. We planned it for 6:30pm and served dessert - brownies, cookies, cupcakes, caramel apples with toppings, blueberries and cake.


The bottom crate has a small bowl inside filled with dry ice and hot water. It gave off a spooky effect for the "Poisoned Apples" display.


I always get asked where I get ideas for parties - the answer - I use whatever is cheap and available and make it work. Fabric is inexpensive and makes a huge impact. 


The refinished desk from Noelle's room was used to serve the beverages on. Of course there had to be a mirror involved in the party. 


Drinks included Dew Drops, Magic Potion (lemonade) and Poison Antidote (raspberry sherbet).


You may have spied something else on the table. I wrote Noelle her very own Snow White tale as a birthday gift. She loves it and has already memorized every line. I wrote Noah his own children's book for his Red Wagon Party.


The tables were decorated with a simple mason jar filled with sunflowers. The gingham print from the dessert table was carried over to the table cloths and jars.


Three signs led guests to the front door.


I displayed all four of Noelle's party invitations in front of the gazebo. I teared up when I was digging them out of the photo box. My baby is so beautiful and has grown up to be an incredible little girl.


For the kids I set out crayons, stickers and gems for them to decorate either a crown or a sword. There were also wands for the little girls to take home because I wasn't sure how the paper crowns would hold up.


The kids played "Wishing Well." They were each given 4 gold coins and had a chance to toss the coins into the well. Then they were rewarded with a sucker. I'm telling you, I sugared these kids up like no other!

Noelle's nana made another fantastic cake! She stacked three layers of cake to create it.


My sweet girl is growing up! I'm so proud of her and incredibly thankful to have been chosen to be her mommy. Daddy and I love you SO much, sweet Noelle!

-Amanda

Tuesday, May 22, 2012

Honeymoon Bridal Shower - Vintage Travel Theme

One of my dearest friends is getting married in June and I had the honor of throwing her a Honeymoon Shower in my backyard. First things first, the invitation "boarding passes" went out, setting the mood for the party. The invitations instructed guests to "Claim Megan's Baggage" for her honeymoon in St. Lucia and gave a list of gift ideas along with Megan's sizes. 


My vision for the party was soft colors and lace with travel and vintage touches. I searched through several thrift stores for old books and luggage. 

For the flower vases I used salsa and pasta sauce jars that I accumulated over a couple of months. The tea lights were placed in baby food jars and tied with twine.
Megan requested that we didn't play any traditional bridal shower games so I came up with a couple of other things for guests to do at the party, including "Help Megan Pack For The Honeymoon" and a stack of cards for guests to write Megan a note to read on the flight to St. Lucia. She is a very nervous flyer and was excited to have something to look forward to on the plane. 


The meal plan was for heavy appetizers. I decorated the table with vintage books and luggage (from Michael's) and used doilies to create the "Come Fly With Me" banner.


Drink stations are always one of my favorite parts of planning events. I purchased this little bathroom toiletry cart, which resembles an airplane beverage cart, from Target on clearance for $14.00. I set up the Mimosa jar on top of an amazing vintage World Atlas that I found at a thrift store and then added the mini bottles of wine and bottles of water.


The dessert table came together with just 4 glass containers holding cheesecake, cookies, brownies and chocolate-covered strawberries with a simple yard of lace fabric for the backdrop. 


I wanted to give Megan a special place to open her gifts. The gazebo in the yard was perfect! Mason jars filled with baby's breath and a chandelier framed the space. I fell in love with the "And They Lived Happily Ever After" pillow purchased at Marshall's.


The guests brought home mason jars with a mini bottle of lotion and trail mix. 


Another fun party that was a joy to put together! If you have any questions, just let me know either in the comments or email me at growingupgardner@yahoo.com.


-Amanda

Wednesday, January 4, 2012

gift package upcycling

Isn't it fun to find new uses for old items? One of the easiest things to re-use is empty containers. They are the best for packaging baked goods. Mr. G recently made our church staff Oatmeal Raisin Cookies to say thank you for all of their hard work over the year. I used Mr. G's Muscle Milk container to package the cookies.
All I had to do was clean the container, take off the original label off and make one of my own.


Look around the house for things you can use the next time you plan on baking up some goodies. I found these in my pantry. Maybe they'll have a second use one day!


Just print out a cute little label or wrap some pretty scrapbook paper around it. Viola. A perfectly upcycled gift container.

-Amanda

Friday, July 22, 2011

Wine Cork Letter

I'm loving adding a single letter around the house to complete a gallery wall or as a bookend. I put a large "G" in our Master Bedroom and we have a small "G" on our fireplace mantel in the living room. So if you are a letter fan, and also enjoy wine, you'll appreciate this project.

Supplies:
Wine Corks - I asked for corks when Mr. G and I were wine tasting a year ago and was handed 3 bags of them. If you don't have the same luck I saw a bag of corks at Michaels. Bring a coupon.
Letter - this one is from Hobby Lobby (for a friend who is getting married next month).
Glue gun / glue sticks


A tutorial really isn't needed here. Glue the corks to the letter...


Although, there is some strategy involved. It's kind of like putting a puzzle together. But if the pieces don't fit, cut them. 
Use a razor blade to quarter the cork, then use the pieces as filler for any gaps. 
A knife won't work. Trust.


And about an hour later you have a gorgeous letter that would look great anywhere in the house.


Like on your mantel


Or on a shelf


And to die for in a gallery wall. Just stick a picture frame Command strip to the back and you're set!


If you don't have time to drink 50 bottles of wine make your own, you can order one from my Etsy shop Amanda G Designs. Thanks for stopping by!

-Amanda

Friday, June 24, 2011

Old chair makeover

Do you ever have nothing going on then suddenly you find yourself with several unfinished projects and no time to work on them? That's me this week. The solution would be to not start another project until I've completed the one I'm already working on, but that would be too easy.

After refinishing the desk for Noelle's room I started looking for a little chair. I found a couple that worked but they were both over $30 and that's not how I roll. While visiting my parents I spotted this gold chair in my sister's old room the workout room. It's super old - definitely over 15 years old. I remember having it in our house on base which was around 1993.


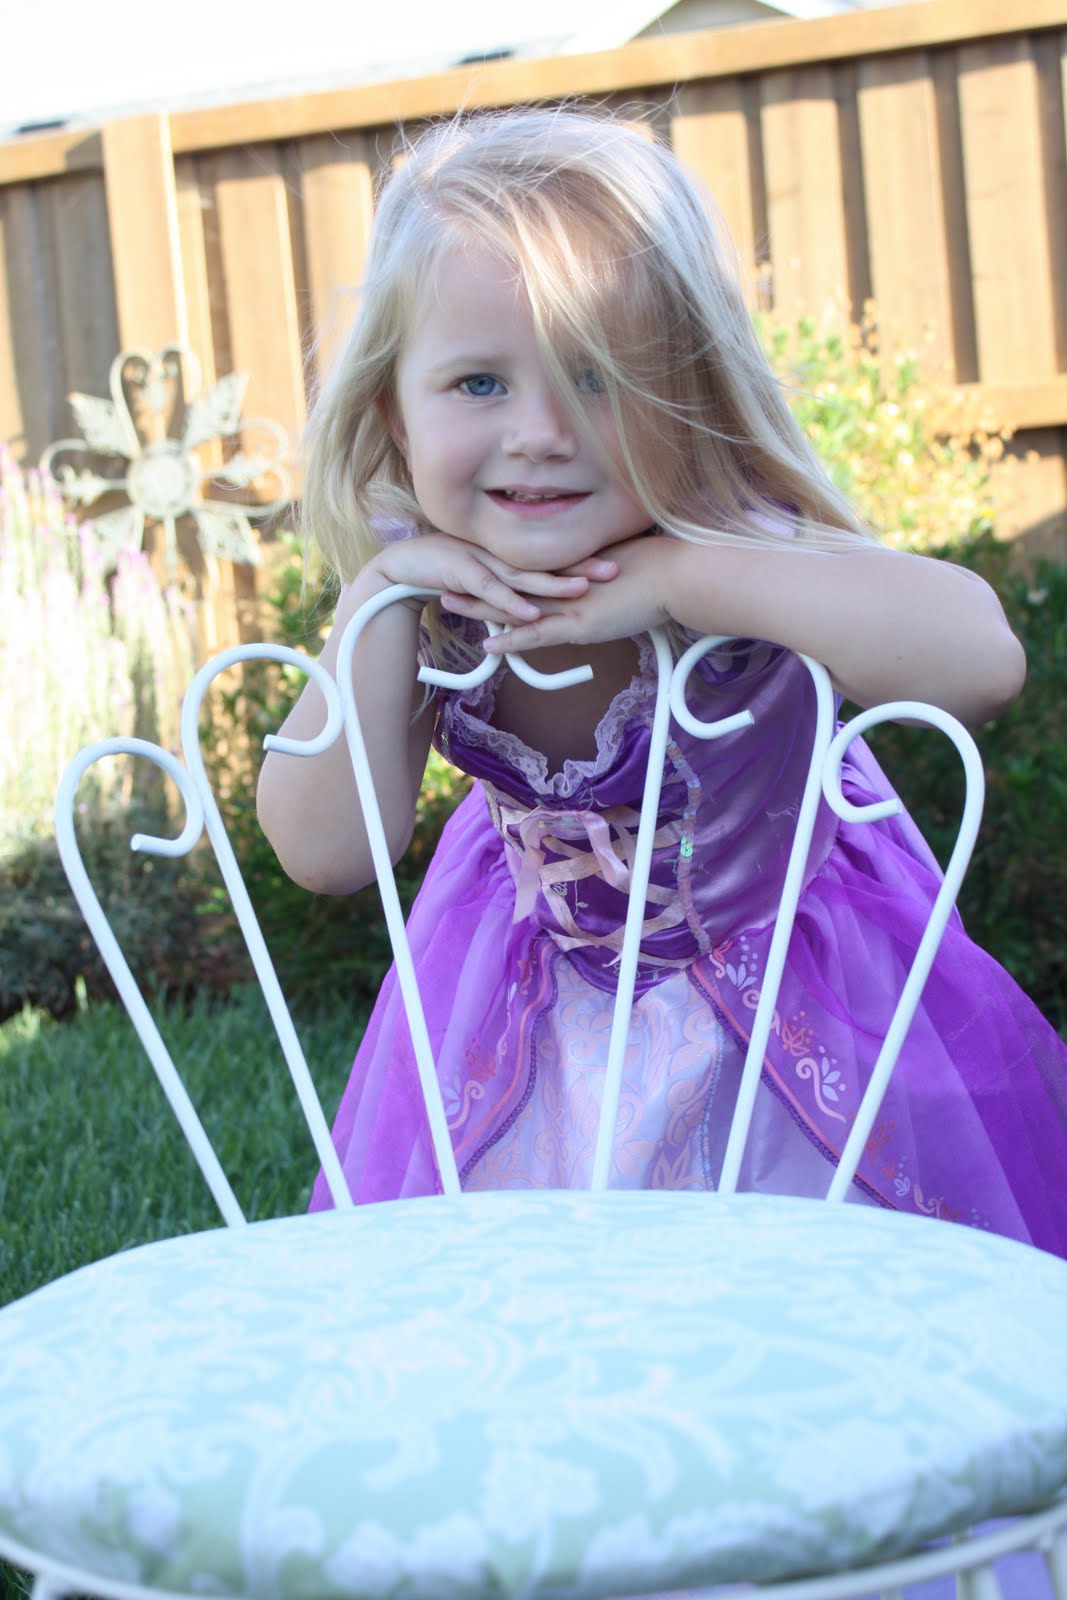
So I took it home and sprayed it with a new coat of paint (Heirloom White) and made a seat cushion.


Seat cushions are easy to make. I used:
Scrap piece of wood
Scrap piece of a foam mattress pad
Scrap piece of fabric
Staple Gun


Cut the wood to fit just inside the space and cut the foam about an inch bigger than that. 
Fold the fabric over and staple.


While I was outside to take a picture of the chair, Princess Noelle demanded asked to be in a picture which of course turned into a photo shoot. 


The chair finally made it in her room. She and Ariel are having a good time playing in there.


Total cost for her new chair - $0