Pages

Sunday, January 20, 2013

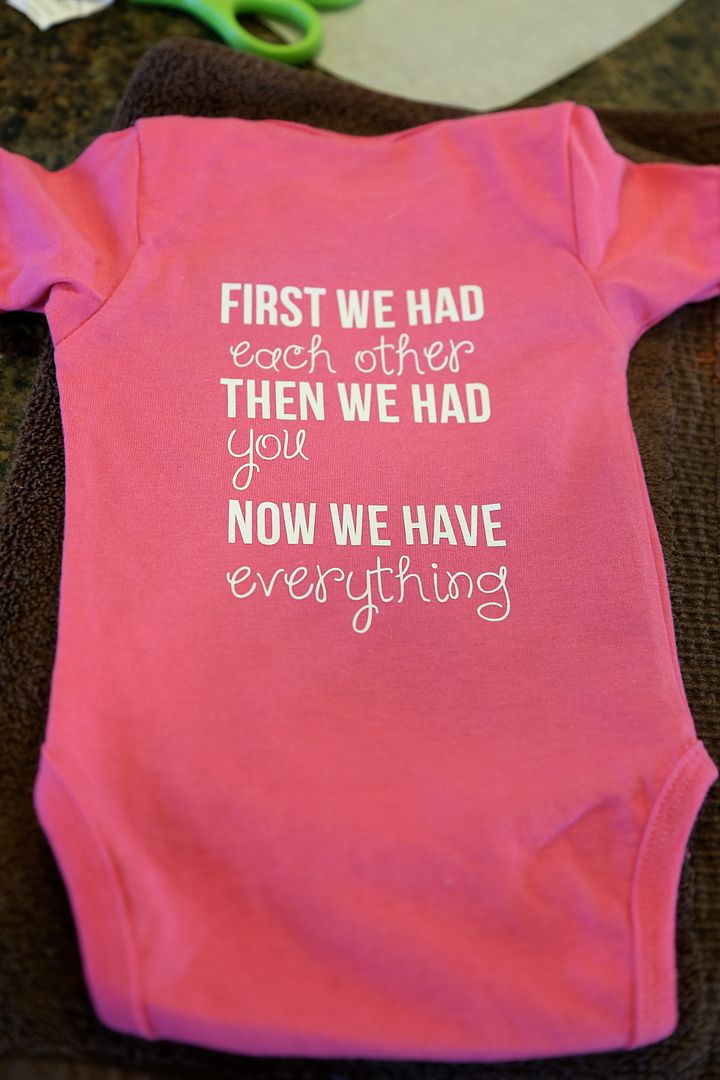
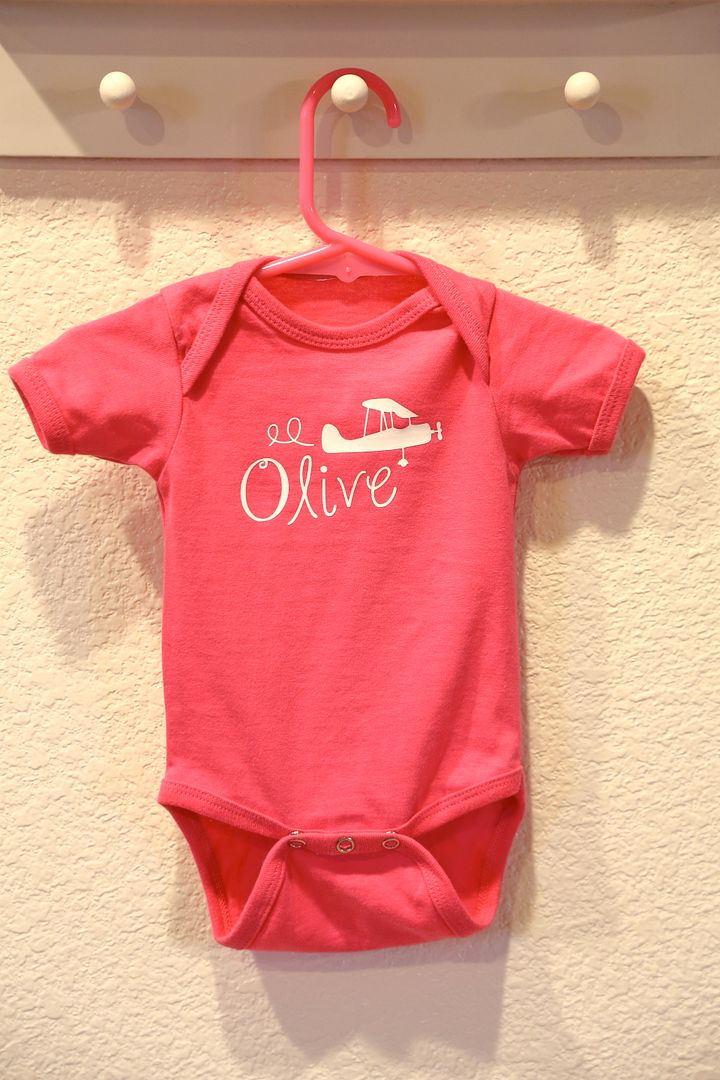
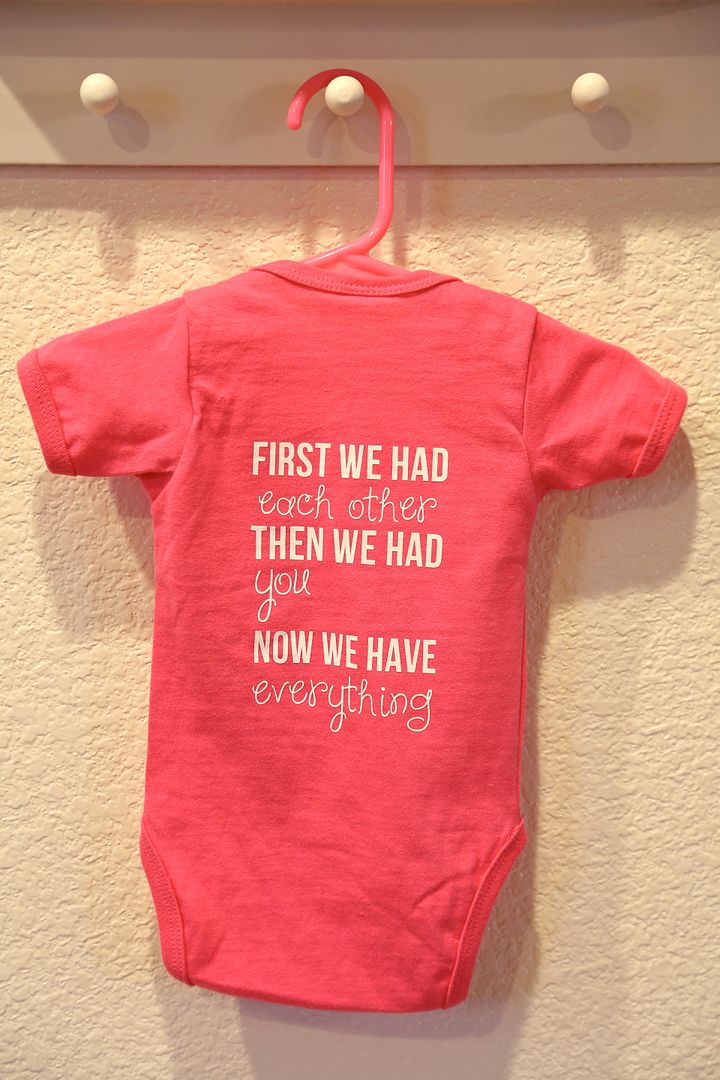
First We Had Each Other - Personalized Onesie Silhouette Cameo Heat Transfer Material Project

Our dear friends recently welcomed their baby girl, Olive, to the world. Jeff and Nicole had a co-ed baby shower in San Luis Obispo, CA which was airplane themed and so much fun. For Olive's gift, I purchased a crate from Michael's, stained it, painted it white, distressed it, then used my Cameo to cut out "Olive" in hot pink vinyl. I also added her monogram to the other side of the crate and gave it a coat of weather-proof varnish.

When it was finished, I filled the crate with all of my must-have baby items and the most adorable lace outfit and headband on earth (from this Etsy seller). On each gift, I taped a tag which said what the item was for and why I love it. 


Now that Olive is here, and we are going to visit her tomorrow for the first time, I decided to make her a little onesie using my Silhouette Cameo and Smooth Heat Transfer Material. 

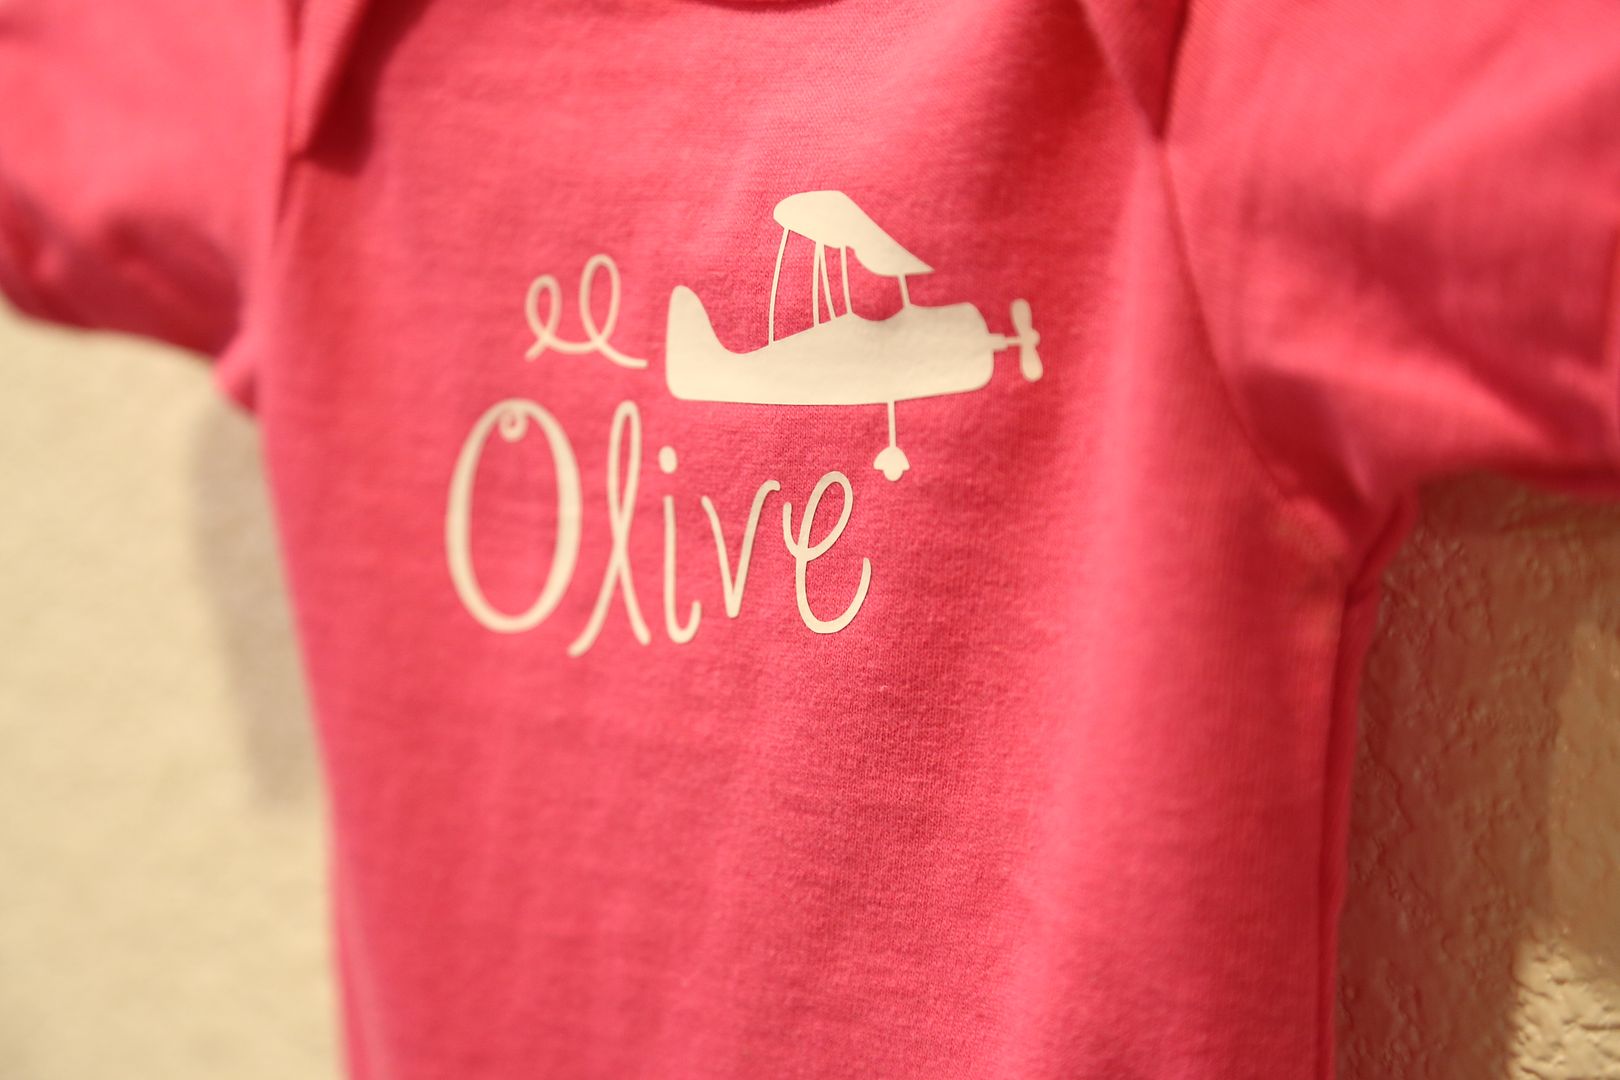
I had an idea of what I wanted the onesie to look like. Olive's daddy is an airline pilot (I flew with him back when I was a flight attendant), so I searched for a cute airplane in the Silhouette Store and found this little fella for .99. For the back of the onesie, I created a design with the adorable saying, "First we had each other. Then we had you. Now we have everything." Seriously cute.

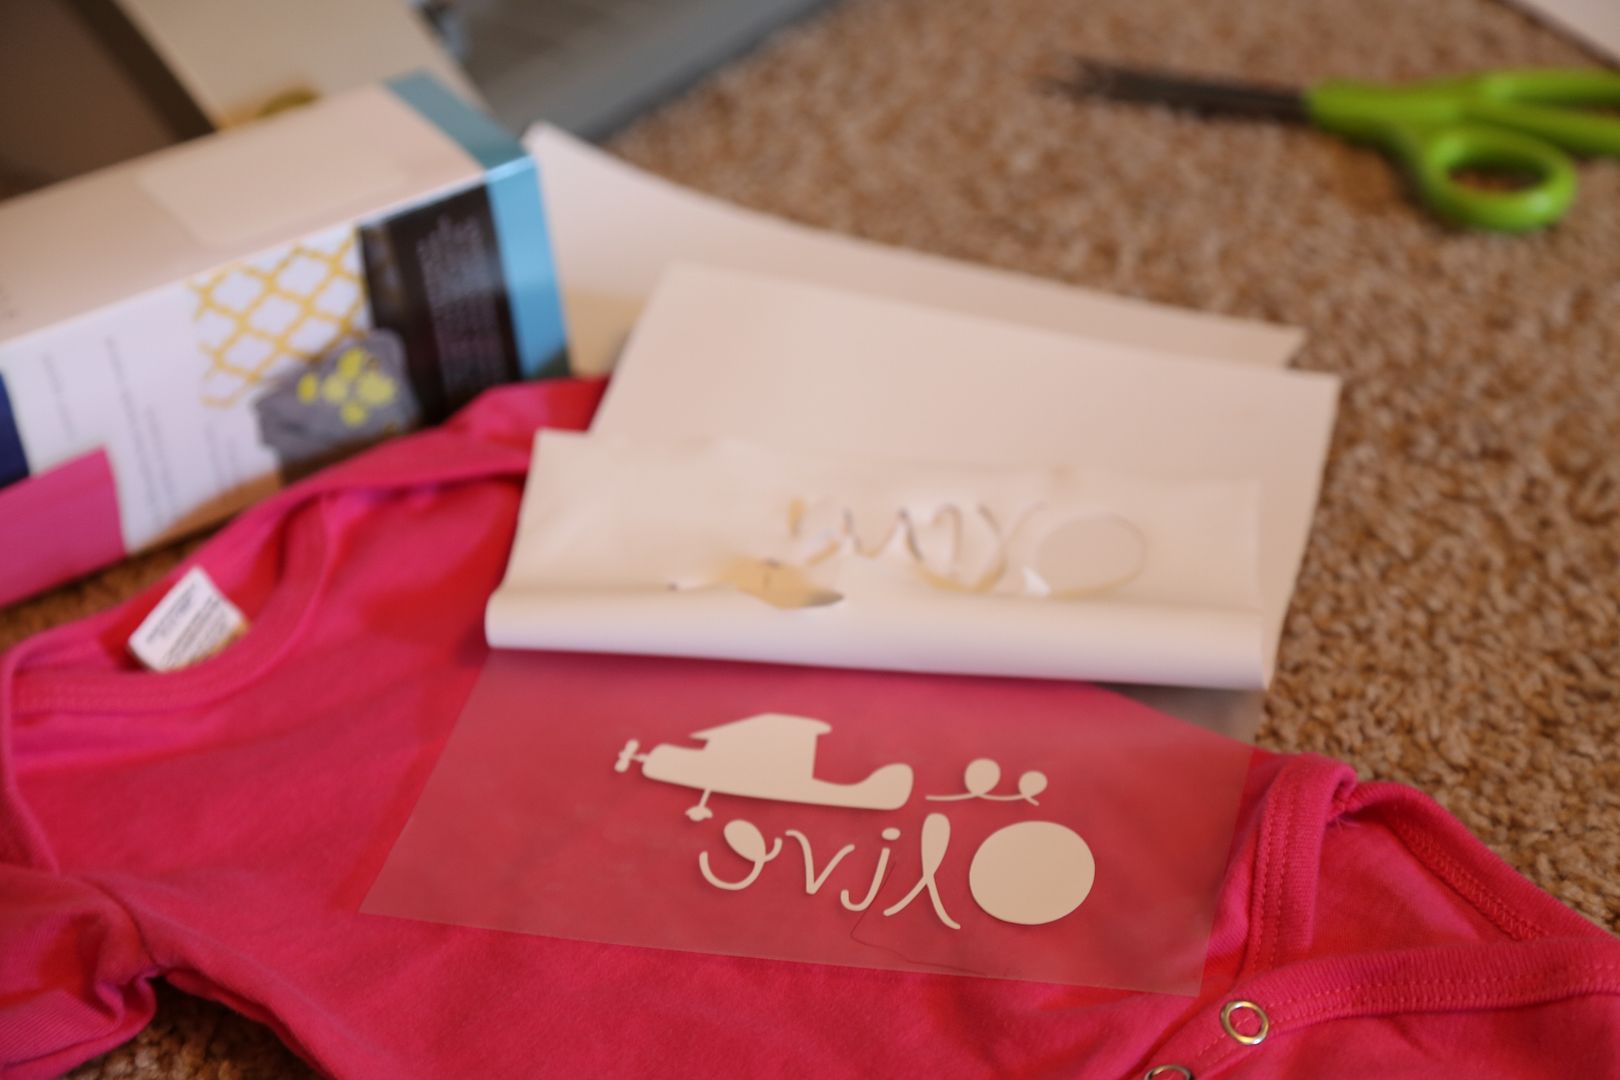
When I was satisfied with the design I did the most important step - Mirror the Image! I wasted a good 6 inches of material by forgetting this step on a previous craft - major bummer.


This is how the image looks mirrored. Since you'll be placing the image material side down, it will be right-side up when you iron it on.


After a couple of test cuts, I found this setting to be the most efficient for my machine: Smooth Heat Transfer, Speed 8, Thickness 14, Blade 1. No cutting mat.


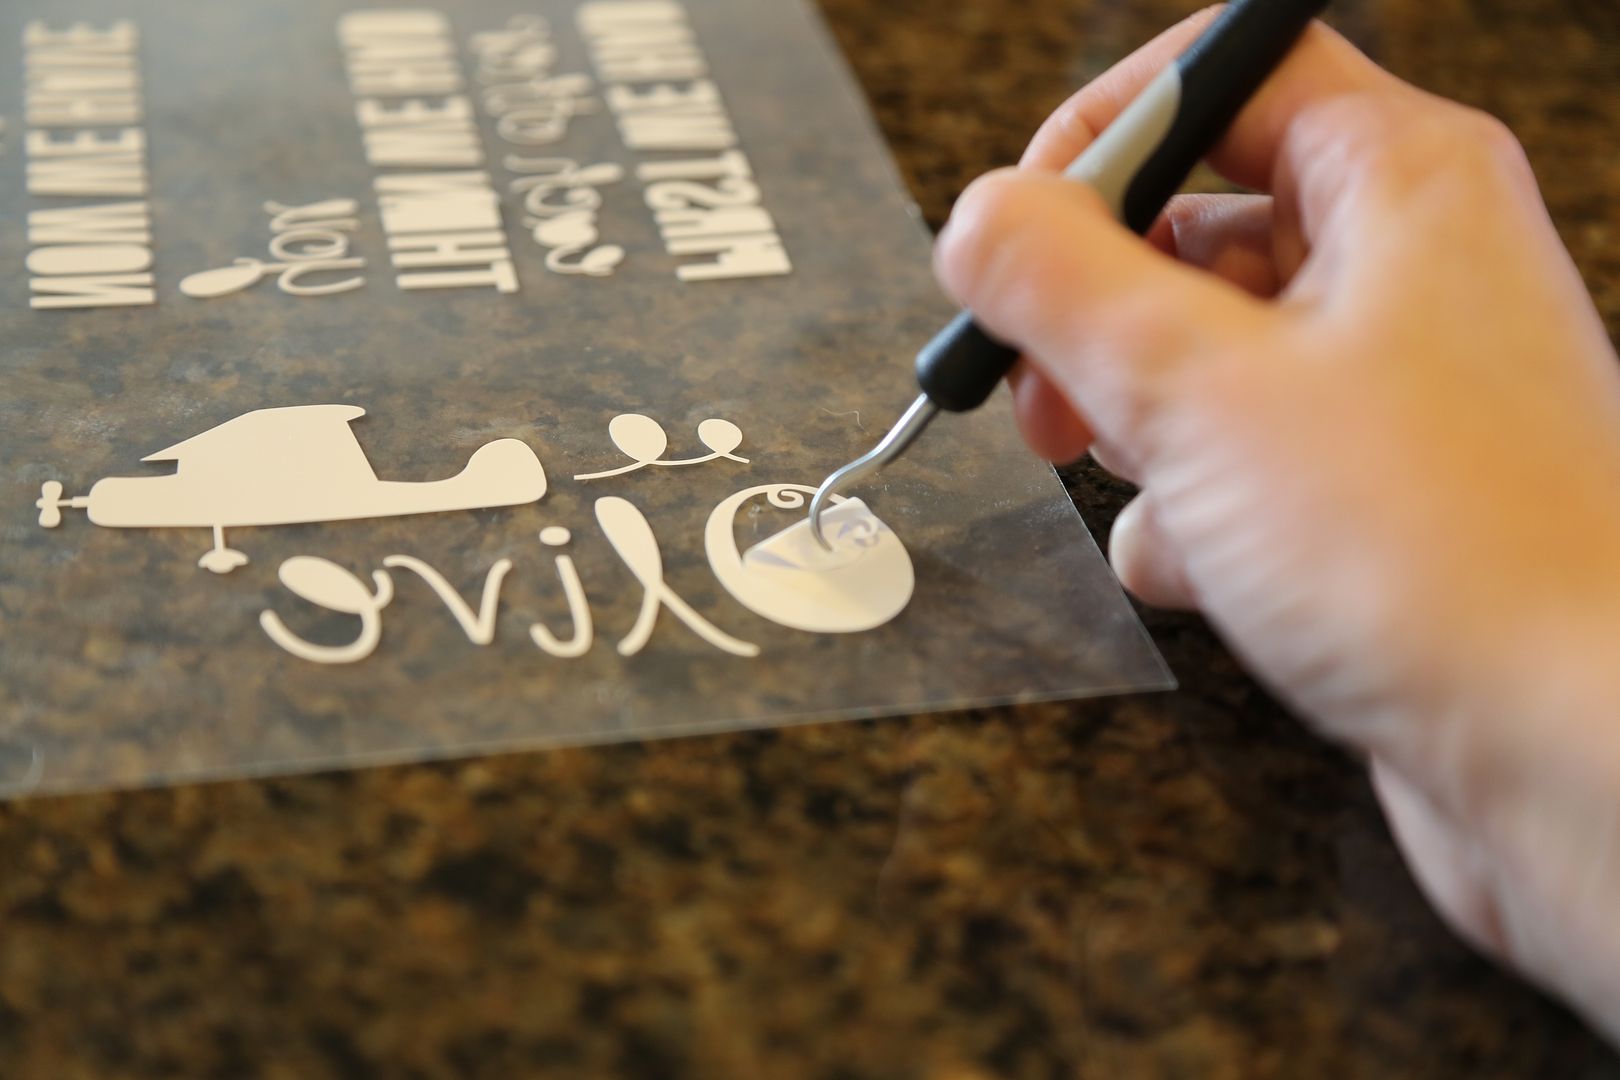
Once cut, I slowly peeled the excess material off the plastic sheet to reveal the image.
Photobucket

I love the handy dandy hook tool and used it to pick the small pieces of extra material off the sheet. Side note - holy crap, the plastic sheet is sticky! And try not to touch the material too much or it will be tough to transfer.
Photobucket

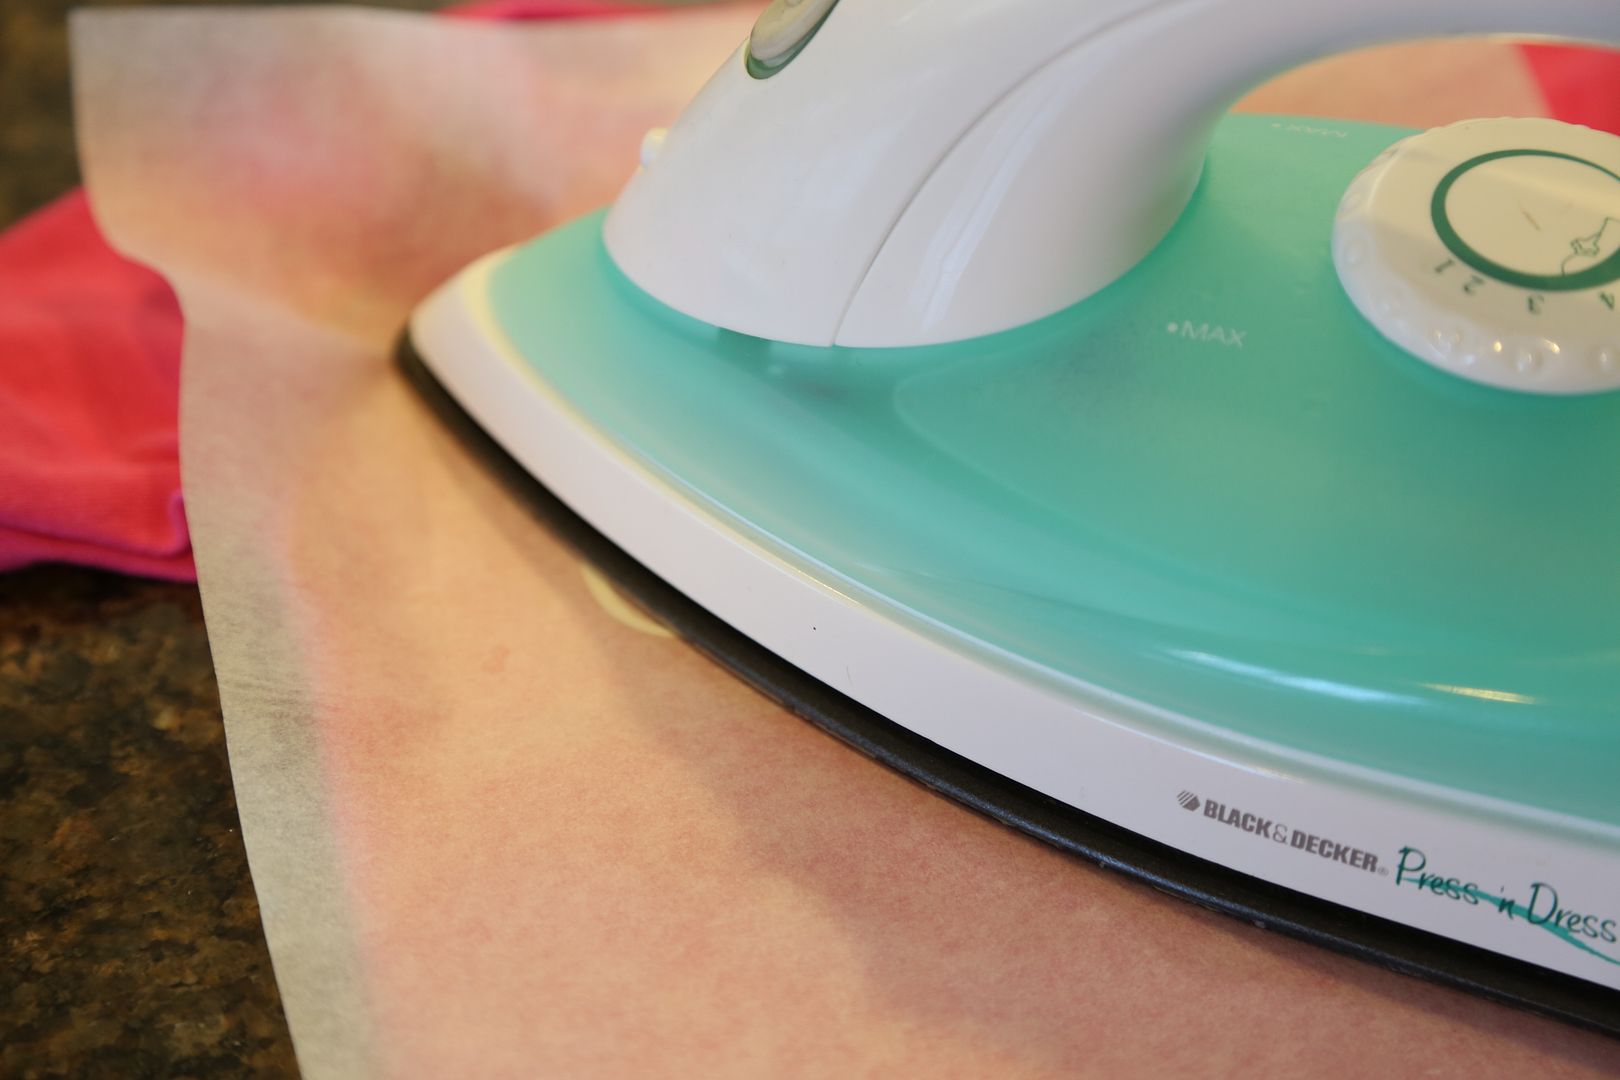
Then I placed the image on the fabric and fired up the iron. I use the highest cotton setting on my iron. 

Photobucket

After a minute or two, I removed the protective sheet (which comes in the Heat Transfer box) and ironed directly on the plastic sheet for a few seconds. Also, after I carefully removed the plastic, I quickly pressed the iron over the material to give it a good seal. I'm not sure if this step is effective or not, it just makes sense to do it.

Photobucket

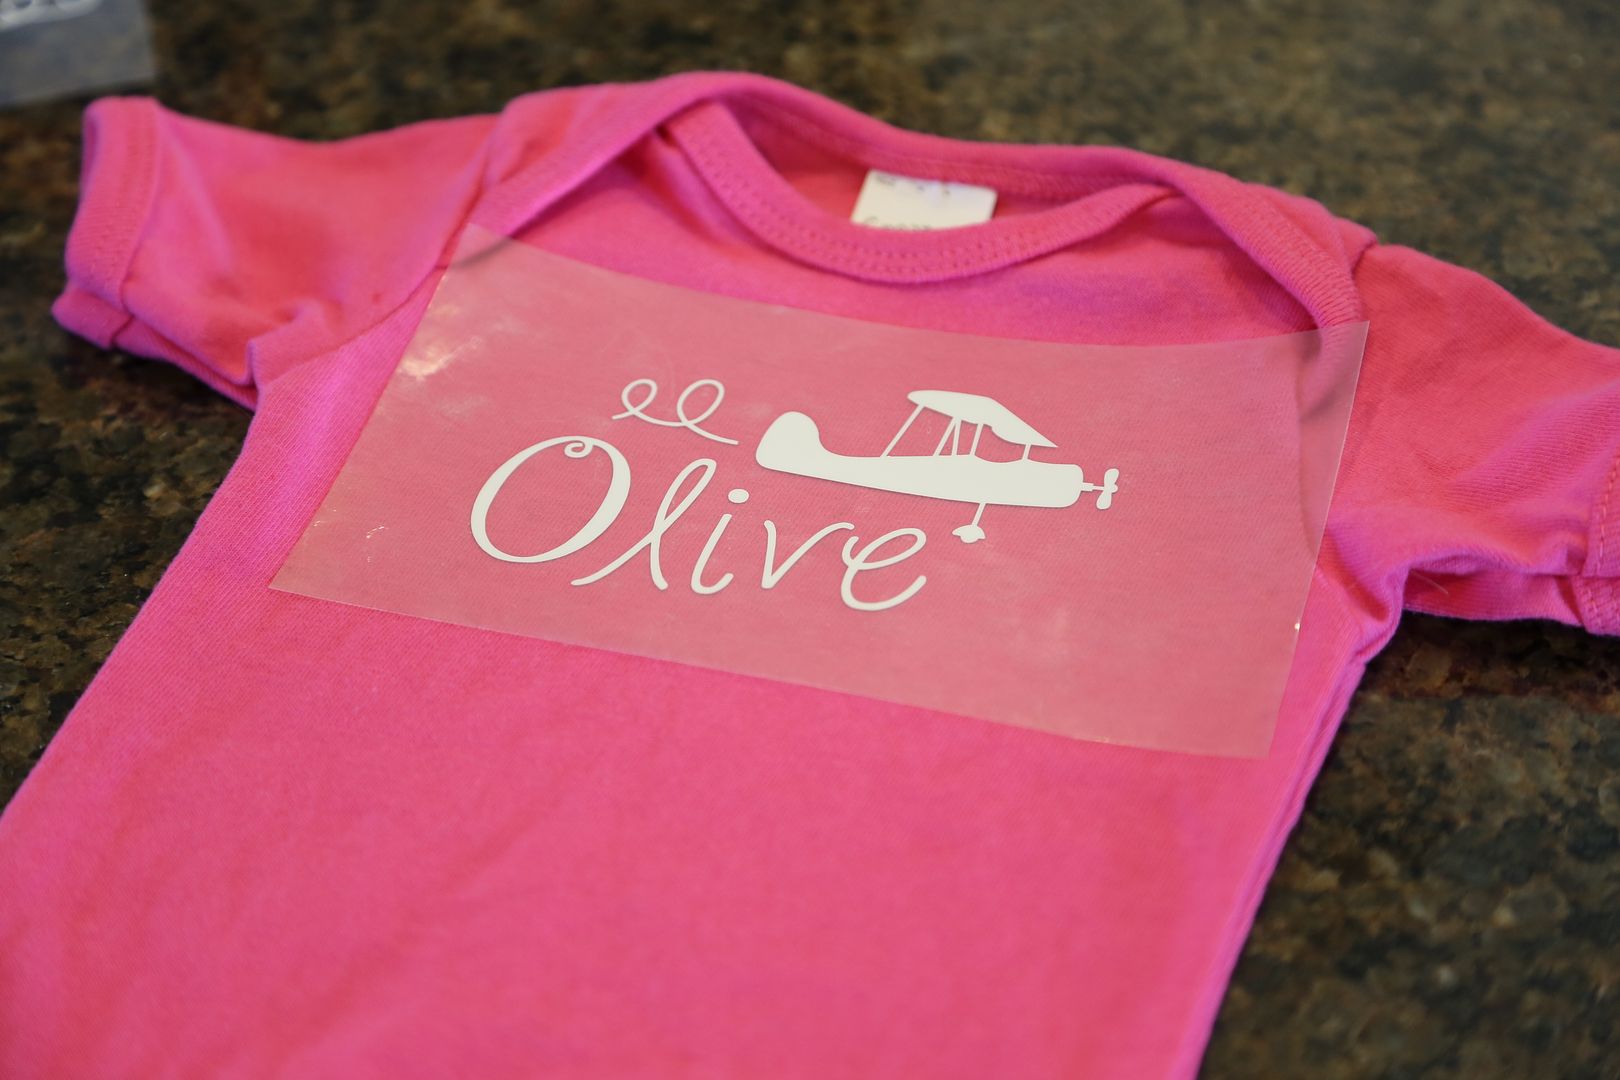
The curly letters were a bit tricky and wouldn't transfer right away. I allowed the plastic sheet to cool before attempting to peel it away and that worked. If you're working with chunkier letters, it is easier to take the sheet off when it is still warm. 

Photobucket

Here's the final result!

Photobucket

Photobucket

Photobucket

I've enjoyed the few times I've been able to use the Heat Transfer material. This morning my sister ran  in the Tinkerbell Half Marathon at Disneyland (along with 12,000 others). I made this EAT MY PIXIE DUST shirt (with Tinkerbell on the front) for her first 13.1mi race. Way to go, sis!


-Amanda

Thursday, January 17, 2013

Target Toy Clearance 70% off 2013

The Big January Toy Clearance happened today (Jan. 17th). I've been lucky enough to shop at this sale for the past 4 years and have scored some great deals but today's trip just might be my favorite. I set my budget at $100 and made a list of must-haves which included:
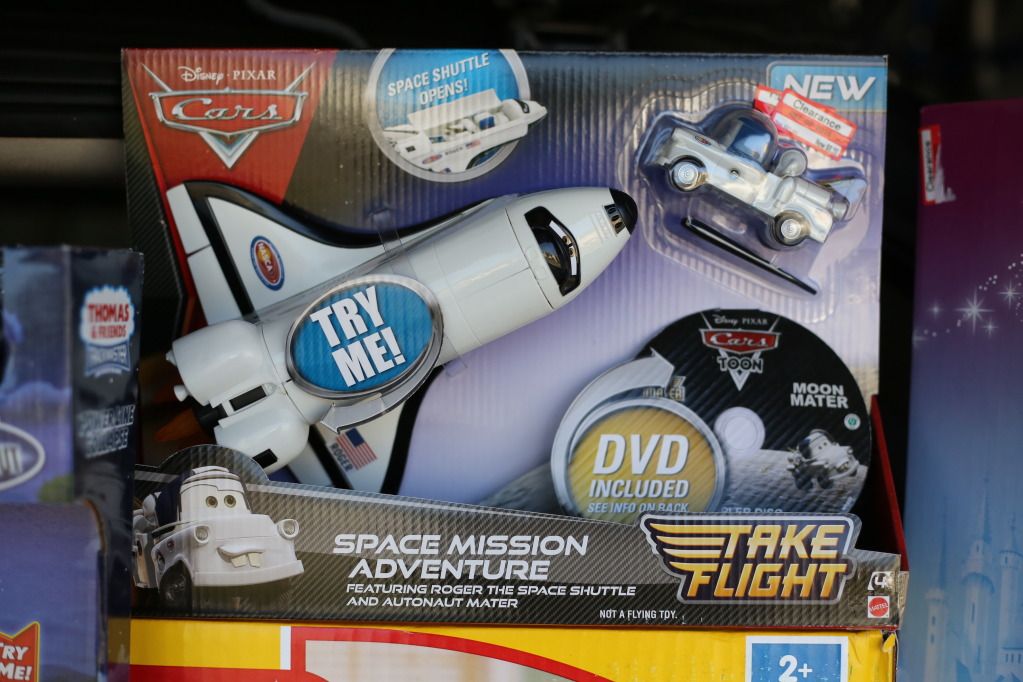
1. Cars 2 set 2. Squinkies 3. Train set 4. Cars Space Mission set
And I crossed my fingers for a tool bench - which I was stoked to find for $11.98!

Photobucket

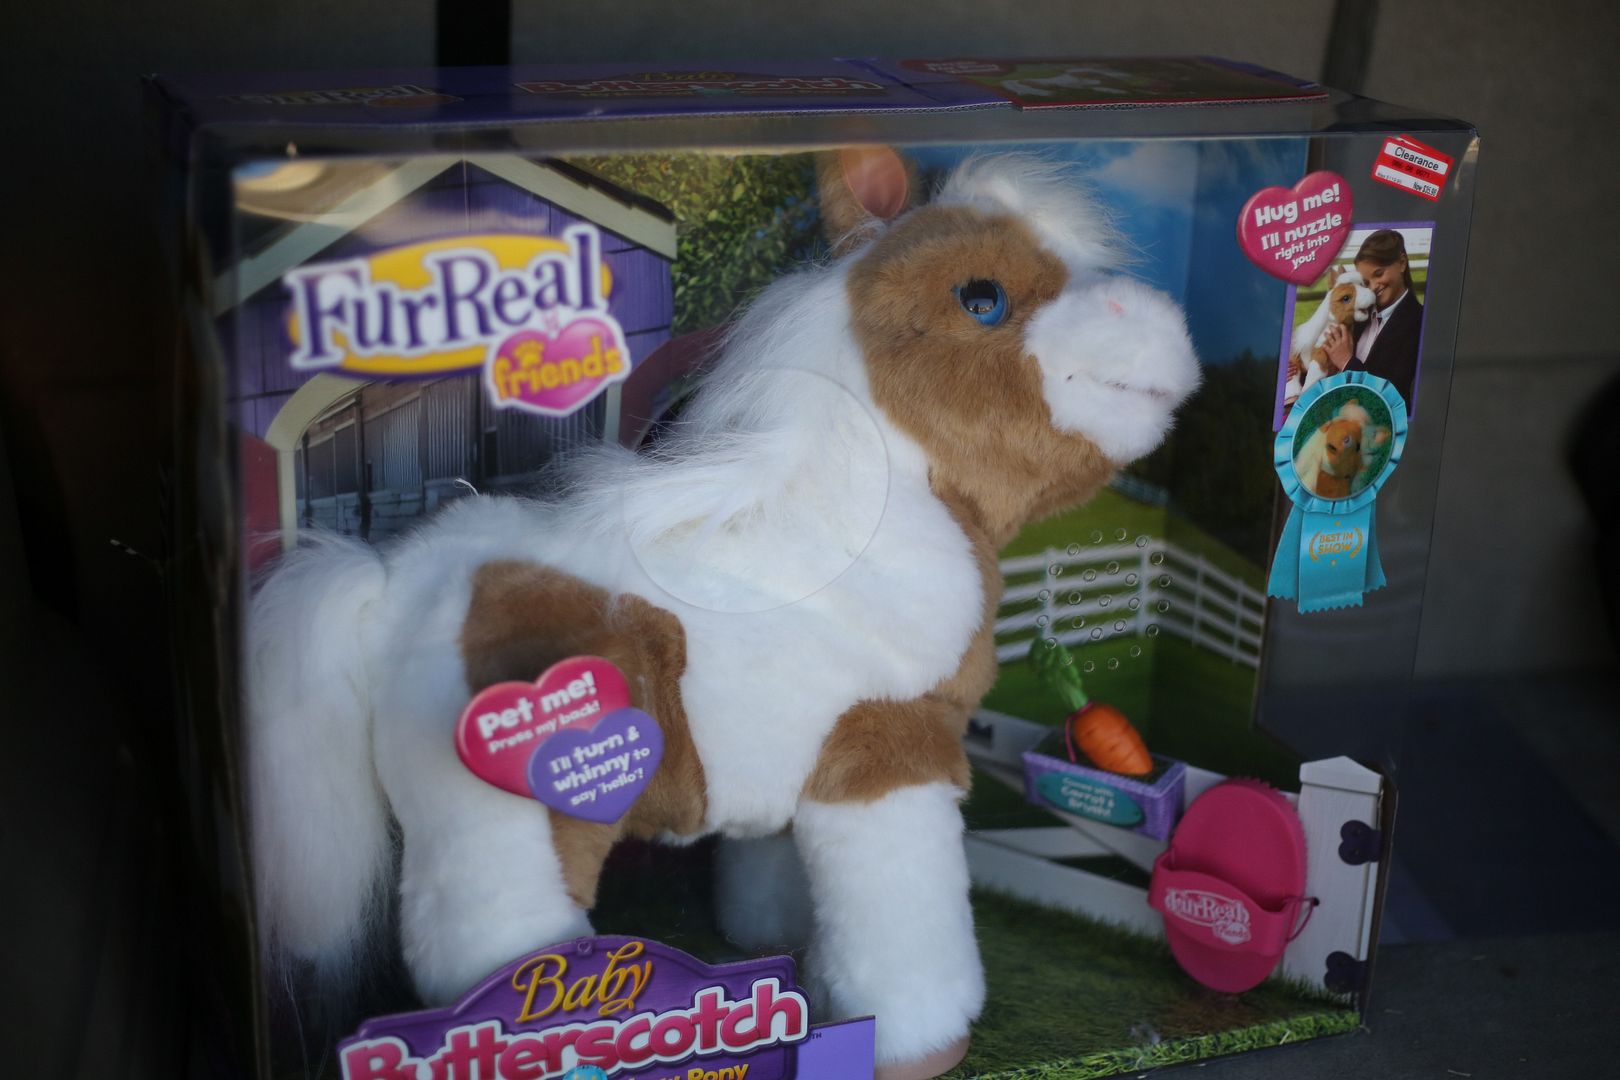
I was able to get all of the large items on the list and found an extra bonus - A Baby Butterscotch Pony! Noelle asked for it for Christmas but this mama wasn't going to spend $100 on one toy. It is regularly $119.99, I snagged it for $35.98!

Photobucket

WOOHOO!
Photobucket

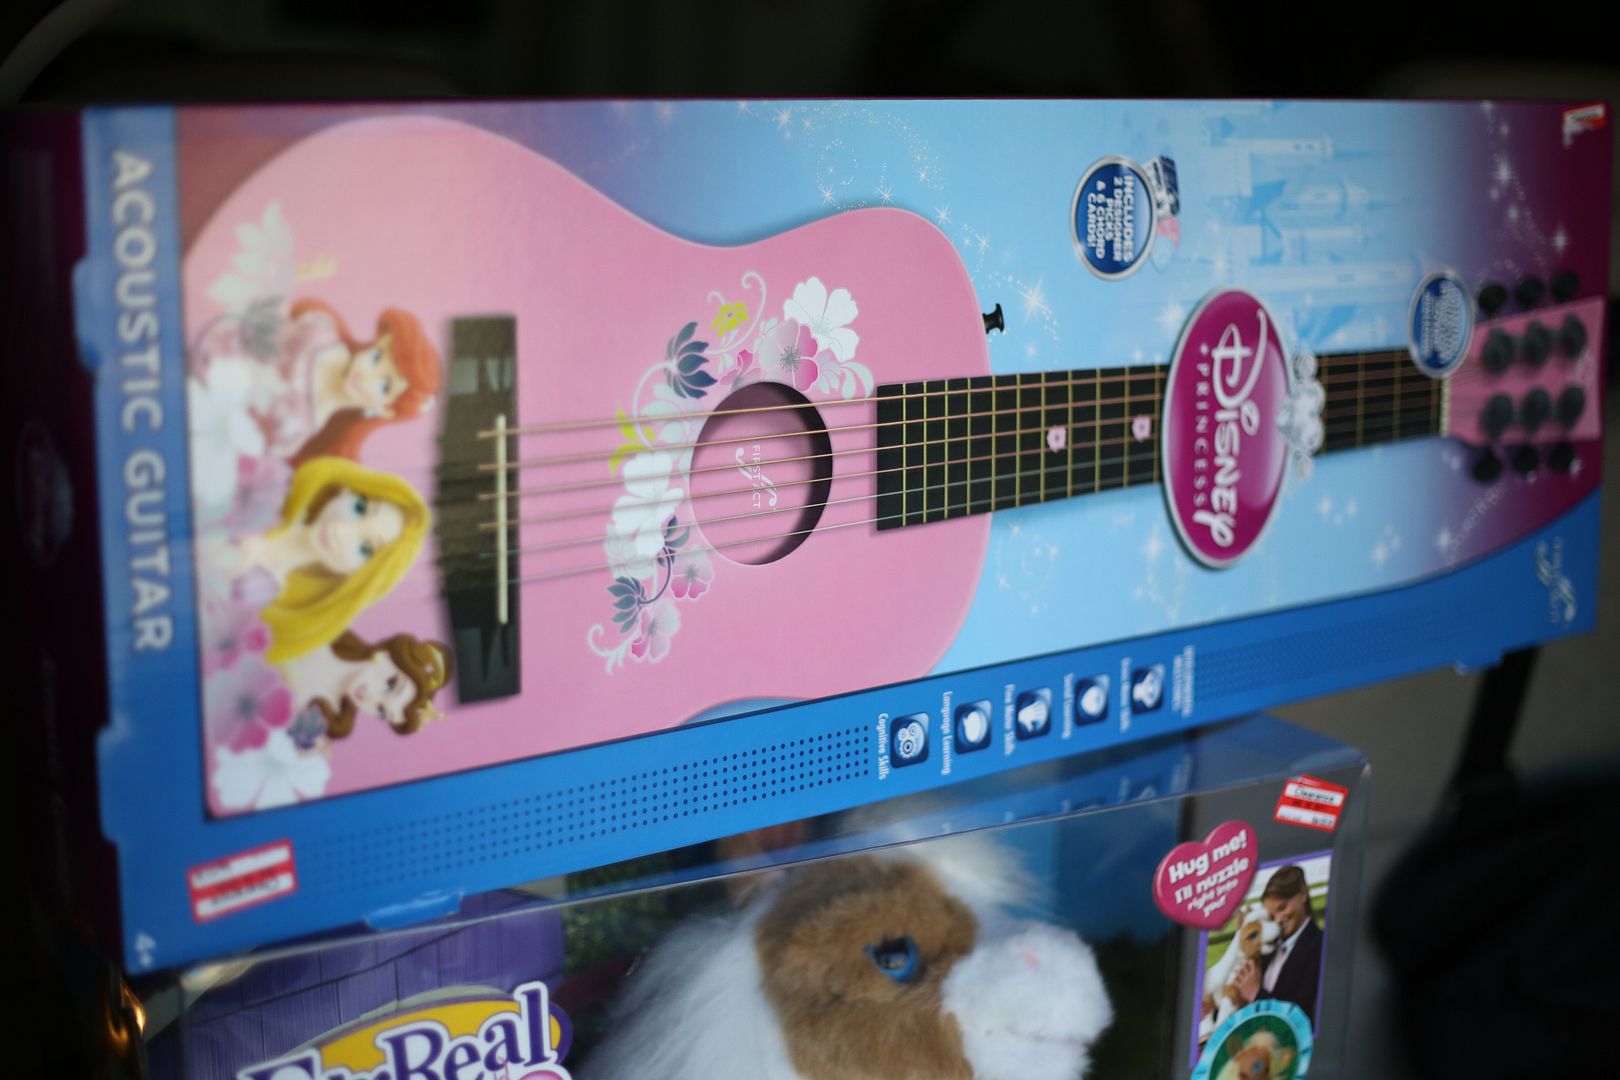
Noelle loves strumming on Aaron's guitar. This Princess one should be a fun gift for her 5th birthday and something they can enjoy doing together. It was $11.98, regularly $39.99.

Photobucket

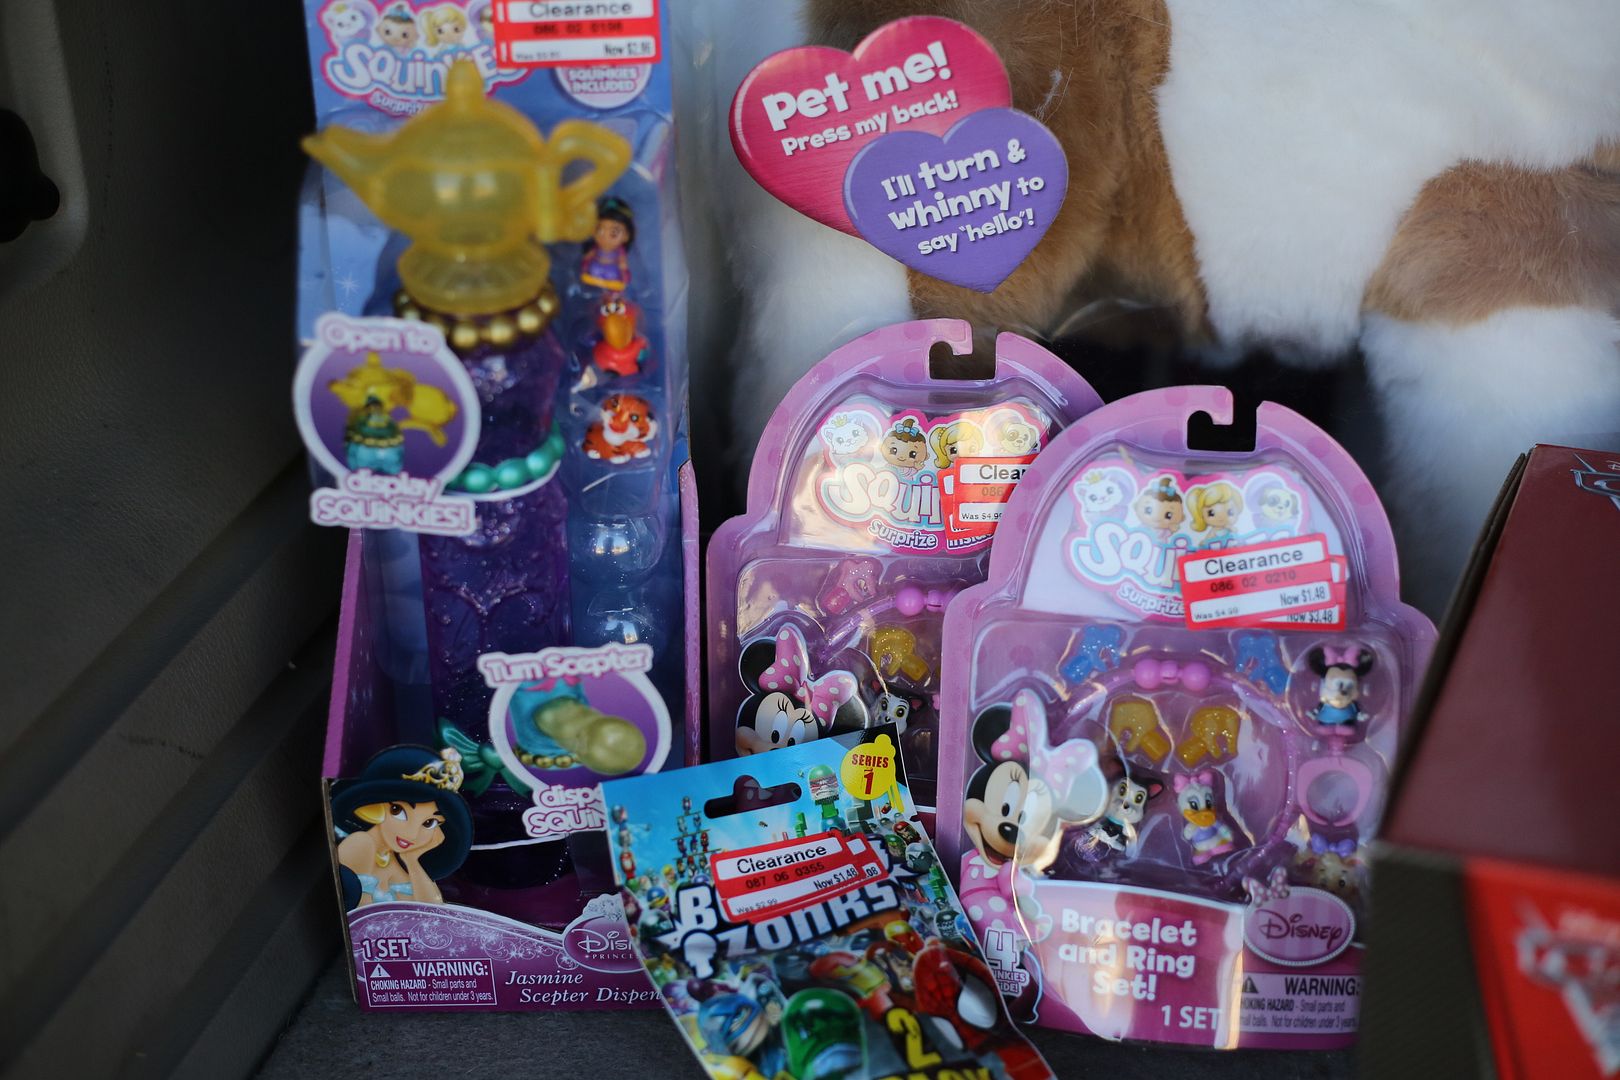
These Squinkies Crowns ($2.96) will be a huge hit for Noelle and my niece, Emma. There weren't any other Princess Squinkies but I did find Minnie Mouse Squinkies. These make great stocking stuffers!
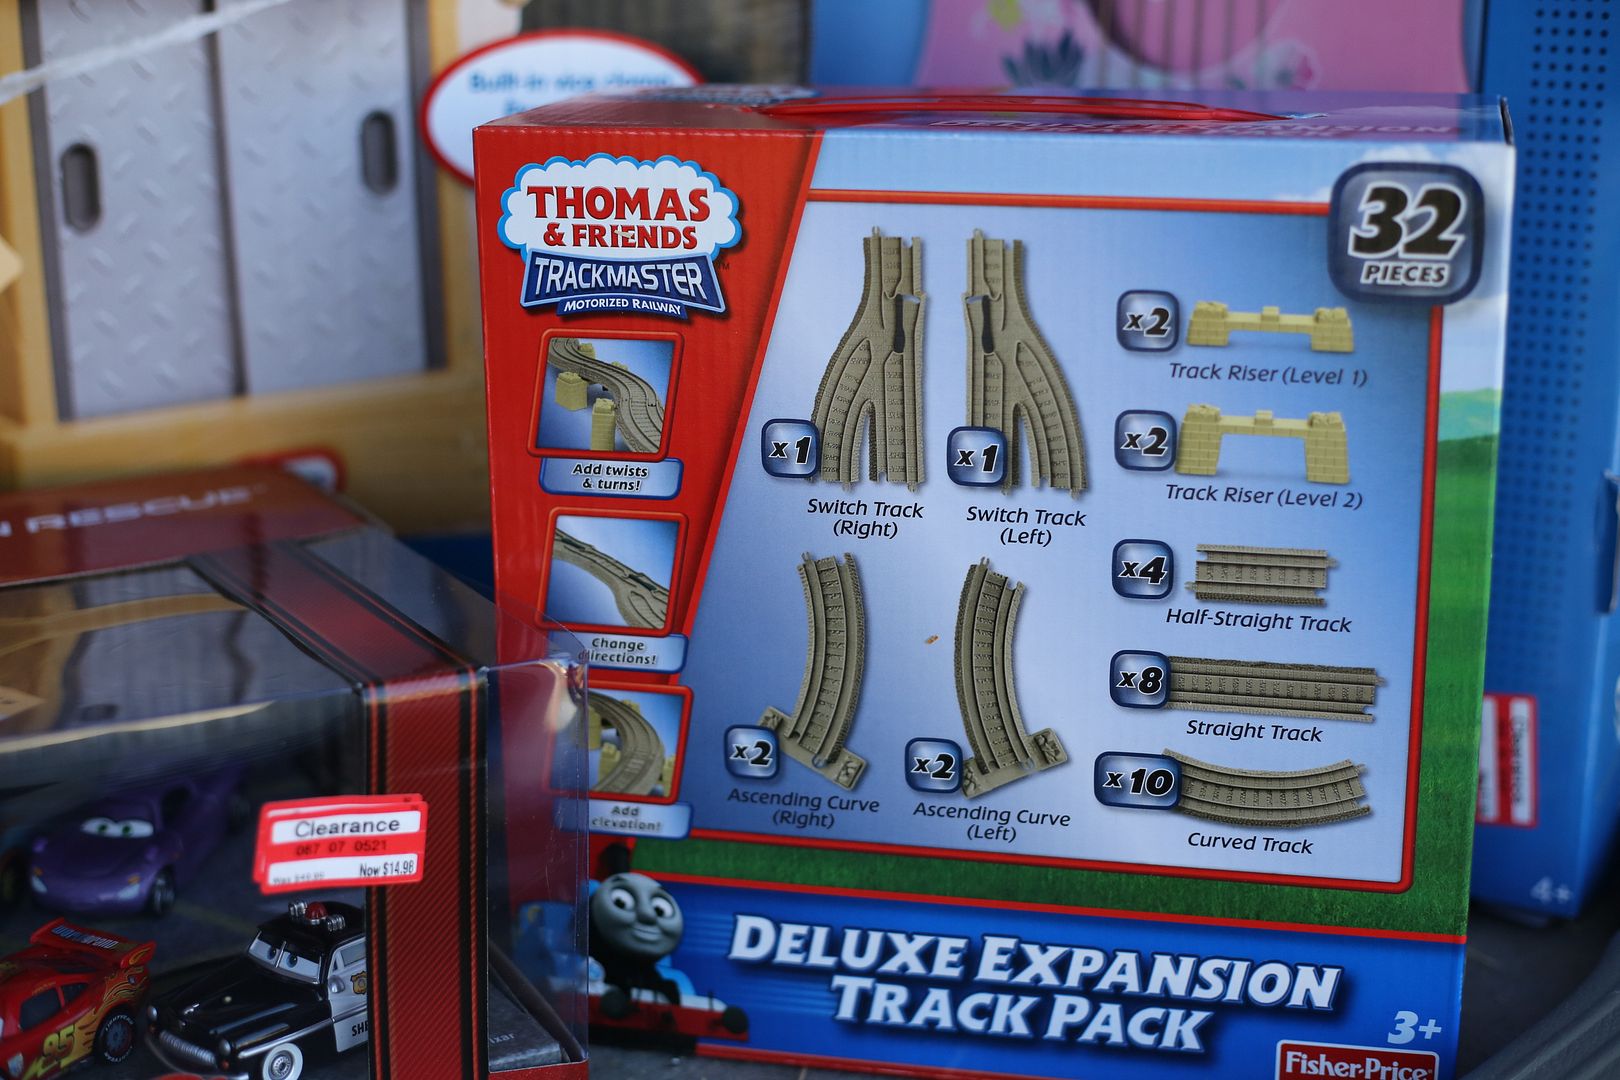
I chose this Thomas & Friends track because it is smaller than the others, it's motorized, and it had good reviews online. I'm not sure why but Sears is selling it for $112! It was $13.48.

Photobucket

It is always smart to buy extra tracks when you find them on sale (make sure they match the track that you have). These were $5.66, regularly $18.89.

Photobucket

Another item on my list for Noah's 2nd birthday next month - $8.38. He absolutely loves cars, planes, and trains.

Photobucket

Noah will be having a Cars Themed party. These are also for his birthday. The extra Lightning McQueen was an accidental purchase. I let him hold it while I was browsing and I forgot to get it from him before we reached the register. At the rate he loses cars, it might be best to have a spare.
Lightning McQueen $2.08, regularly $6.99

Photobucket

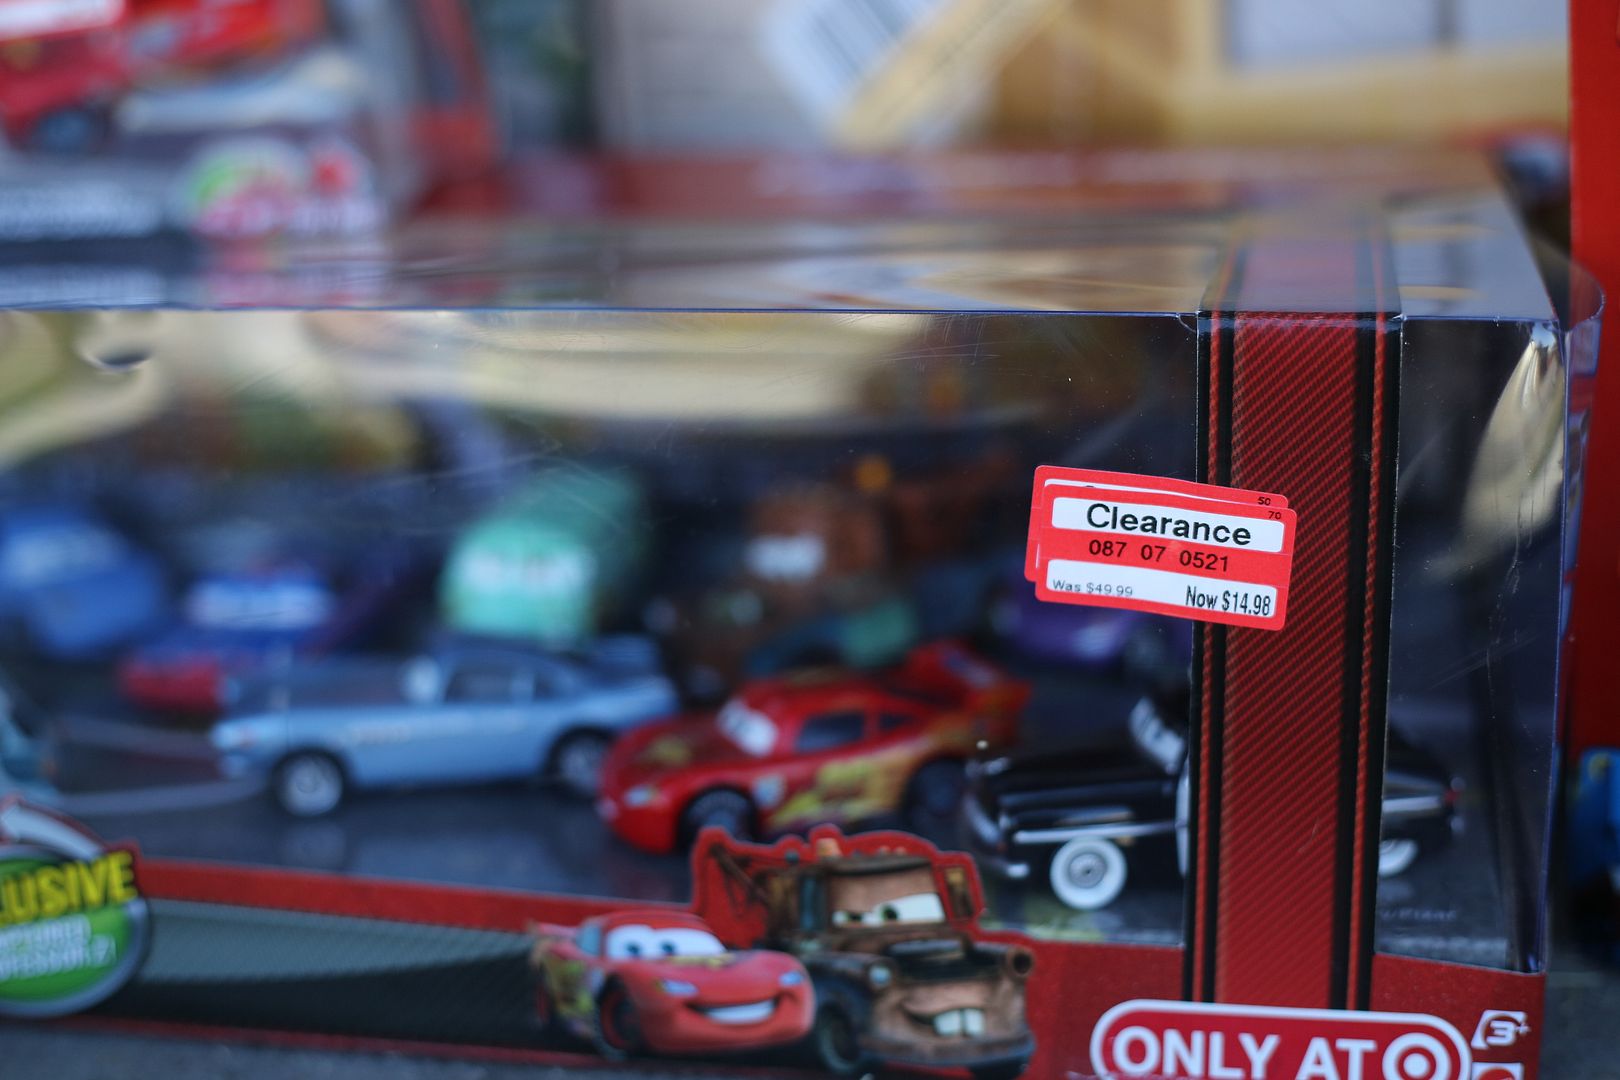
Cars 2 Set $14.98, regularly $49.99

Photobucket

I picked up this Squinkies Scepter for my sister (for her daughter) $2.96. I've never heard of Zonks but I know my nephew who likes Super Heros will love them (for an hour at least) $1.48.

Photobucket

There was one full aisle of toys and two half aisles, plus 3 end caps.

I noticed many Cars 2 toys including single cars, several large Barbie items, a few Princesses (Cinderella, Rapunzel and Tiana), Cookie Monster and Elmo, Train sets, Hot Wheels tracks, and Leapfrog systems.

Total spent - $99.65 (I split the toys up into 2 transactions and used (2) $10 off $50 coupons. I also save 5% with every purchase using my Target Red Card.

I use this sale to stock up for birthdays and Christmas. There is also a 70% off Toy Clearance in July. You can read about previous Toy Clearance trips HERE. Good luck! I hope you find some great deals.


-Amanda
Saturday, January 12, 2013

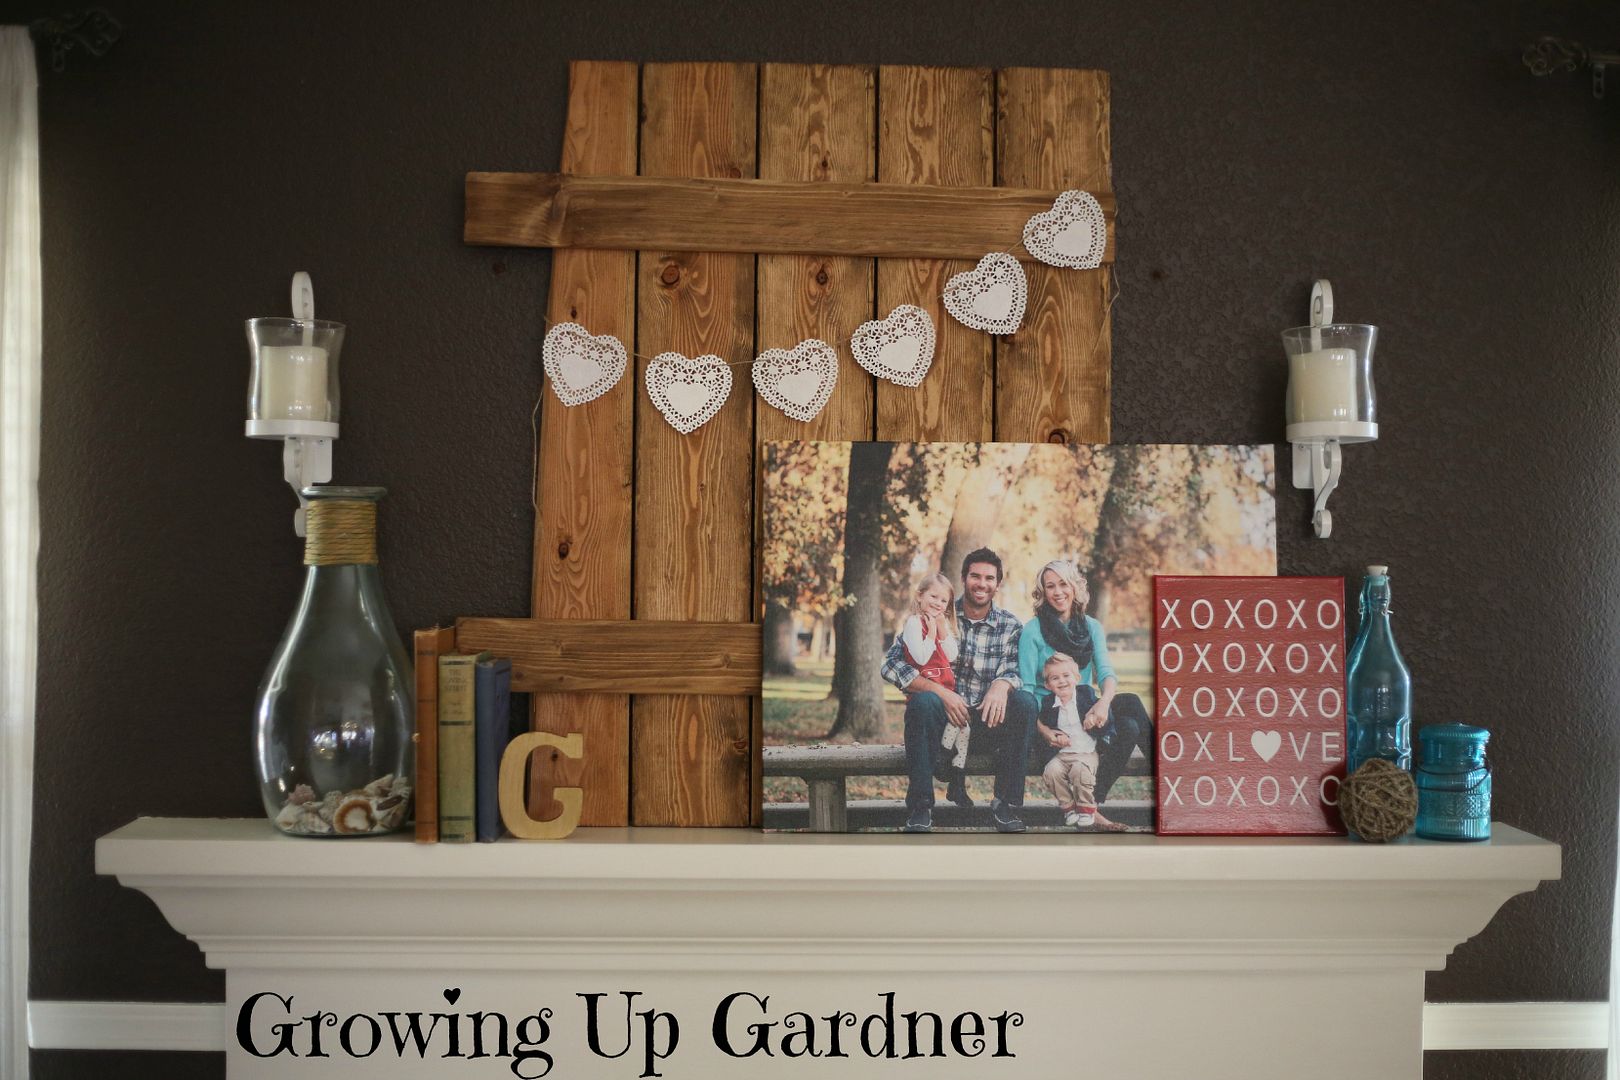
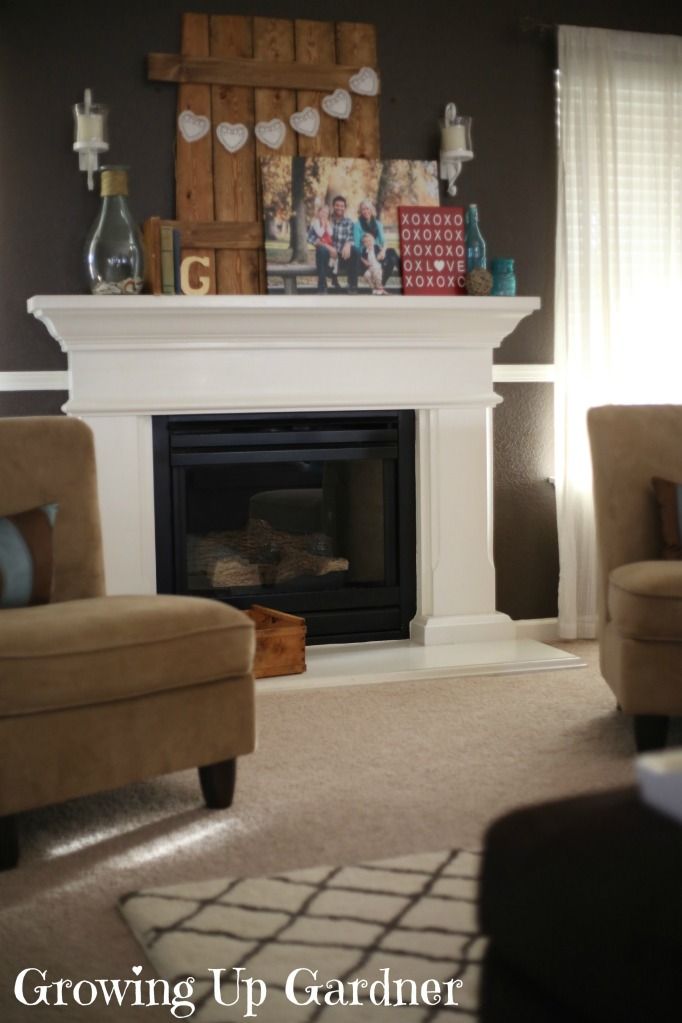
Valentine's Day Mantle

Photobucket

Our little guy, Noah, was due on Valentine's Day in 2011. He ended up being born on the 15th but my point is, with a birthday party coming up in a few weeks, I didn't want to go overboard with Valentine's Day decorations. They will be replaced soon enough by a race car themed 2nd birthday party (which I haven't begun to plan - better get on that).

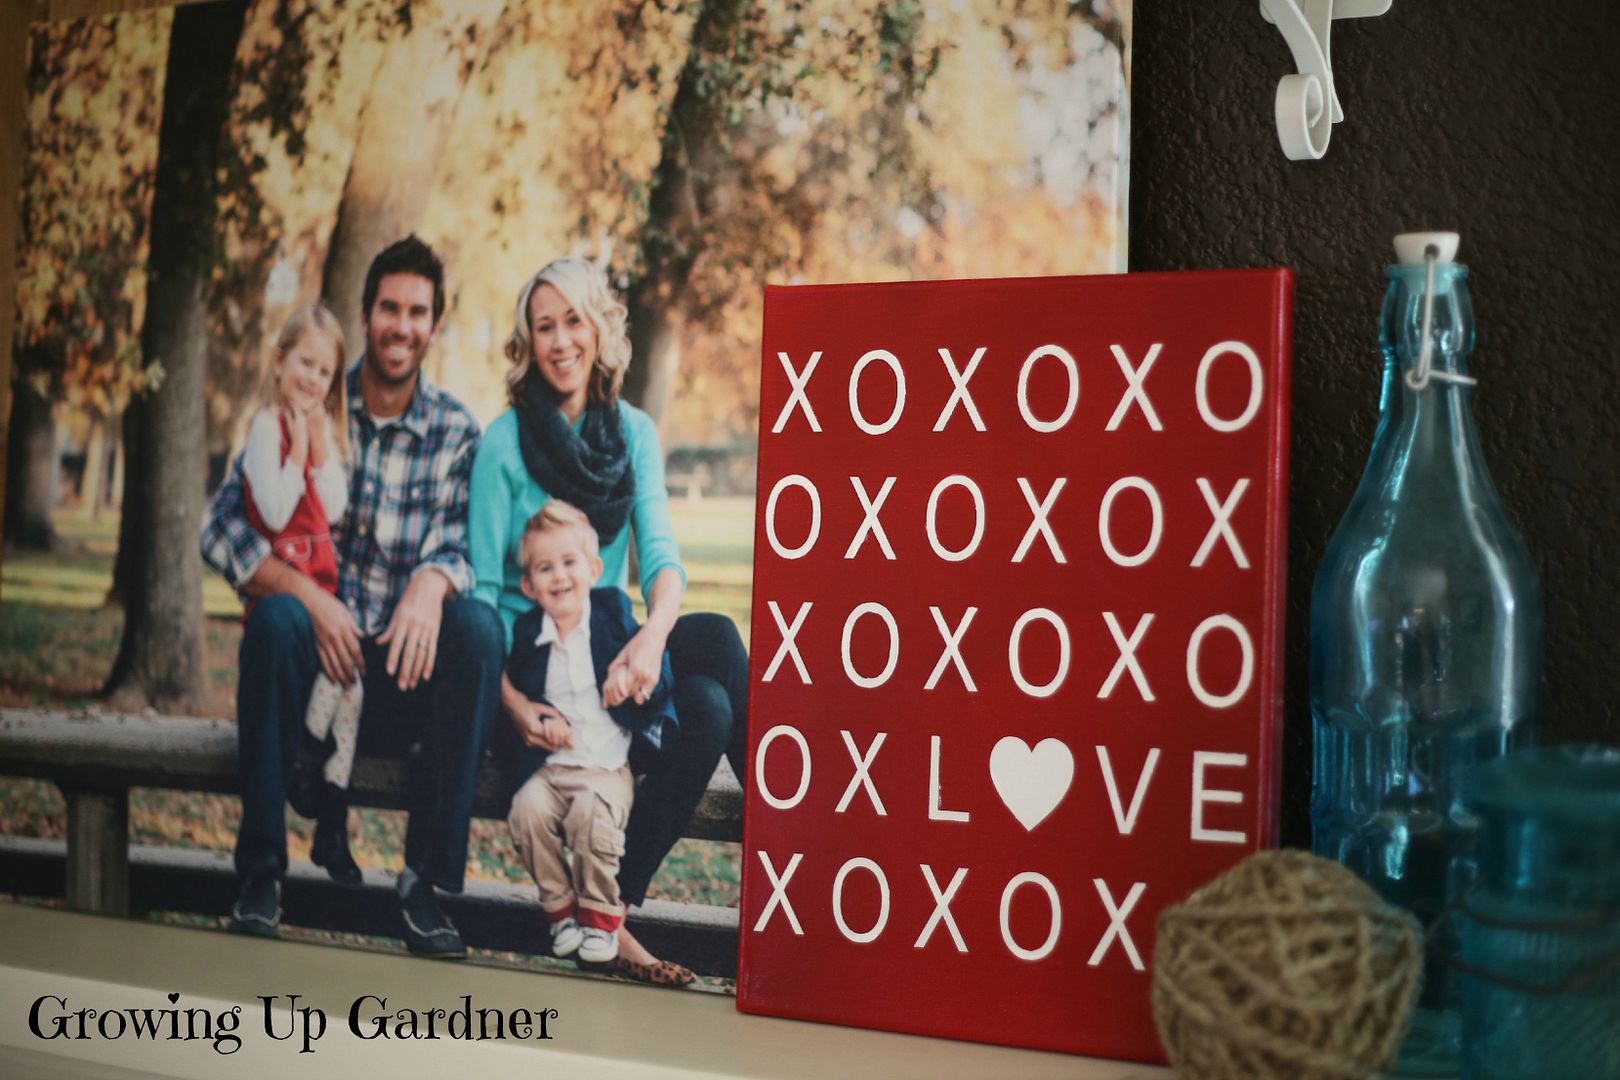
I had an extra canvas in my craft bin and after seeing this adorable DIY project from Craftoholics Anonymous, I decided that it's about time to fire up my Silhouette Cameo and see what it could do.

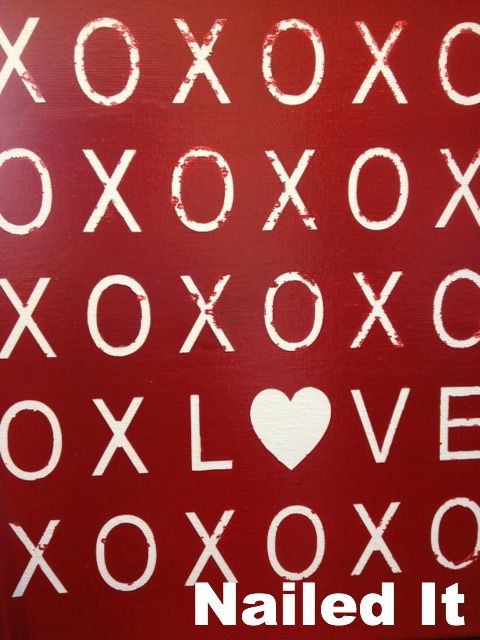
Turns out, I must be missing the vinyl talent because my version was less than perfect. I followed the directions exactly (and even used the mod podge trick) but when it came time to pull the stickers off I wasn't "left with a great looking love day decoration" as Linda claims. But she's a craft genius so I don't blame her for my unfortunate outcome.

Photobucket

Not one letter peeled off perfectly. I would normally trash a craft fail like this but I decided to just go ahead and spend a few minutes fixing it up.

Photobucket

Good from far, but far from good.

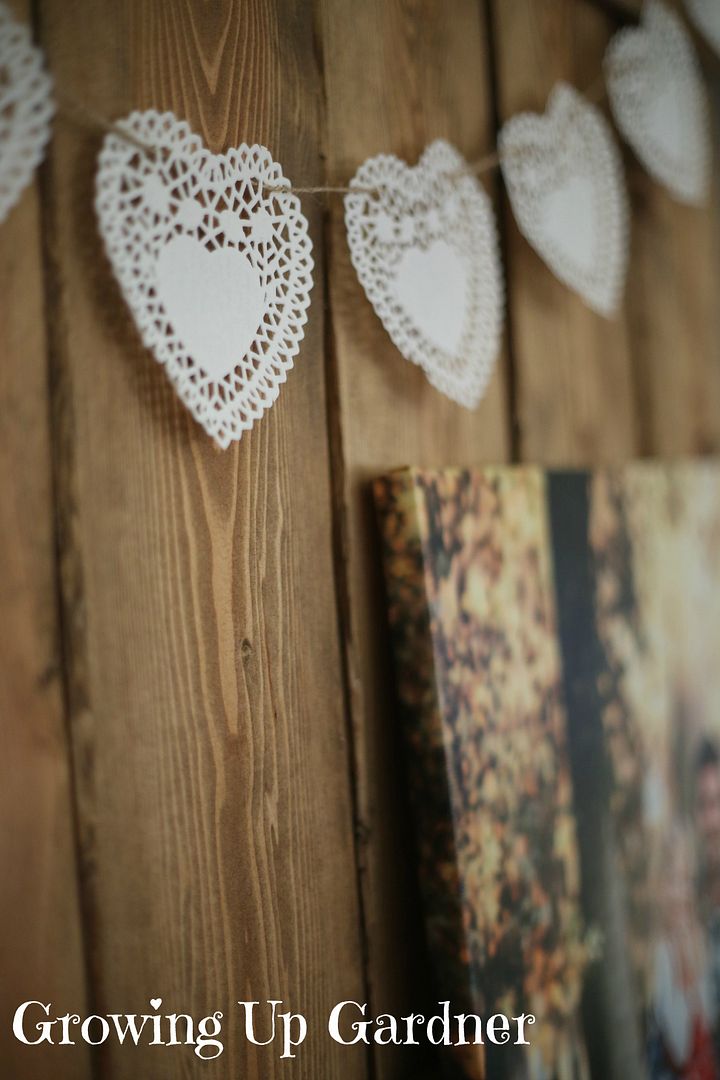
The next super easy craft for the mantle involved picking up heart-shaped doilies from the Target dollar section and stringing 5 of them from twine. Not much I could mess up with that. Although, they did come out of the package with a tear on the edge.

Photobucket

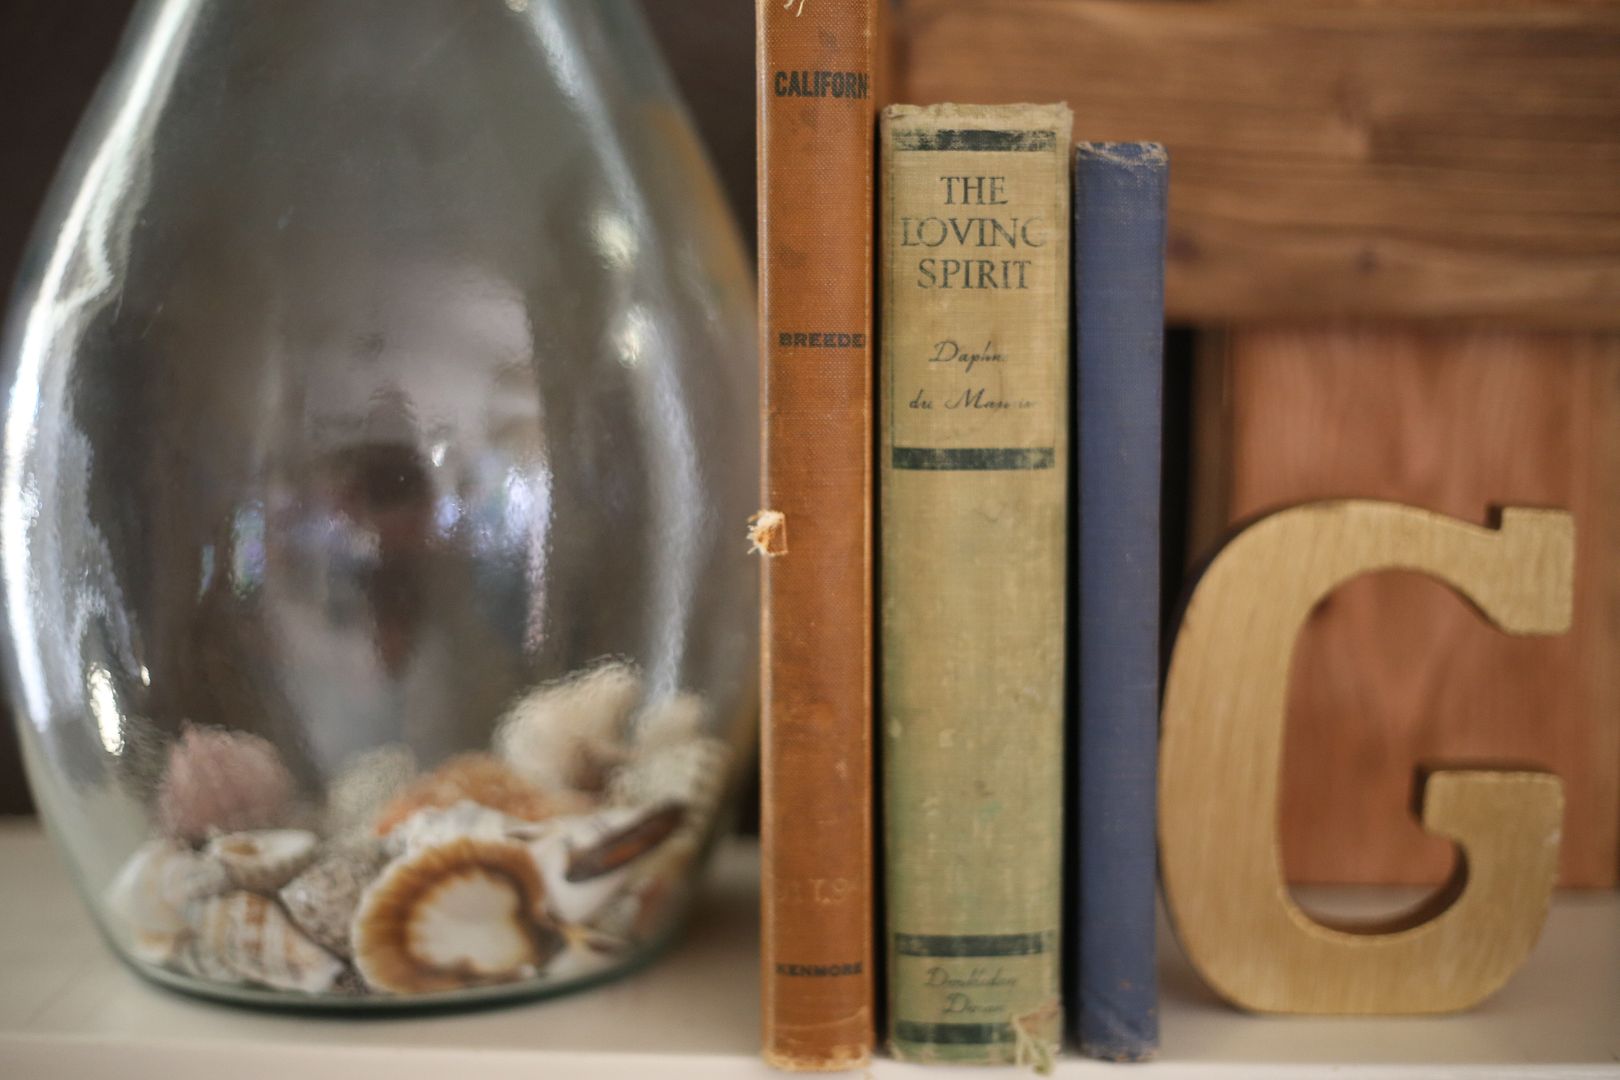
I balanced the mantle out with a seashell-filled vase, vintage books and letter G.

Photobucket

And called it a day.

Photobucket