DIY Race Track Tutorial
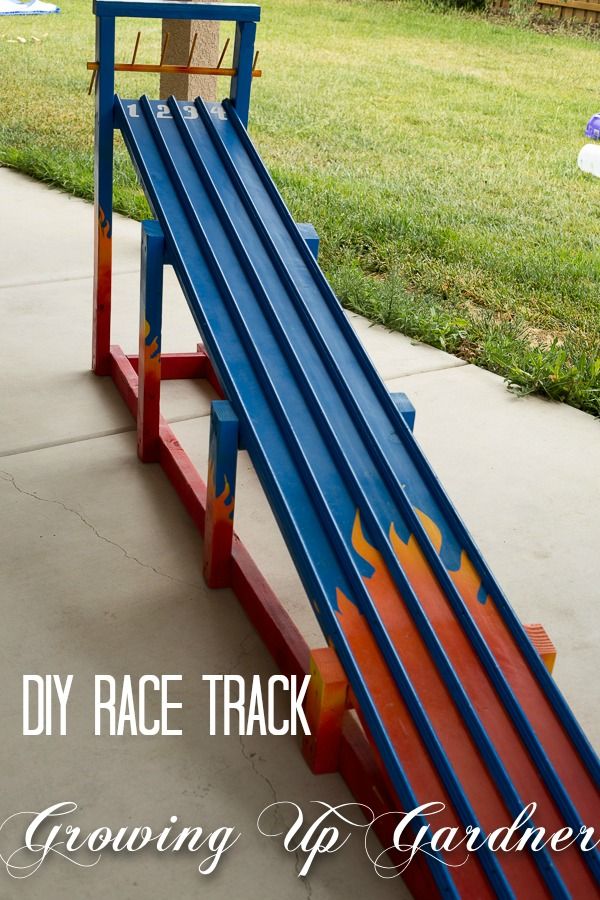
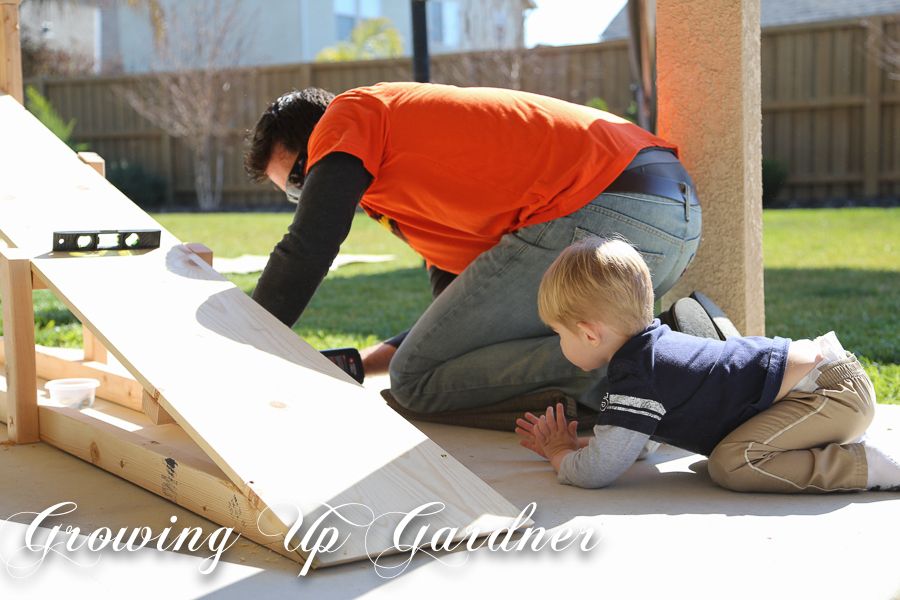
Mr. G built this awesome race track for Noah's Race Car Birthday Party. He made a quick sketch of the track and headed to the hardware store for supplies. He tried using things we had in the garage (screws, rails, finishing nails) to keep the cost down. Including the spray paint, the total was around $60. Here's a (mostly picture) tutorial of how he and his little helper built the track.
Materials:
1x12x8 - race track ramp
2x3 pieces:
(4) 12"
16"
(2) 3' side rails
(2) 21" side rails
(2) 14" side rails
(2) 7" side rails
(2) 7'9" ground beams
8.5"
(5) 3/4 x 8ft red oak decor shelf edges
Finishing nails (for lanes)
Dry wall screws or wood screws
17.5" Large dowel
6 Small dowels
Spray Paint - Yellow, Orange, Red, Blue
Flame Stencils (I made with my Silhouette Cameo)
*Pre-Drill all holes
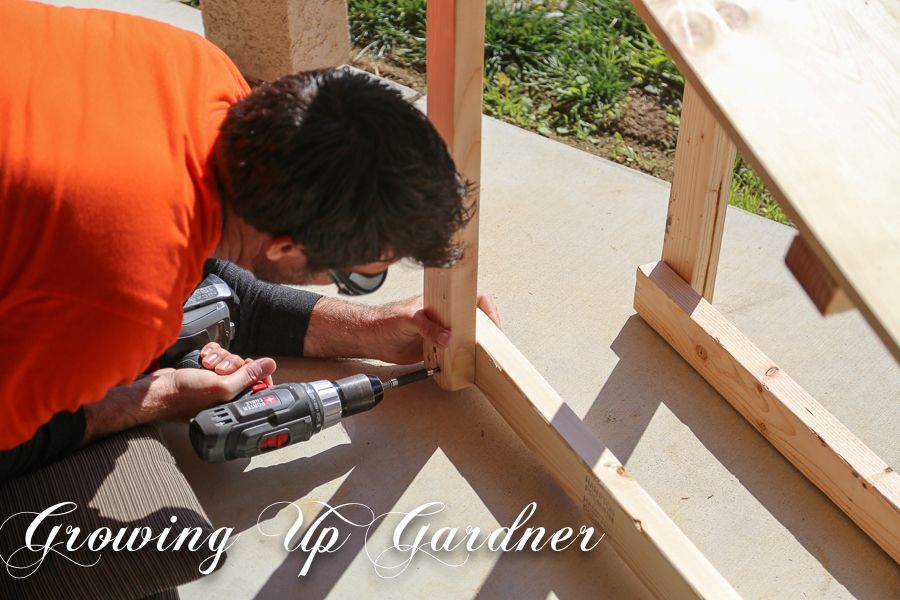
1. Take the 1x12x8 ramp and brace it with the four 12" 2x3s at 2ft, 4ft, 6ft & 8ft (8ft will be the top of the ramp). These will act as supports for the track. Drill through the 2x3s into the ramp.
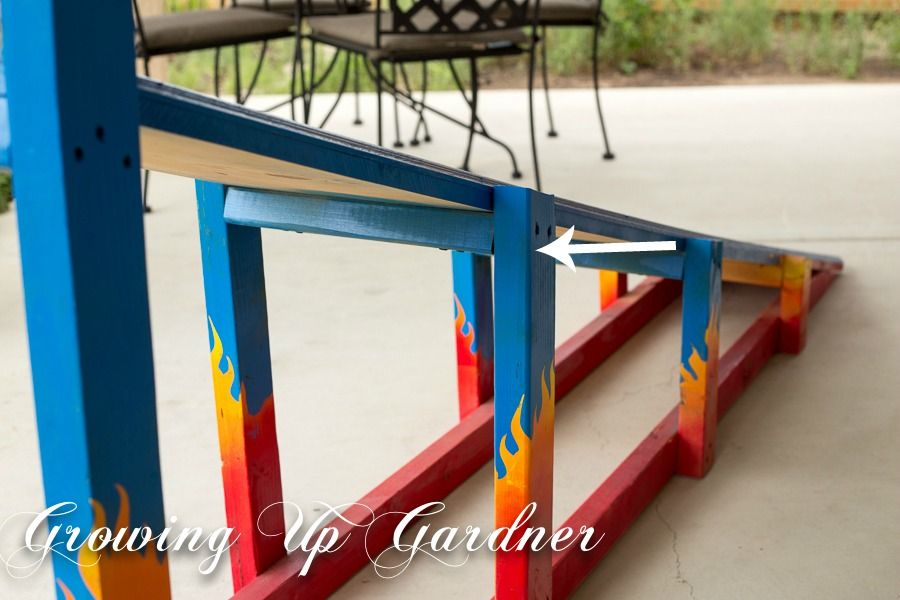
2. At 2'2" (we used this measurement because it was perfect for Noah's height) drill the 3ft 2x3 side rails into the top support.
3. Place the 16" 2x3 piece on top of the side rails and drill through the 2x3 into the rails.
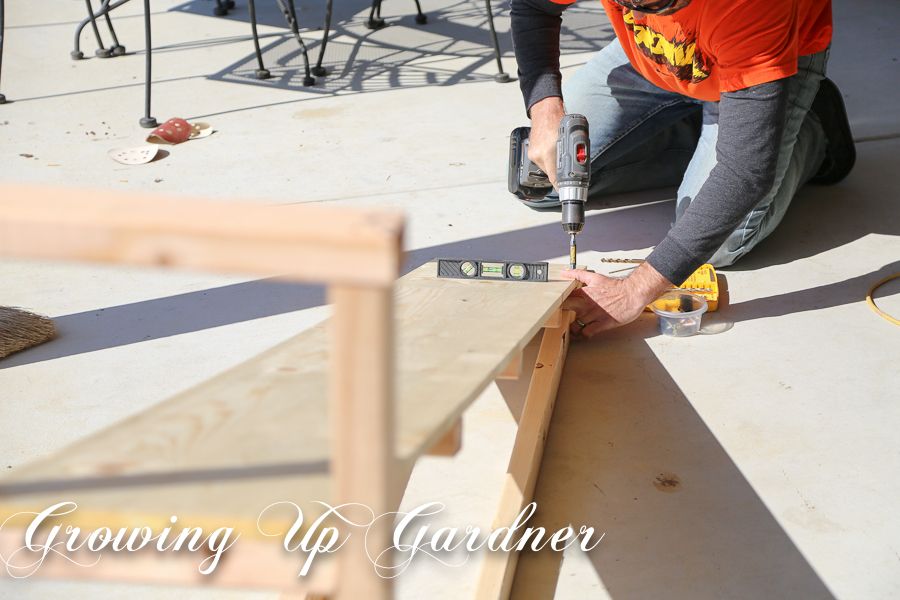
4. Now drill all side rails (6) into the support pieces (6ft, 4ft, 2ft). Keep a leveler on the ramp and continuously check to make sure the ramp stays level.
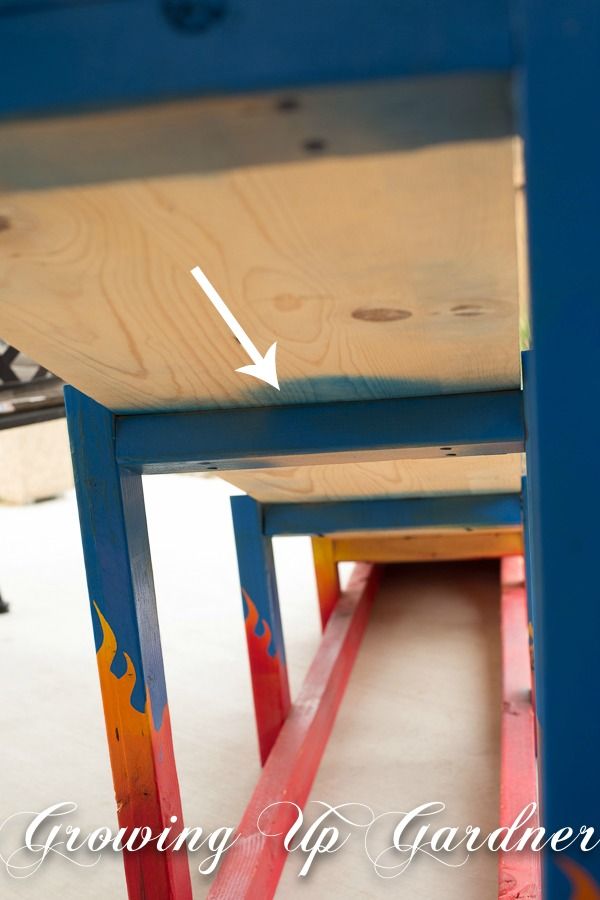
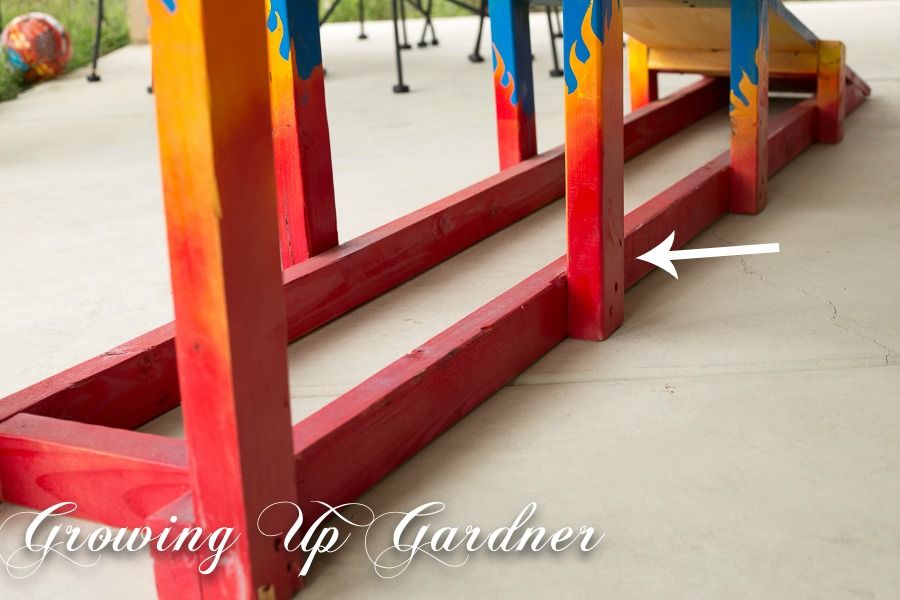
5. One of the trickier parts is the 7'9" ground stabilizer beam. It goes on the inside of the side rails, underneath the ramp.
Drill through the side rails into the ground beam.
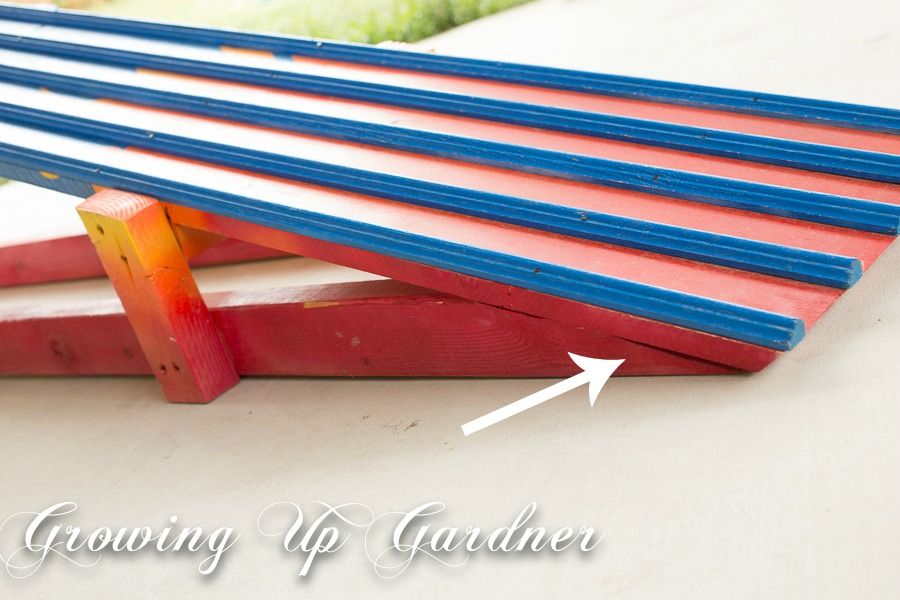
He angled the end of the beams so they fit semi-flush with the ramp in order to drill the ramp to the beams.
Making sure that the ramp stays level while drilling.
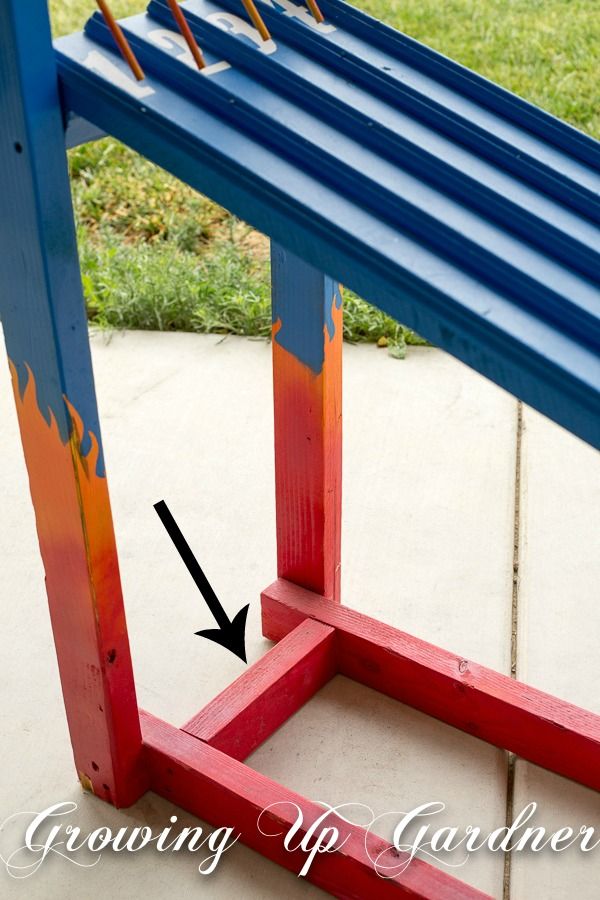
6. Use the 8.5" 2x3 piece and place it between the ground beams. Drill through the ground beams into the 2x3.
7. Using a hammer, nail the rails into the ramp to act as the lanes. We tried a nail gun but it didn't puncture through the rails. Space them evenly across the ramp (roughly 3 inches apart, compensating for the width of the rails).
Last step is to paint the track. The flames were made in a few steps.
1. Spray yellow on the track
2. Add orange
3. Add red all the way to the bottom
4. Place stencil over the yellow & orange and spray the top portion blue.
5. Repeat for the side rails of the track.
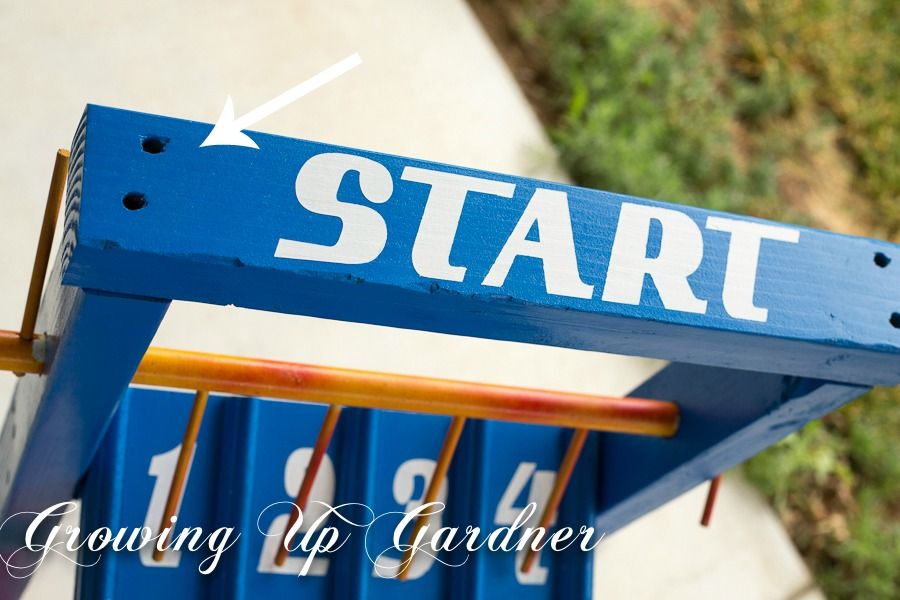
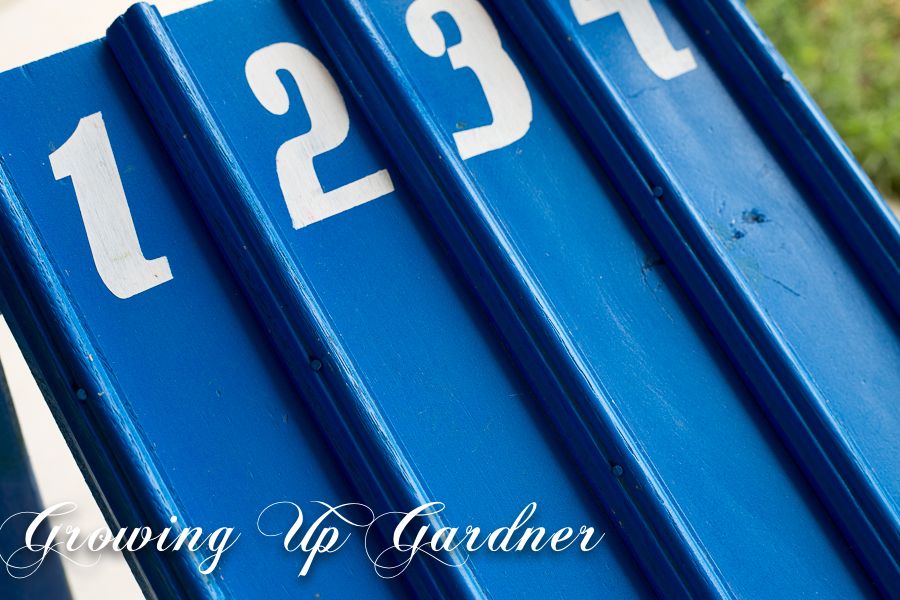
Once it was painted and completely dry, I added "START" and the lane numbers using a stencil.
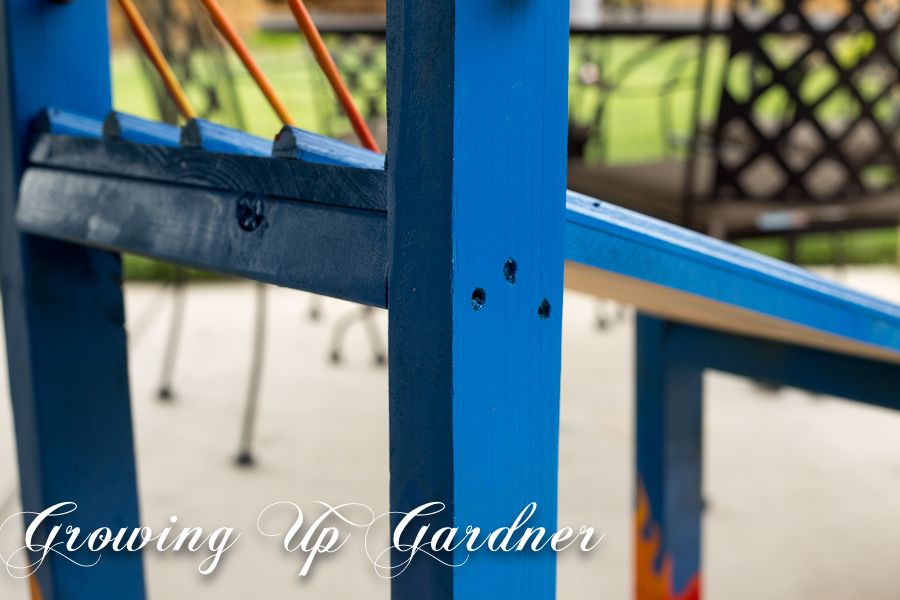
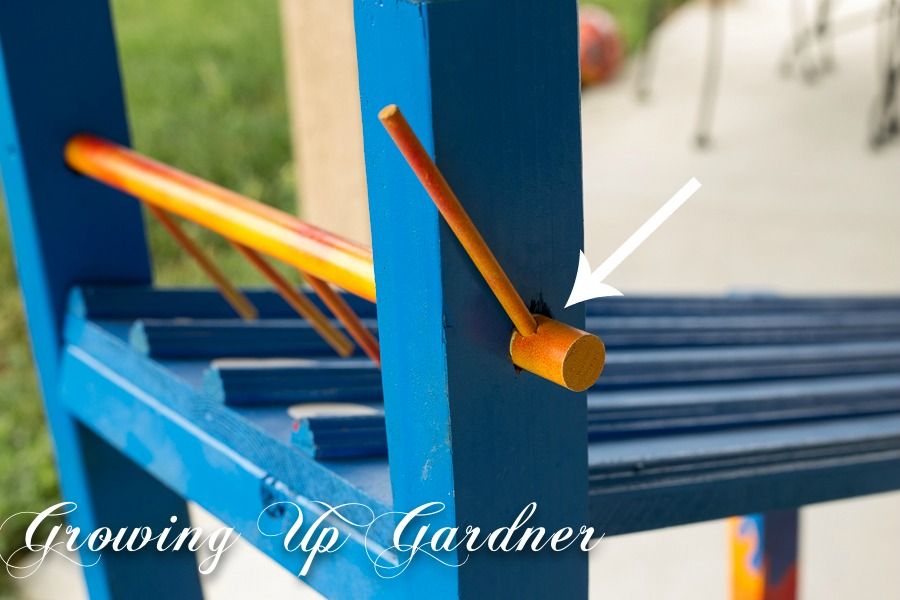
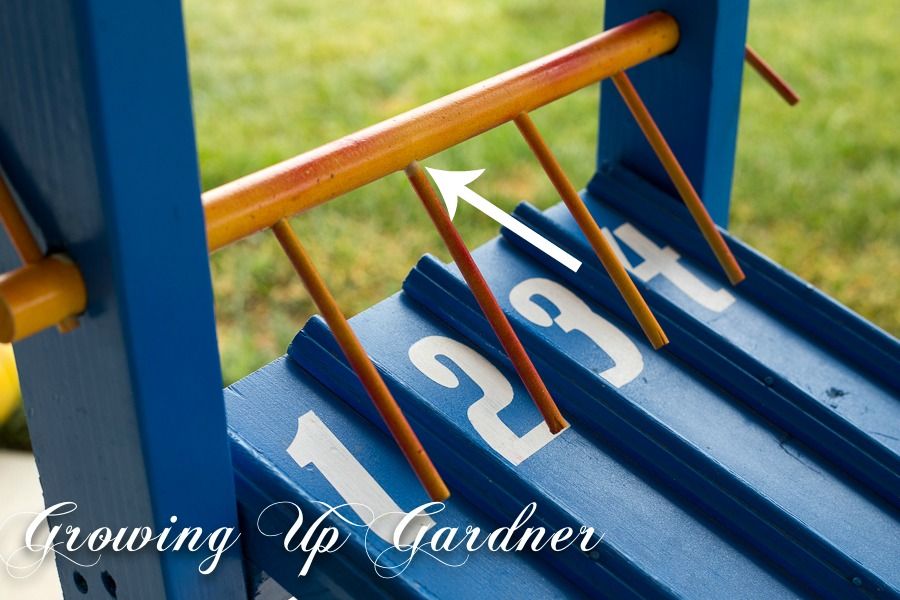
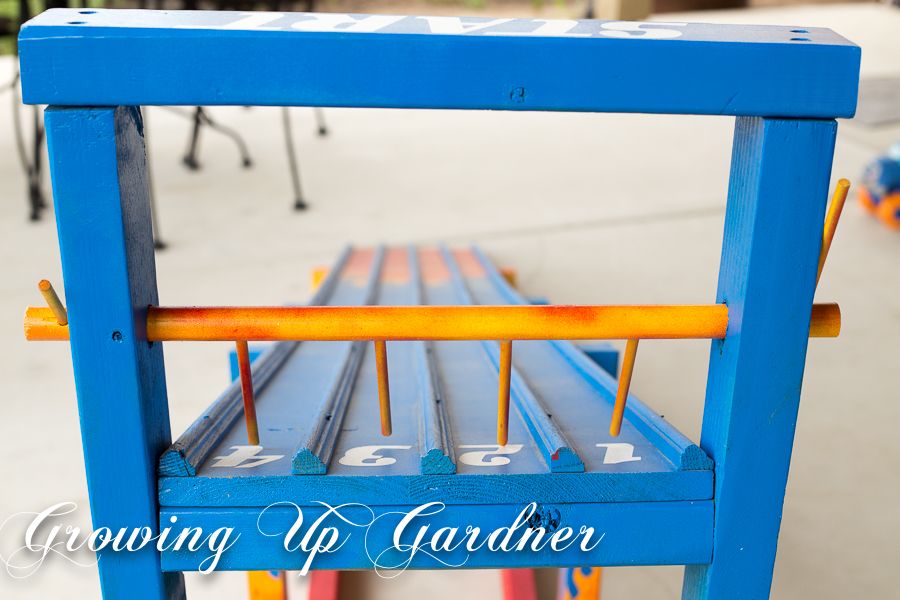
8. Optional: Car release lever. Drill holes just larger than the width of the large dowel (approx. 3/4") through the two front side rails.
Drill 4 holes into the large dowel and push in the small dowels. The small dowels length will depend on the distance from the large dowel to the ramp. Then drill a hole at each end of the large dowel and push two small dowels through to act as the release levers.
Spray paint the dowels before adding them to the track.
And there you have it! A race track any little boy would love to have! I took these pictures 5 months after the party and it is still in good shape - just normal boy wear and tear. He plays with it every day! I'd also recommend to spray the entire track with a couple coats of clear lacquer when it's finished.
Please let me know if you have any questions.
Amanda


Sooooo Coool!!!
ReplyDeletedid you leave off the 7'9" ground stabilizer beams from the materials list? I'm a bit confused on that part, Thanks!
ReplyDeleteI guess so. Thanks! I added them to the list.
DeleteHi. Curious how well your lego cars rolled down this. We just had one built--quite similar to this design and the cars don't roll well. Any tips appreciated. Thx! Maria
ReplyDeleteHi Maria - We didn't use any "lego" cars. Just the hot wheels cars and they rolled very fast. Perhaps the wood isn't smooth?
DeleteJust wanted to let you know I actually did this for my son's 5th birthday party. All the kids loved it! Thanks for the great instructions!
ReplyDeletehttp://instagram.com/p/o9nBu3jbpA/#
Thanks for the tips. My husband made one of these for our boys recently. The kids love it and everyone wanted one at their birthday party!
ReplyDeletehttps://www.flickr.com/photos/heather_knox/16586143021/
I just made 2 of these. One for my son and one for my God son. Thanks for the plans. I added a spring on the dowel gate so it closes after you release it. It makes it easier for my son to load cars and use it.
ReplyDelete